Set up the WKT UI application
To install the WKT UI application:
- Make sure to check the NOTE in the WKT UI Prerequisites for your OS compatibility with regard to Electron support.
- Go to the GitHub project Releases page and download the latest release.
- Run the appropriate installer for your operating system.
Each release has many assets. For a detailed description of them, see Install WKT UI .
Important Note for macOS Users
Newer Mac machines use Apple Silicon CPUs, which are a type of ARM CPUs. This guide uses the OCI Oracle Kubernetes Engine (OKE)
for deployment of the WebLogic Server domain. By default, OKE nodes are provisioned using AMD (Intel-compatible) CPUs.
This will require using a new feature in WKT UI 2.0 that supports cross-architecture images. Rancher Desktop (and most
other Docker providers) rely on QEMU (Quick Emulator) to support cross-architecture capabilities. As of the writing of
this guide, Rancher Desktop with QEMU cross-architecture builds are not as reliable as we would like. Our advice is to
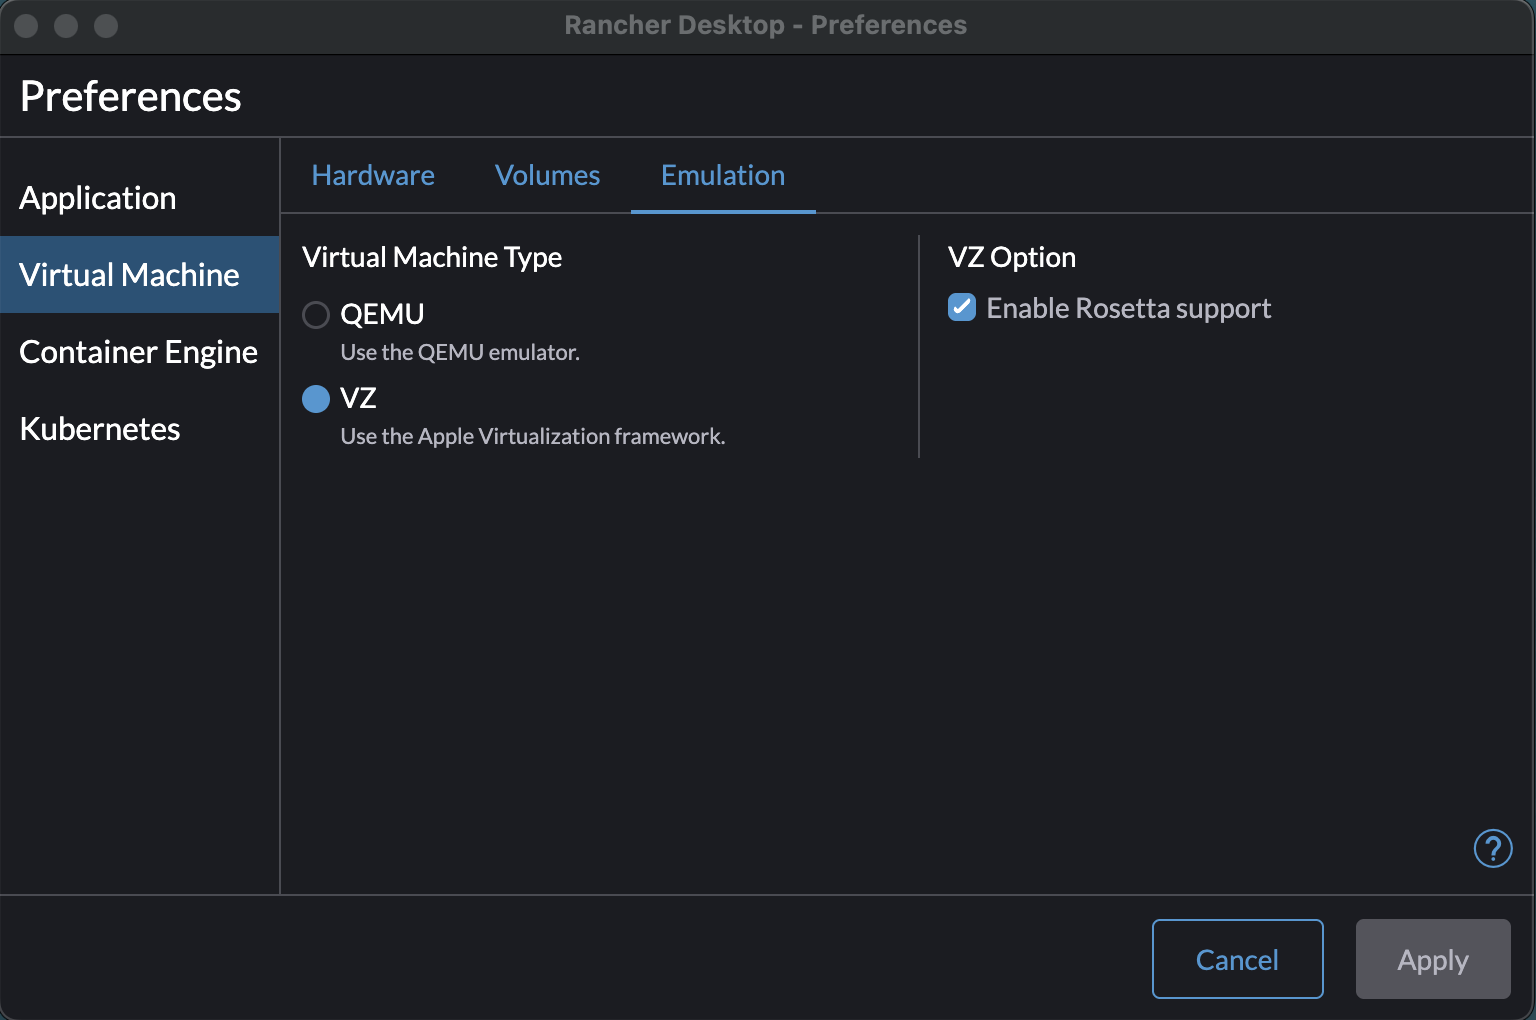
open the Rancher Desktop Preferences window, navigate to Virtual Machine -> Emulation, and change the
Virtual Machine Type from QEMU to VZ. You can also check the VZ Option to Enable Rosetta support, though
this is probably not required. This will provide a more reliable cross-architecture container image building environment.
If you choose not to do this, the image builds may occasionally hang and have to be killed. This is a symptom of the reliability issue that we have seen with QEMU. If you run into this issue, you may want to reconsider the change suggested in the previous paragraph.
WKT UI Startup
WKT UI requires Internet connectivity, not only for proper UI rendering, but also for REST APIs calls that it makes to GitHub for detecting and downloading updates, when they are available, and for determining the available versions of related software. The WebLogic Kubernetes Operator public Helm chart repository is also on GitHub. Various ingress controllers Helm charts are referenced directly from their published Internet endpoints. As such, WKT UI checks for Internet connectivity at application startup. If WKT UI fails its Internet connectivity check, it will display the Network Configuration dialog.
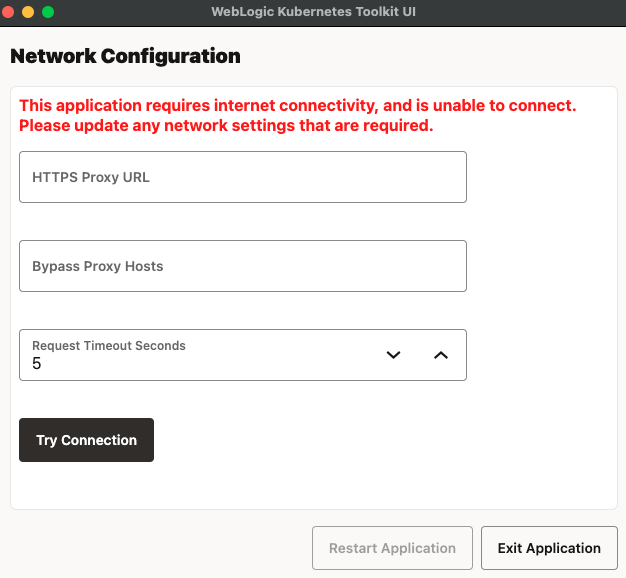
Enter, correct, or remove your proxy information, as appropriate to connect to the Internet and then click Try Connection. After the connection is successful, Restart Application will activate; clicking it will save your configuration and restart the application.
Updates
WKT UI has a built-in, auto-update functionality. Each time the application starts, it checks GitHub to determine if a newer version of the application is available. When a newer version is available, this dialog box appears giving the options of installing the update now, installing the update upon exiting the application, and ignoring the update.
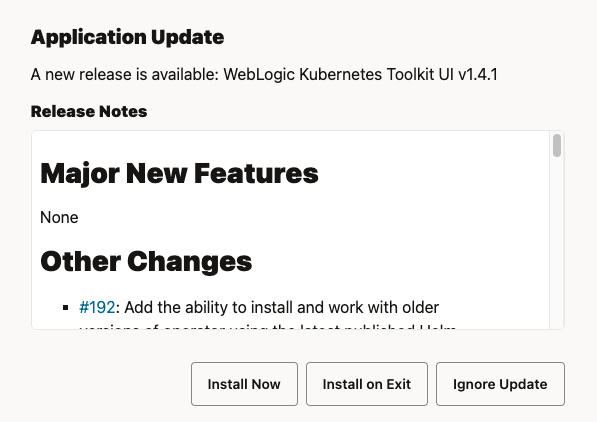
If the update is not installed, the application will prompt you again the next time it starts. At any time, you can
check for application updates by using the Help > Check for WKT UI Updates menu item. Note that this auto-update
functionality is not available when installing using the traditional Linux RPM or DEB installers.
WKT Tools
WKT UI bundles two other open source tools that are part of the WebLogic Kubernetes Toolkit (WKT):
- WebLogic Deploy Tooling (WDT)
- WebLogic Image Tool (WIT)
Each release of the WKT UI application bundles the latest releases of these tools, however, you can check for updated
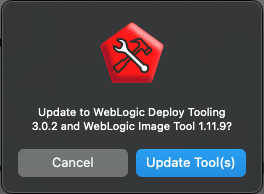
versions between WKT UI releases by using the Help > Check for WKT Tools Updates menu item. If an update for one or
both tools is available, a dialog box, like the following one, will be displayed. Click Update Tool(s) to update
the bundled tools.
User Preferences
WKT UI supports user preferences; that is, preferences that are specific to a user on a particular machine. To open the
User Preferences dialog on Windows or Linux, use the File > Preferences menu item. On macOS, use the
WebLogic Kubernetes Toolkit UI > Settings menu item.
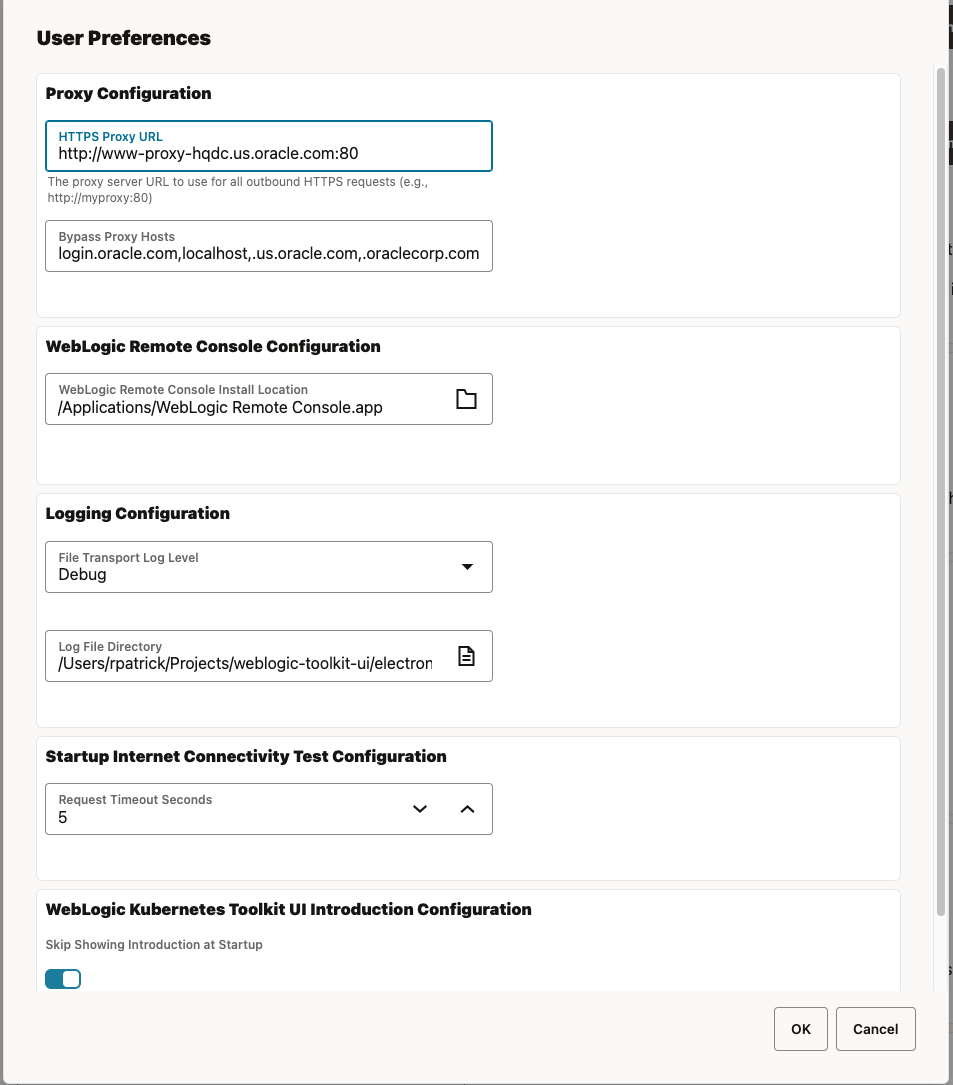
Using this dialog, you have access to view and edit settings in the following areas:
Proxy Configuration– Change the proxy and no proxy settings for the network.GitHub API credential- Specify a GitHub token (with no specific permissions required) that will be used to make GitHub requests and bypass the GitHub anonymous API request quota.Logging Configuration– Change the logging level and log directory location.Startup Internet Connectivity Test Configuration– Change the timeout on the Internet connection check. This is the same as the Request Timeout Seconds field.WebLogic Kubernetes Toolkit UI Introduction Configuration– Change whether the introduction shows at application startup or not.
Note that there may be one or two extra areas when running on Linux:
Linux Disable Hardware Acceleration- Change whether hardware acceleration is disabled.AppImage WKT Tools Configuration- When running from the AppImage, allows you to specify a directory to use for updated WDT and WIT tool versions (since the AppImage executable cannot be updated directly).
Explore WKT UI
Now that the WKT UI application is installed and configured, it is time to explore the functionality of the WKT UI application. To make this adventure more hands-on, you will lift and shift a ToDo List application running in an on-premises environment and move it to Kubernetes. The quick start covers both tracks.
At the end, the ToDo List application will be running in a Kubernetes environment.