Create Project
Create a project to hold your Account service. In this lab, you will use the Spring Initialzr directly from Visual Studio Code, however it is also possible to use Spring Initialzr online and download a zip file with the generated project.
-
Create the project
In Visual Studio Code, press Ctrl+Shift+P (Cmd+Shift+P on a Mac) to access the command window. Start typing “Spring Init” and you will see a number of options to create a Spring project, as shown in the image below. Select the option to Create a Maven Project.

-
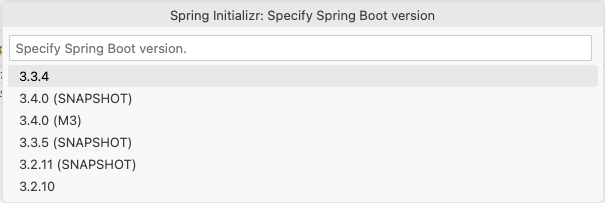
Select the Spring Boot Version
You will be presented with a list of available Spring Boot versions. Choose 3.3.4 (or the latest 3.3.x version available).
-
Choose Group ID.
You will be asked for the Maven Group ID for this new project, you can use com.example (the default value).

-
Choose Artifact ID.
You will be asked for the Maven Artifact ID for this new project, enter account.

-
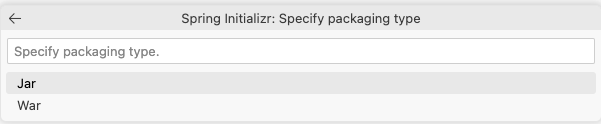
Select Packaging Type
You will be asked what type of packaging you want for this new project, select JAR from the list of options.
-
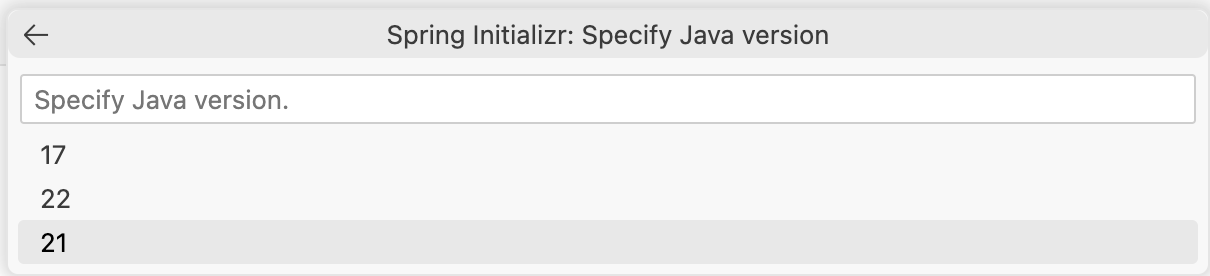
Choose Java Version
Next, you will be asked what version of Java to use. Select 21 from the list of options.
-
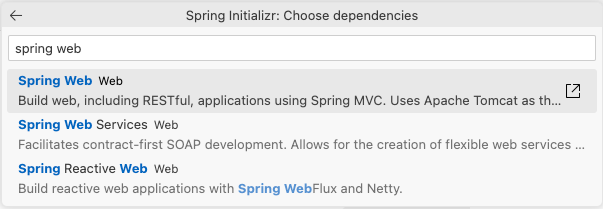
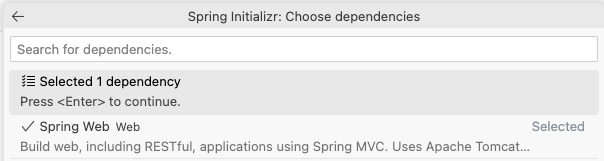
Add Spring Boot dependencies
Now you will have the opportunity to add the Spring Boot dependencies your project needs. For now just add Spring Web, which will let us write some REST services. We will add more later as we need them. After you add Spring Web, click on the option to continue with the selected dependencies.
- Continue with the selected dependencies
After you add Spring Web, click on the option to continue with the selected dependencies.
-
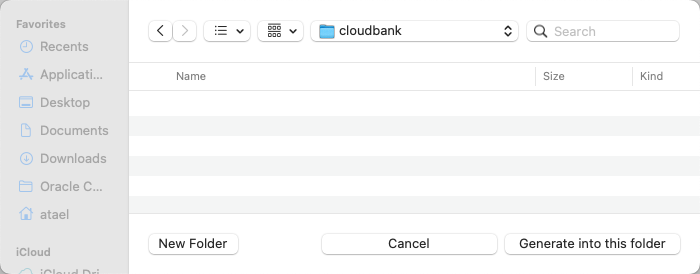
Select where to save the project
You will be asked where to save the project. Note that this needs to be an existing location. You may wish to create a directory in another terminal if you do not have a suitable location. Enter the directory to save the project in and press Enter.
-
Open the generated project
Now the Spring Initializr will create a new project based on your selections and place it in the directory you specified. This will only take a few moments to complete. You will a message in the bottom right corner of Visual Studio Code telling you it is complete. Click on the Open button in that message to open your new project in Visual Studio Code.

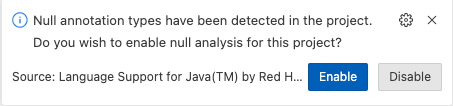
- When asked if you want to Enable null Analysis for this project press Enable.
-
Explore the project
Explore the new project. You should find the main Spring Boot application class and your Spring Boot
application.propertiesfile as shown in the image below.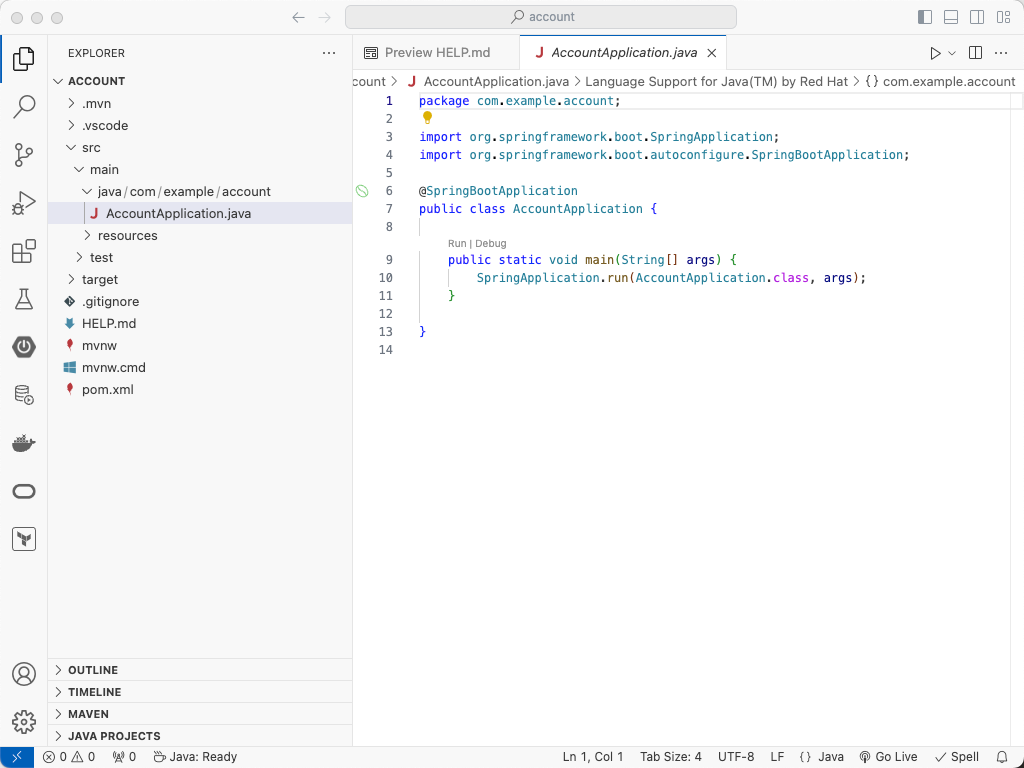
-
Remove some files (Optional)
If desired, you can delete some of the generated files that you will not need. You can remove
.mvn,mvnw,mvnw.cmdandHELP.mdif you wish. Leaving them there will not cause any issues. -
Build and run the service
Open a terminal in Visual Studio Code by selecting New Terminal from the Terminal menu (or if you prefer, just use a separate terminal application). Build and run the newly created service with this command:
$ mvn spring-boot:runThe service will take a few seconds to start, and then you will see some messages similar to these:
2024-02-14T14:39:52.501-06:00  INFO 83614 --- [           main] o.s.b.w.embedded.tomcat.TomcatWebServer  : Tomcat started on port 8080 (http) with context path ''
2024-02-14T14:39:52.506-06:00  INFO 83614 --- [           main] com.example.account.AccountApplication   : Started AccountApplication in 0.696 seconds (process running for 0.833)
Of course, the service does not do anything yet, but you can still make a request and confirm you get a response from it. Open a new terminal and execute the following command:
$ curl http://localhost:8080
{"timestamp":"2023-02-25T17:28:23.264+00:00","status":404,"error":"Not Found","path":"/"}