Install from OCI Marketplace
The Oracle Backend for Microservices and AI can be installed from OCI Marketplace.
Note: You only need to choose one of the three deployment options - local, OCI Free Tier or OCI Marketplace.
This option installs a “production-sized” environment which includes an Oracle Compute Engine for Kubernetes (“OKE”) cluster and an Oracle Autonomous Database instance. If you want to use a smaller, development/test-sized environment that only requires a single OCI Compute Instance, please use the “Free Tier” option instead.
-
Access the Oracle Cloud Infrastructure Marketplace listing
Open the OCI Marketplace listing, as shown in the image below:
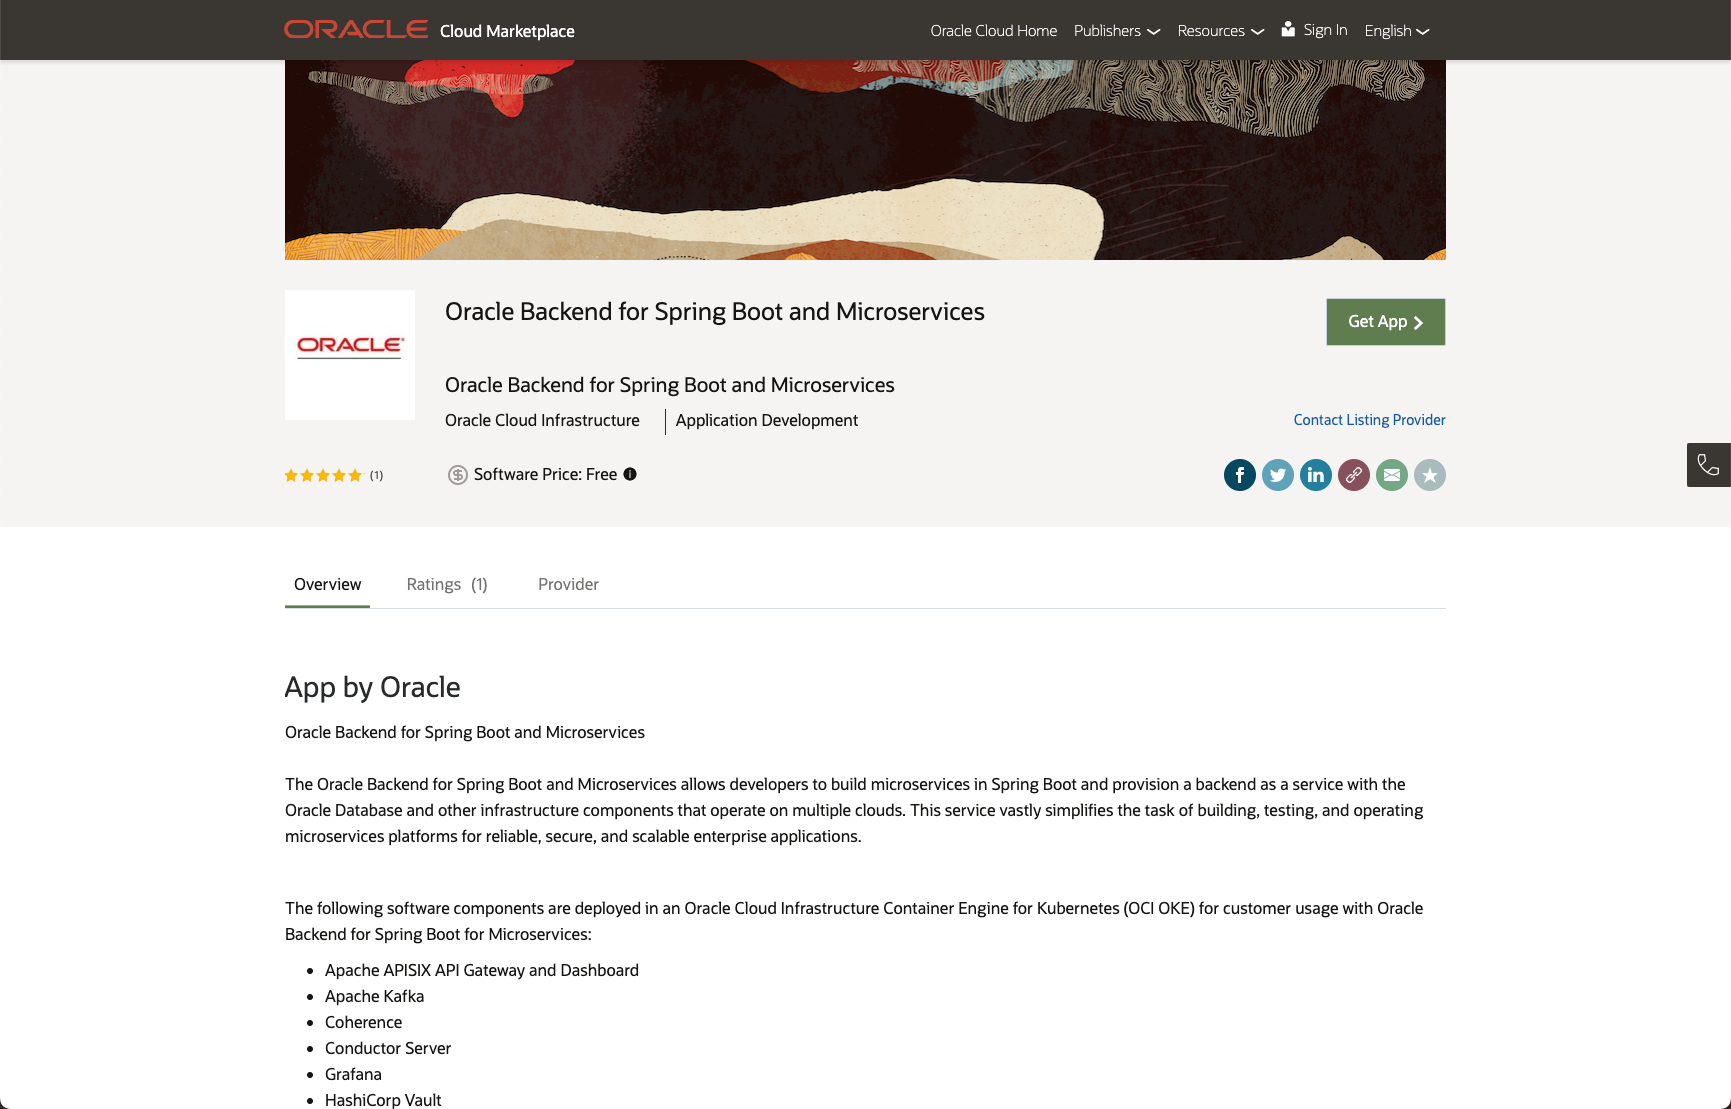
Click on the Get App button.
-
Log into your Oracle Cloud Infrastructure account
You will be taken to a Sign-In page. Choose they type of account you have and click on the Sign In button. If you did not create an account in the Get Started lab, you can do so now using the Sign Up button.
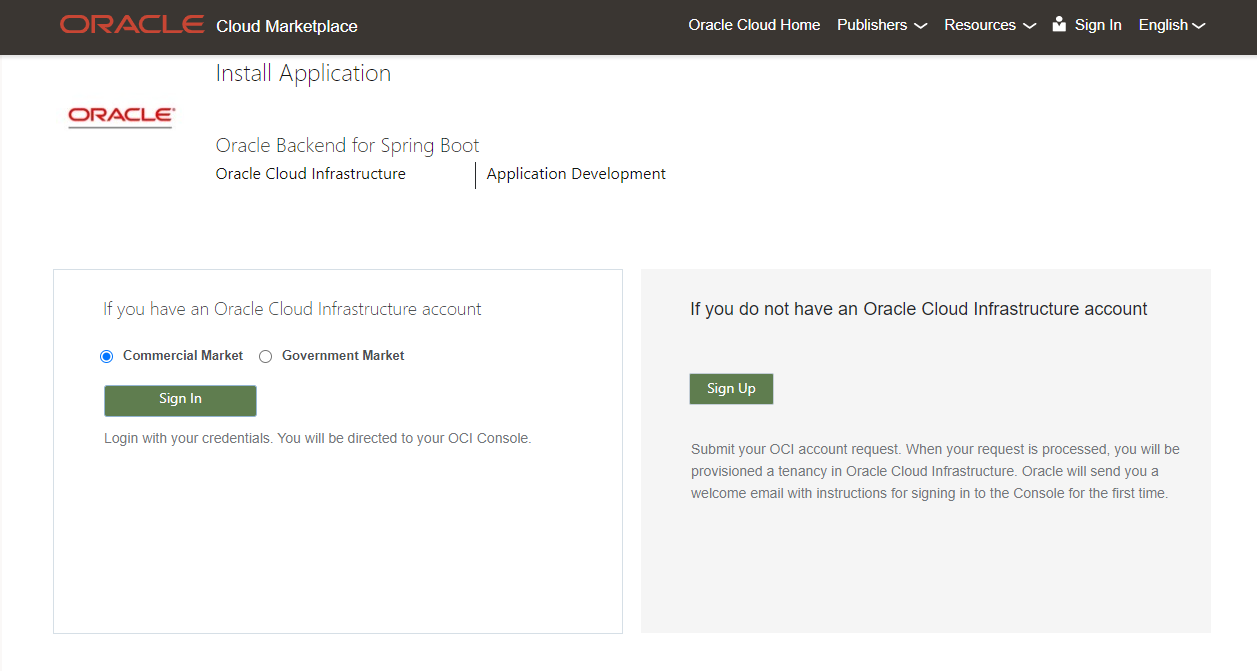
Sign in to your account as you normally do, using Single Sign-On or Direct Sign-In.
-
Choose the region and compartment
In the next screen you can choose the region using the pull down in the top right hand corner, and then choose the compartment you want to install into.
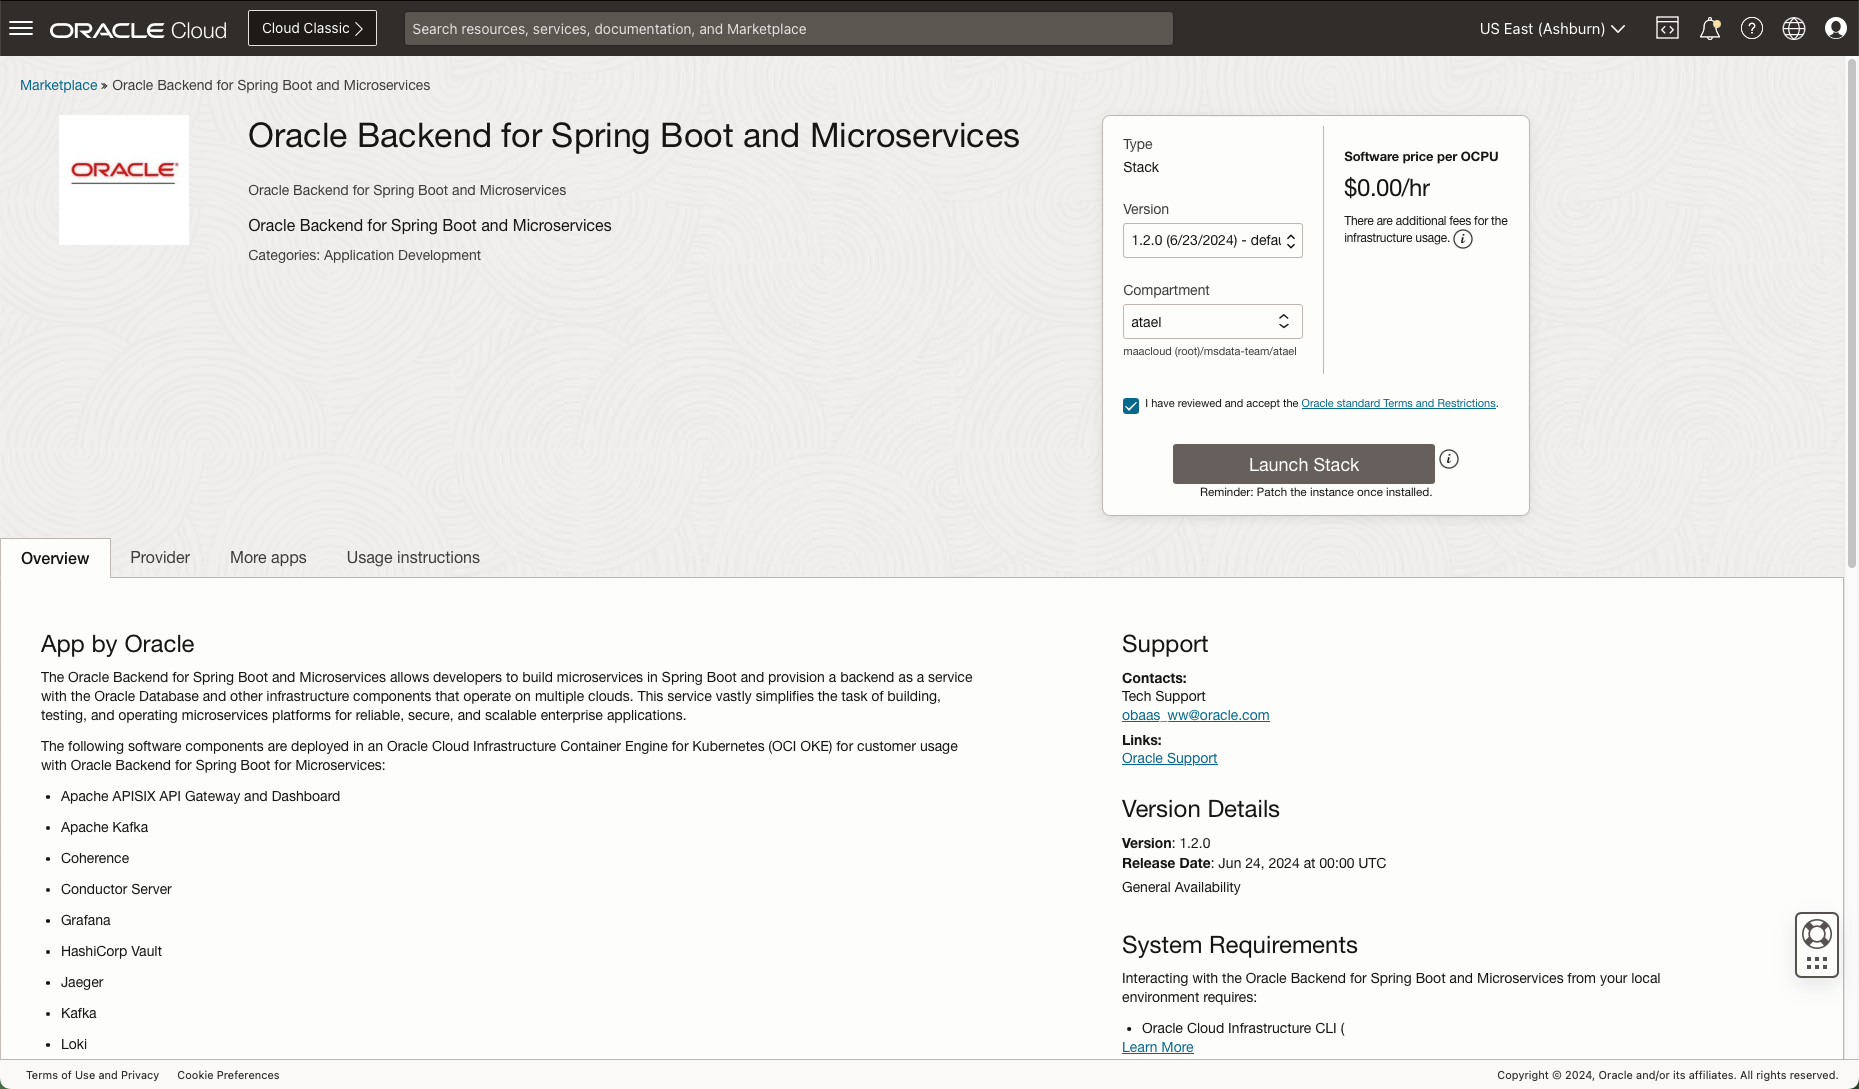
Review the terms and restrictions, and then click on the checkbox to accept them. Then, click on Launch Stack,
Note: This version of CloudBank is tested with version 1.3.0. Earlier versions may not contain all features used and you may see errors.
-
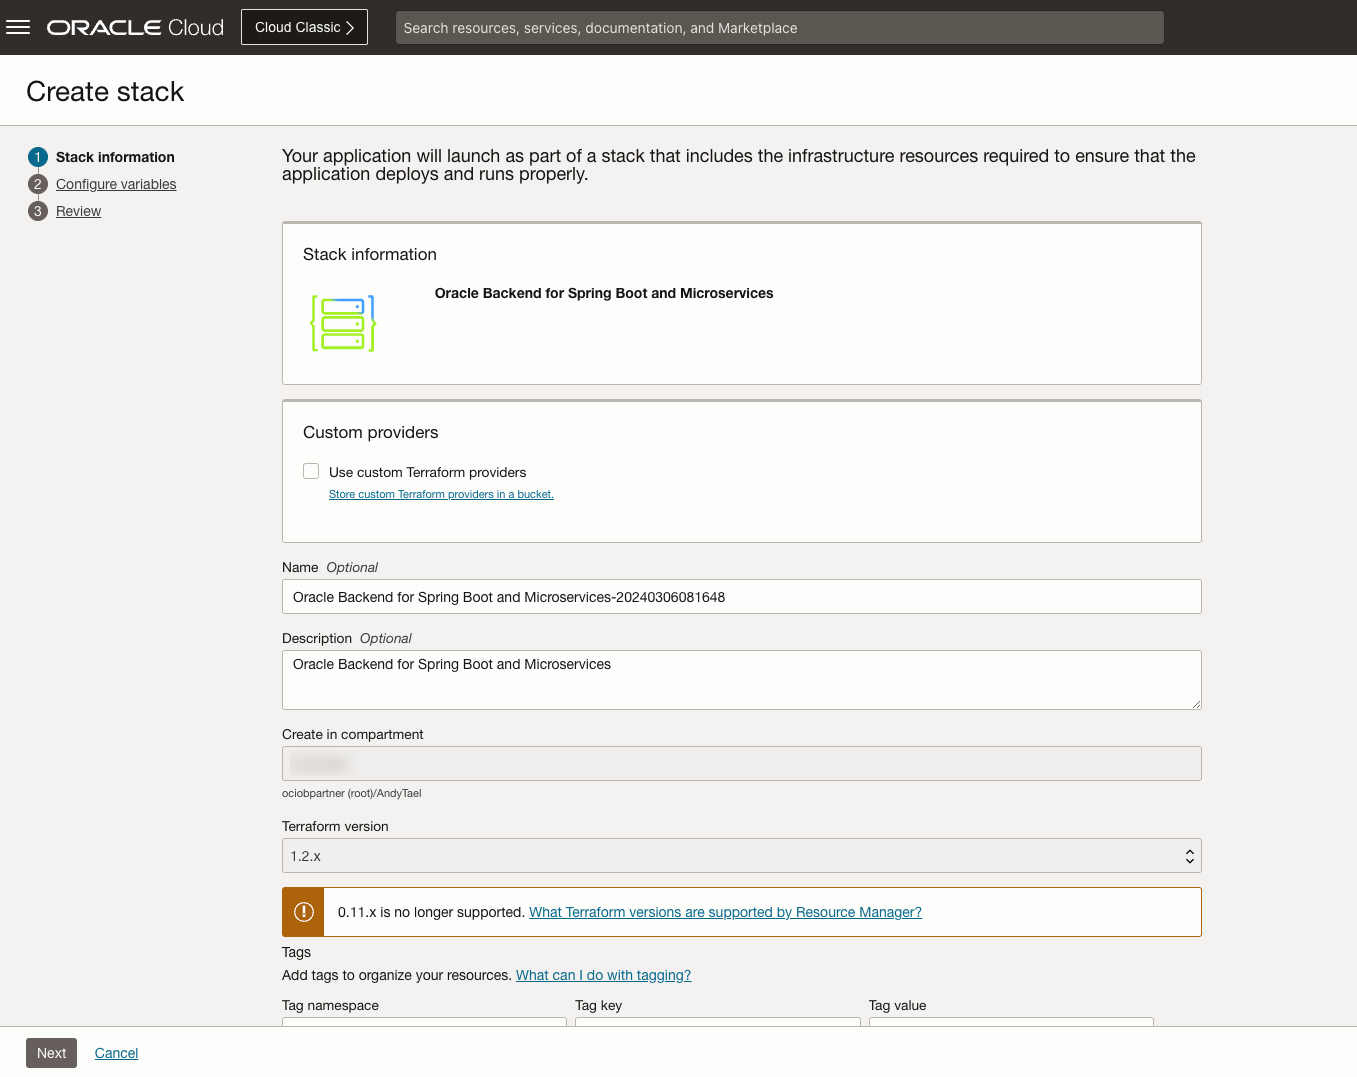
Review the Create Stack page
Review the details on the Create Stack page. You may wish to update the Name or add tags. When you are ready, click on Next.
-
In the Backend as A Service Section, fill in the following configuration variables as needed and select Next:
Compartment: Select the compartment where you want to install Oracle Backend for Microservices and AI.Application Name(optional) : A random pet name that will be used as the application name if left empty.Edition: Select COMMUNITY Edition. Standard edition will give more options for the installation but those are not required or used in this LiveLab.Existing Authorization Token: Leave blank.

-
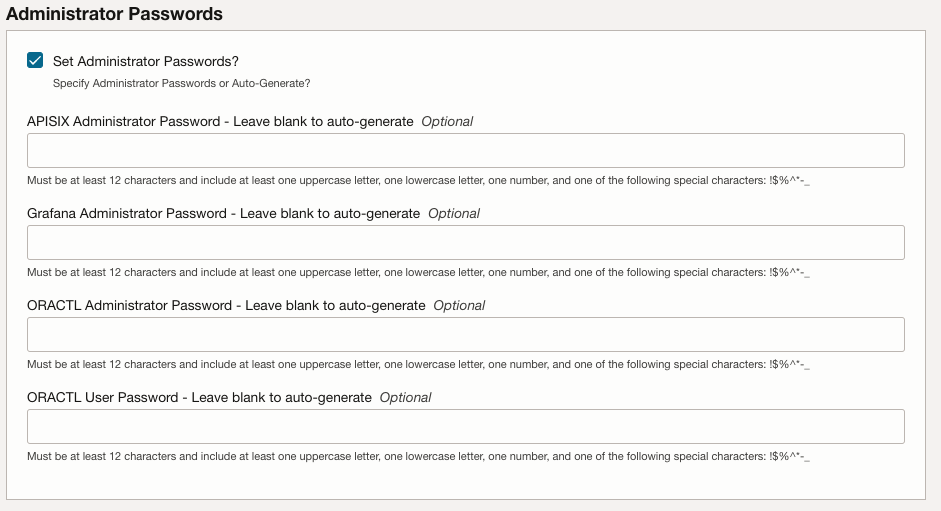
If you check the checkbox Set Administrator Passwords in the Administrator Passwords section you have the option to fill in the following passwords (if not they are autogenerated):
APISIX Administrator Password(optional) : Leave blank to auto-generate.Grafana Administrator Password(optional) : Leave blank to auto-generate.ORACTL Administrator Password(optional) : Leave blank to auto-generate. This is the password for theobaas-adminuser.ORACTL User Password(optional) : Leave blank to auto-generate. This is the password for theobaas-useruser.
-
In the Kubernetes Cluster Options. fill in the following for the OKE Clusters Options:
Public API Endpoint?: For the Live Lba you must check the checkbox Public API EndpointAPI Endpoint AccessControl : Enter the CIDR block you want to give access to the Control Plane API. Leave the default value 0.0.0.0/0.Node Pool Workers: The number of Kubernetes worker nodes (virtual machines) attached to the OKE cluster. Leave the default value of 3.Node Pool WorkerShape : The shape of the node pool workers. Leave the default Shape value.Node Workers OCPU: The initial number of Oracle Compute Units (OCPUs) for the node pool workers. Leave the default value of 2.
NOTE: Oracle recommends that you set
Control Plane Access Controlto be as restrictive as possible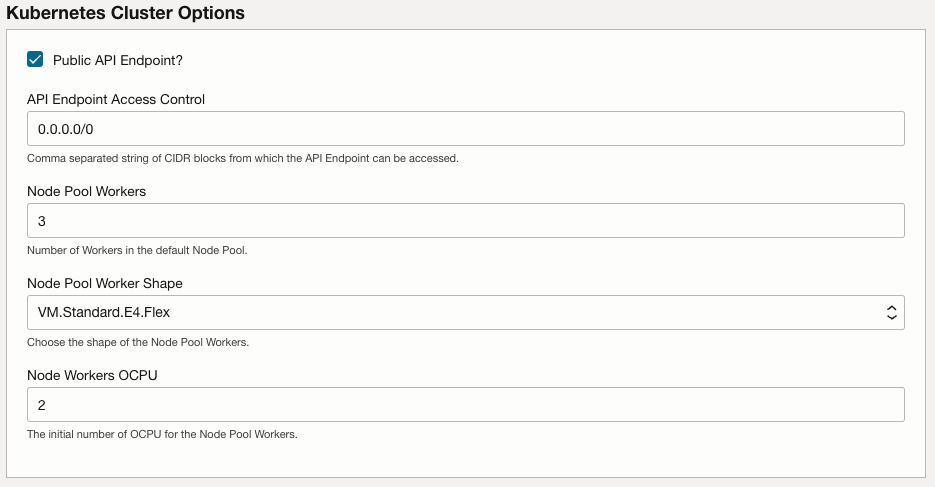
-
In the Load Balancers Options section, leave the default values.
Enable Public Load Balancer: This option allows access to the load balancer from the internet (public IP). If not selected, access can only be from a private VCN.Public Load Balancer Access Control: Enter the CIDR block you want to give access to the Load Balancer. Default (and not recommended) is0.0.0.0/0.Public Load Balancer Ports Exposed: The ports exposed from the load balancer.Minimum bandwidth: The minimum bandwidth that the load balancer can achieve.Maximum bandwidth: The maximum bandwidth that the load balancer can achieve.
NOTE: Oracle recommends that you set
Public Load Balancer Access Controlto be as restrictive as possible.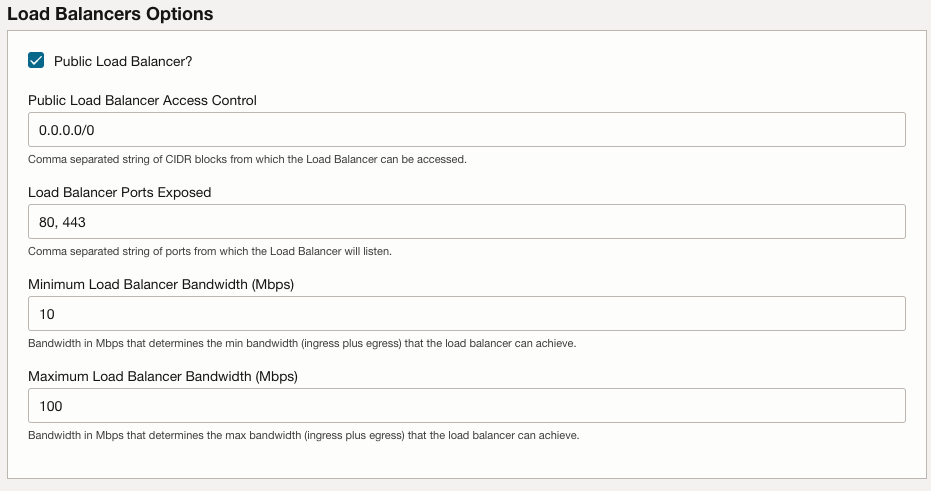
-
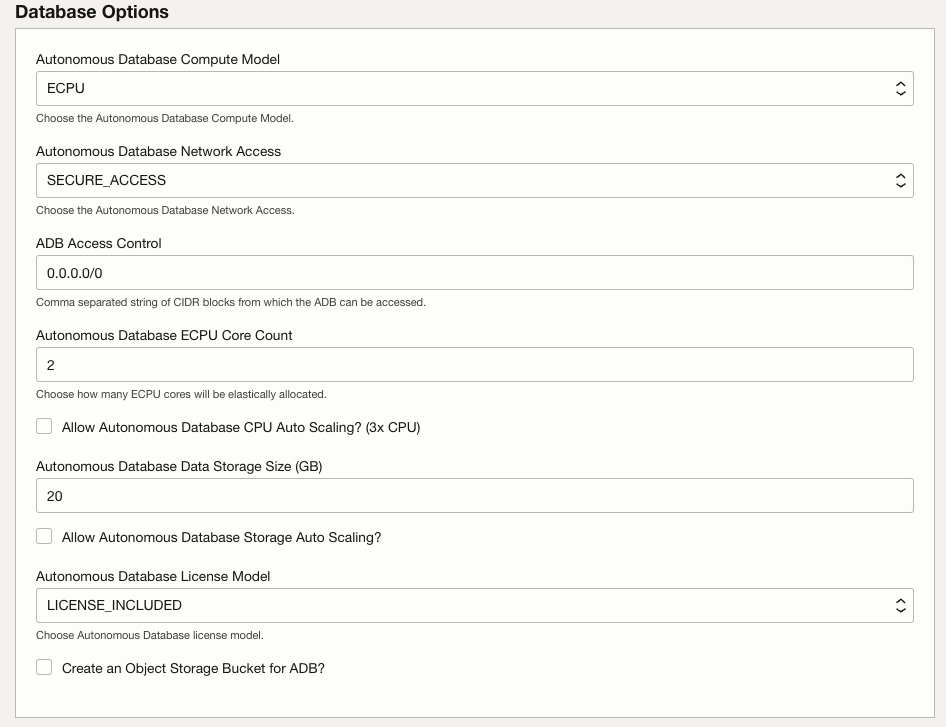
In the Database Options section, leave the default values.
Autonomous Database Compute Model: Choose either ECPU (default) or OCPU compute model for the ADB. Leave the default value of ECPUAutonomous Database Network Access: Choose the Autonomous Database network access. Leave the default value of SECURE_ACCESSADB Access Control: Comma separated list of CIDR blocks from which the ADB can be accessed. This only applies if SECURE_ACCESS was chosen. Leave default value of0.0.0.0/0.Autonomous Database ECPU Core Count: Choose how many ECPU cores will be elastically allocated. Leave default value of 2.Allow Autonomous Database OCPU Auto Scaling: Enable auto-scaling for the ADB ECPU core count (x3 ADB ECPU). Leave the default value of un-checked.Autonomous Database Data Storage Size: Choose ADB Database Data Storage Size in gigabytes. Leave the default value of 20GB.Autonomous Database License Model: The Autonomous Database license model. Leave the default value of LICENSE_INCLUDED.Create an Object Storage Bucket for ADB?: Leave the default value of un-checked.
NOTE: Oracle recommends that you restrict by IP or CIDR addresses to be as restrictive as possible.
-
Click Next to review your choices.
-
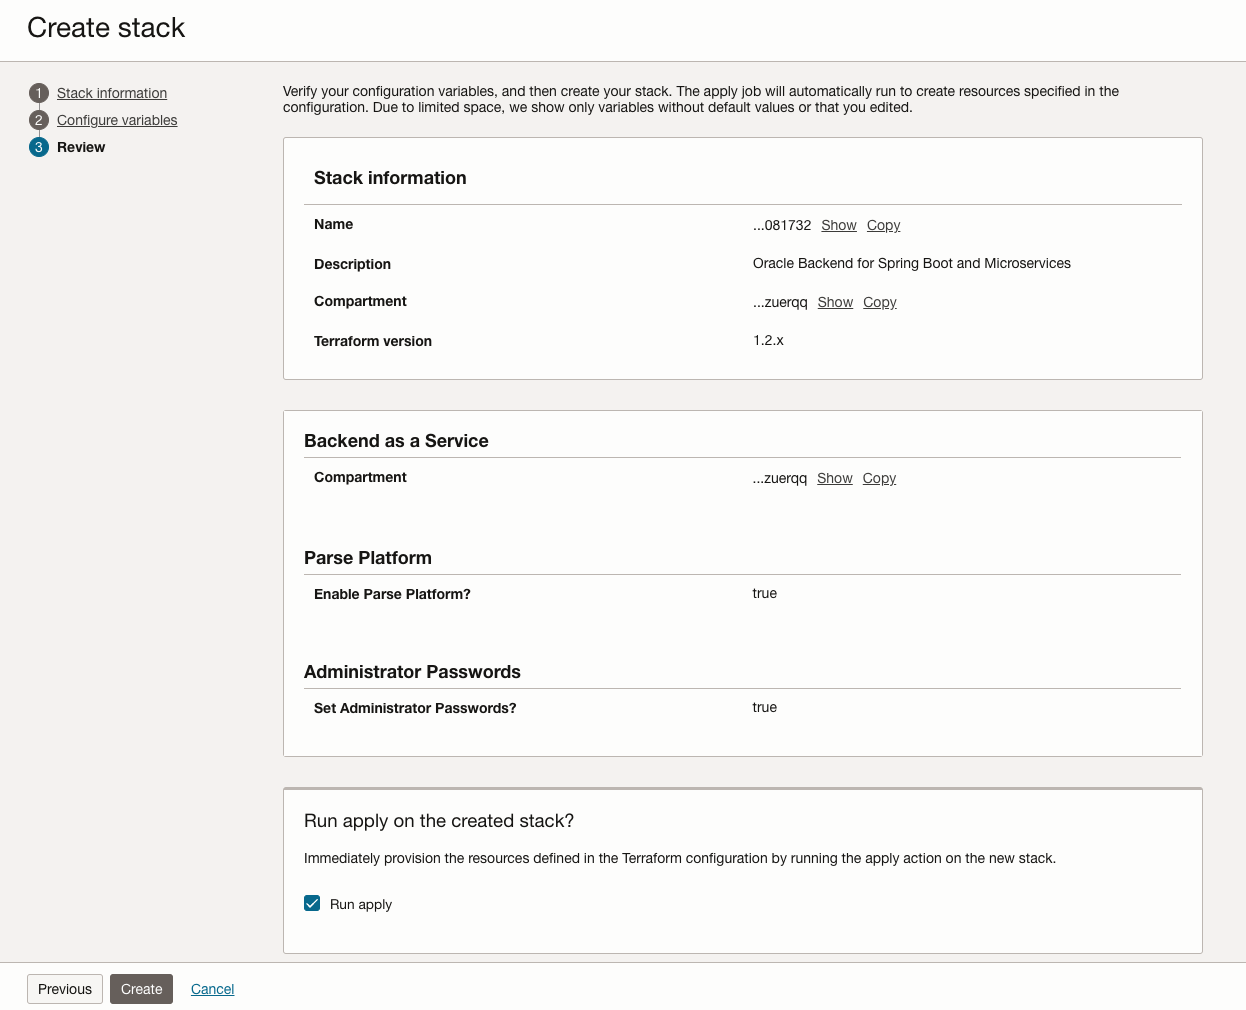
Complete the Review page
Review the details on the Review page. Check the box next to Run Apply. When you are ready, click on Create.
-
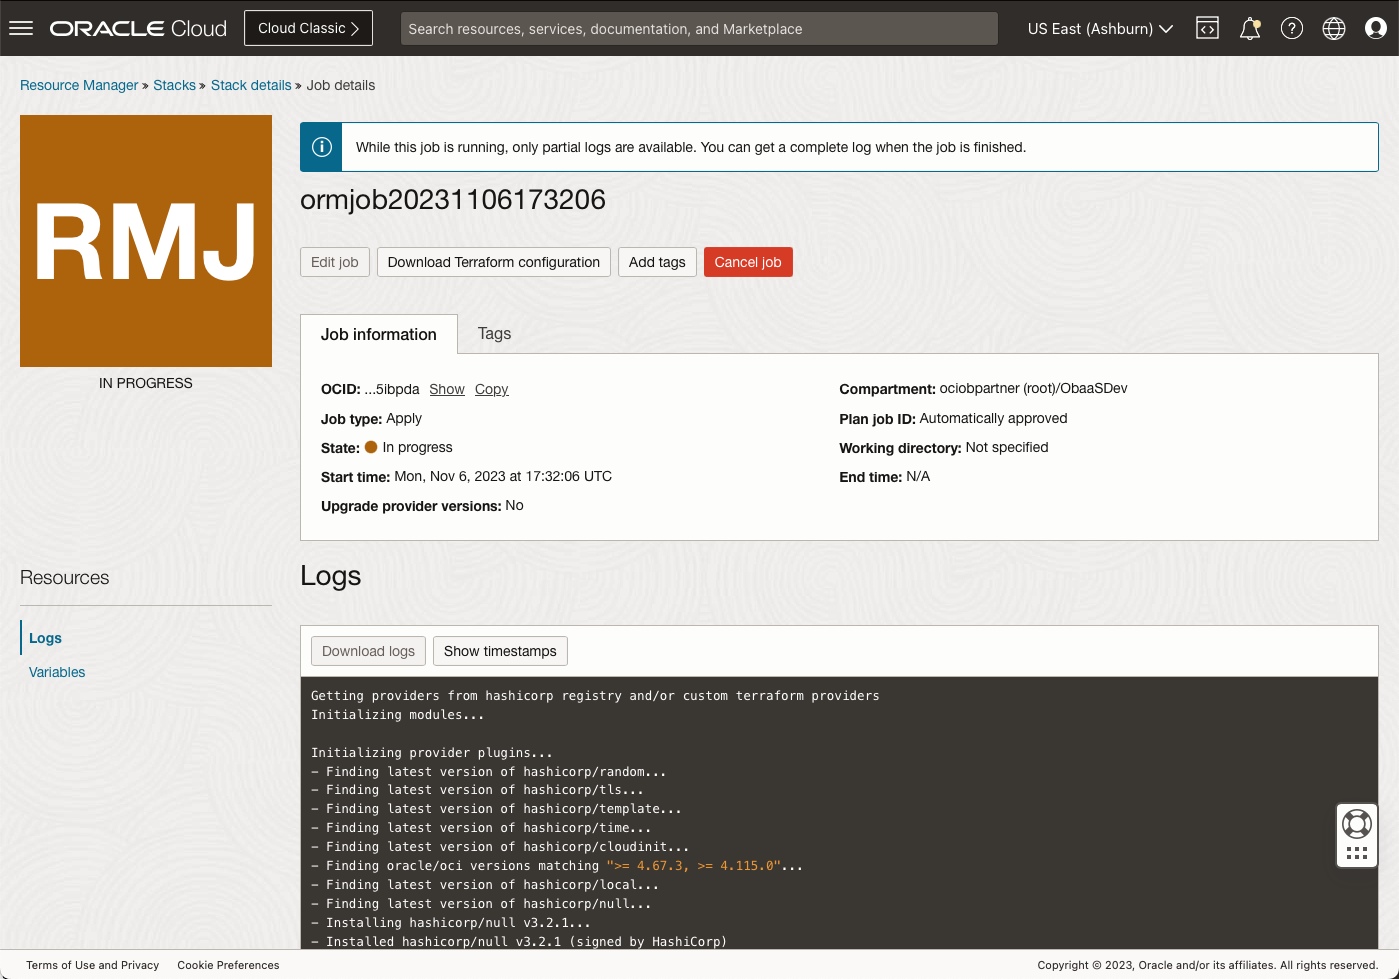
Review the apply screen
The stack will now be applied. On the Apply screen (see below) you can monitor the progress of the installation in the Logs box. The installation should take about 30 minutes to complete. This includes the time needed to create your Oracle Autonomous Database instance, your Oracle Container Engine for Kubernetes cluster and install the various components of the stack into the Kubernetes cluster.
Note: While you are waiting for the installation to complete is a great time to start setting up your development environment (see the next lab). You can come back here where you are done to check the installation completed successfully.
Verify the installation
-
Check the logs for errors
Scroll down to the bottom of the log to see the outcome. If there was an error during installation, details will be included at the end of the log. The most common errors are due to insufficient quota for some resource. If you get an error about insufficient quota, you may need to clean up unused resources or request a quota increase for the affected resource. Once you have done that, navigate back to the stack details (for example, using the breadcrumbs) and click on the Apply to try again.
When the installation completes normally, the end of the log should look something like this:
Apply complete! Resources: 77 added, 0 changed, 0 destroyed.

Outputs:
adb_ip = "Secured Access"
adb_name = "KATYDIDDB"
apisix_admin_password = <sensitive>
grafana_admin_password = <sensitive>
kubeconfig_cmd = "oci ce cluster create-kubeconfig --cluster-id ocid1.cluster.oc1... --region us-ashburn-1 --token-version 2.0.0 --kube-endpoint PUBLIC_ENDPOINT --file $HOME/.kube/config"
oractl_admin_password = <sensitive>
oractl_user_password = <sensitive>
To get the sensitive information you need to click on the Application Information tab, and click on unlock or show to display the values:
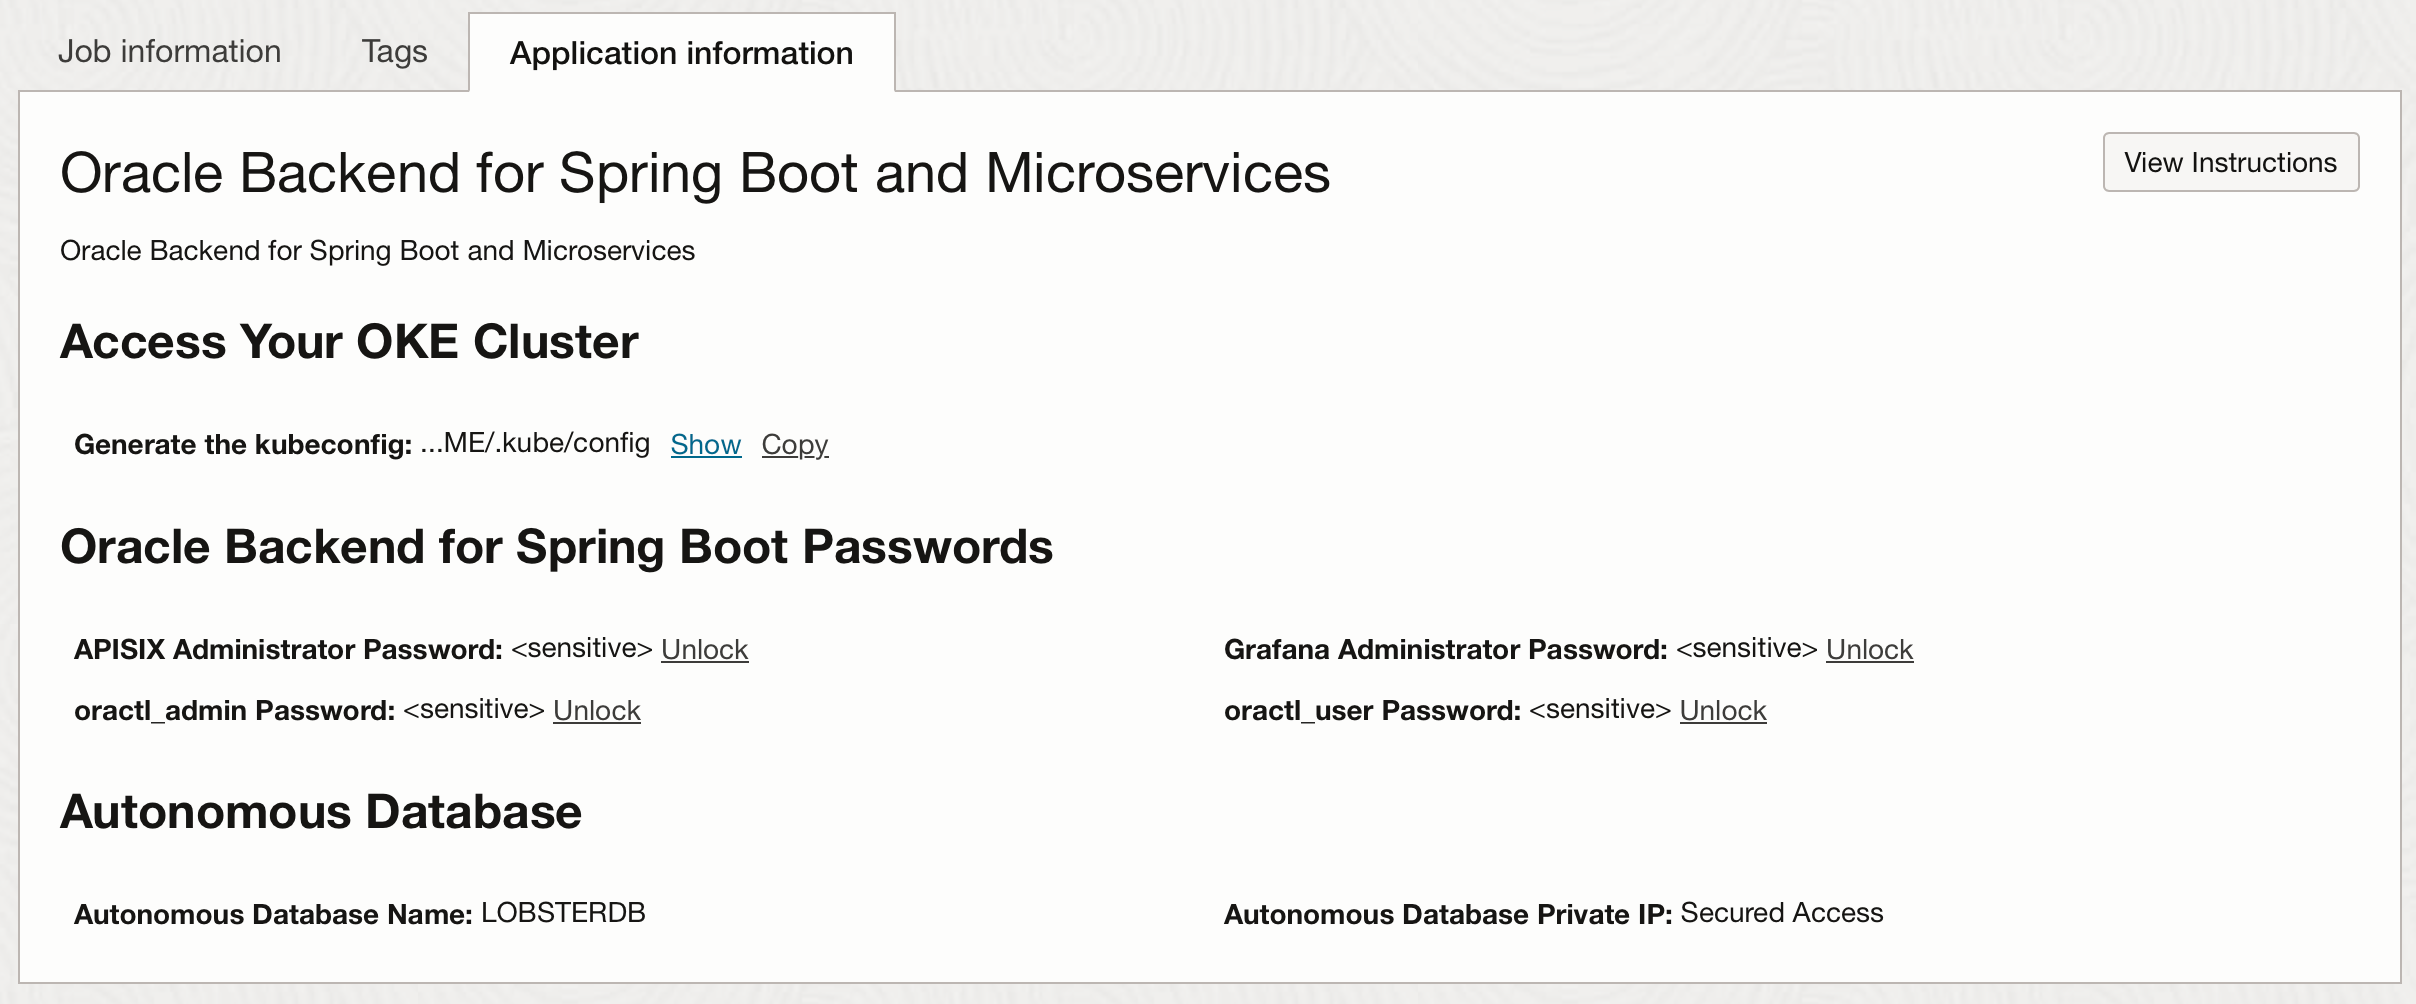
Note: Keep a copy of the values, you will need these in later labs.
-
Verify you can access the Kubernetes cluster
In later labs, you will look at various resources in Kubernetes. You will need a Kubernetes configuration file to access the cluster. For now, accessing the cluster from OCI Cloud Shell will be sufficient to verify the installation.
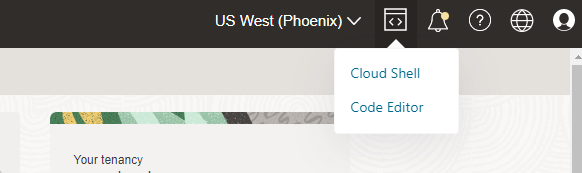
Open the OCI Cloud Shell by clicking on the icon next to the region in the top right corner of the console and then clicking on Cloud Shell.
Run the command provided at the end of your installation log or the information from the Application Information tab,to obtain the Kubernetes configuration file. The command will be similar to this:
oci ce cluster create-kubeconfig --cluster-id ocid1.cluster.oc1.i..... --region us-ashburn-1 --token-version 2.0.0 --kube-endpoint PUBLIC_ENDPOINT --file $HOME/.kube/configCheck that you can access the cluster using this command:
$ kubectl get pods -n obaas-admin
NAME                                READY   STATUS             RESTARTS   AGE
graalvm-compiler-79988b886c-hgw68   1/1     Running            0          10m
obaas-admin-66599b65-vb662          1/1     Running            0          10m
soc-ui-5dbd6f9cb4-kjdj8             0/1     Running            0          10m
Your output will be slightly different, but you should see one pod listed in the output. This is enough to confirm that you have correctly configured access to the Kubernetes cluster.
-
Verify you can connect to the APISIX API Gateway
You will need to provide the correct IP address for the API Gateway in your backend environment. You can find the IP address using this command, you need the one listed in the
EXTERNAL-IPcolumn:$ kubectl -n ingress-nginx get service ingress-nginx-controller NAME TYPE CLUSTER-IP EXTERNAL-IP PORT(S) AGE ingress-nginx-controller LoadBalancer 10.123.10.127 EXTERNAL-IP 80:30389/TCP,443:30458/TCP 13dNow use this command (with your IP address in the column EXTERNAL-IP) to make a request to the API Gateway. You should receive a response with an HTTP Status Code 404 (Not Found) and an error message in JSON format as shown below. Don’t worry about the 404, you will deploy some services soon, but this test is enough to know the API Gateway started up successfully:
$ curl -i http://<EXTERNAL-IP>>
HTTP/1.1 404
Date: Wed, 01 Mar 2023 19:21:08 GMT
Content-Type: application/json
Transfer-Encoding: chunked
Connection: keep-alive
Vary: Origin
Vary: Access-Control-Request-Method
Vary: Access-Control-Request-Headers

{"timestamp":"2023-03-01T19:21:08.031+00:00","status":404,"error":"Not Found","path":"/"}