Database Access
The Oracle Backend for Microservices and AI includes an Oracle Database. An instance of an Oracle Autonomous Database (Shared) is created during installation.
To access the database from a local machine you need to download the wallet and configure SQLcl to use the downloaded wallet.
Download the Wallet
-
Login into the OCI Console. Oracle Cloud
-
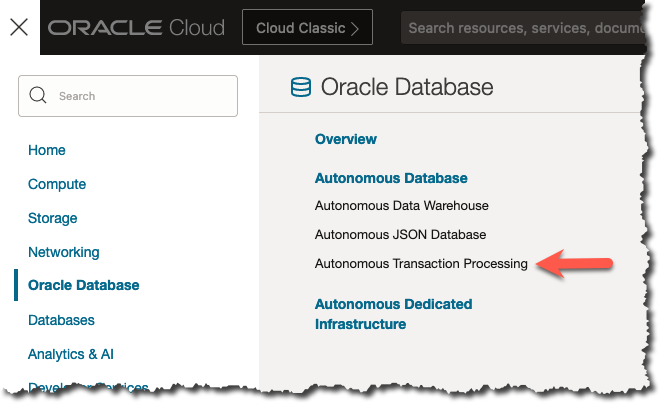
Navigate to Autonomous Transaction Processing.
-
Make sure that you have the right compartment selected and click on the database name. The database name is composed by the application name you gave during install with the suffix of
DB. In the picture below the Application Name isCBANKso the database name isCBANKDB. If you didn’t provide an Application name, the database will name will be a random pet name with the suffixDBin the compartment you deployed application.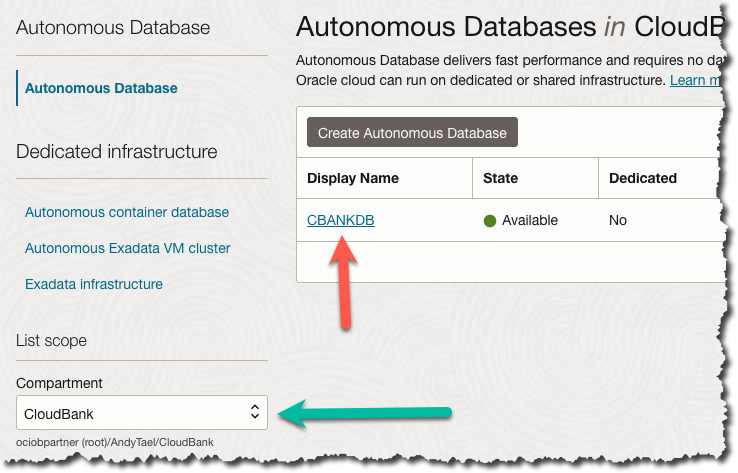
-
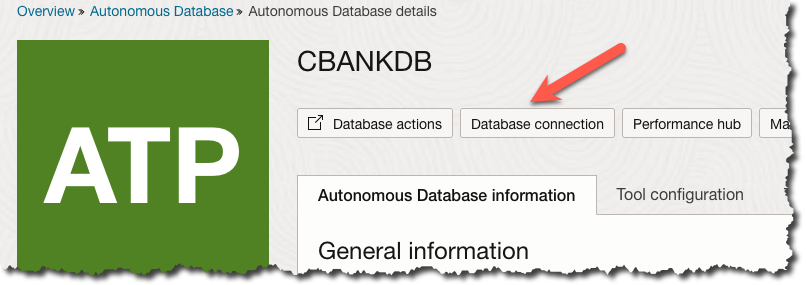
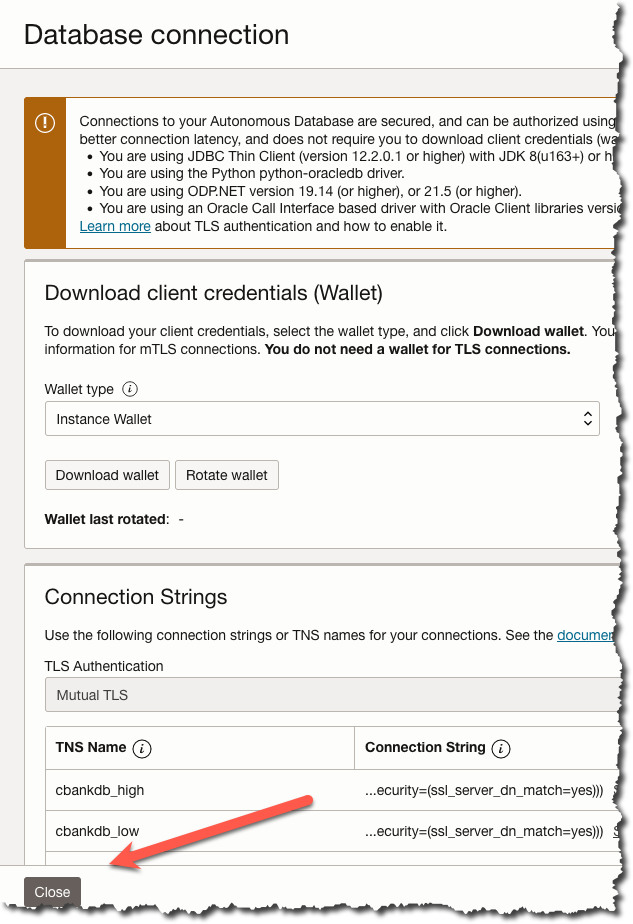
Click Database Connection to retrieve the Wallet.
-
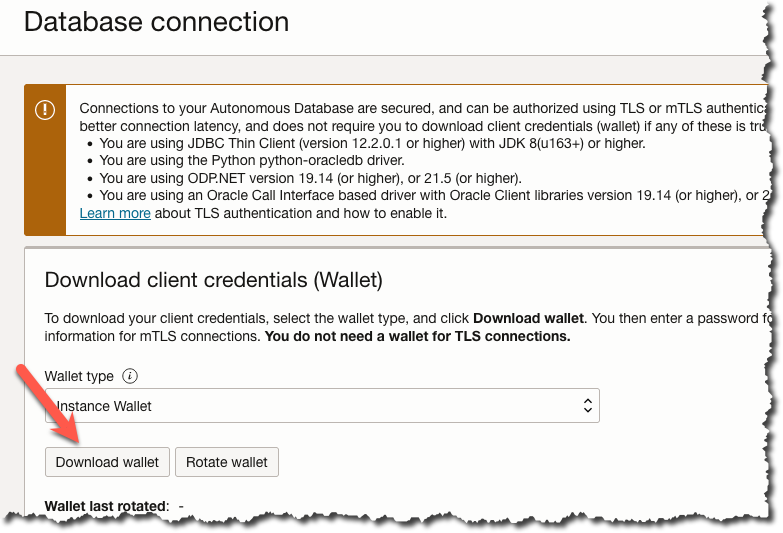
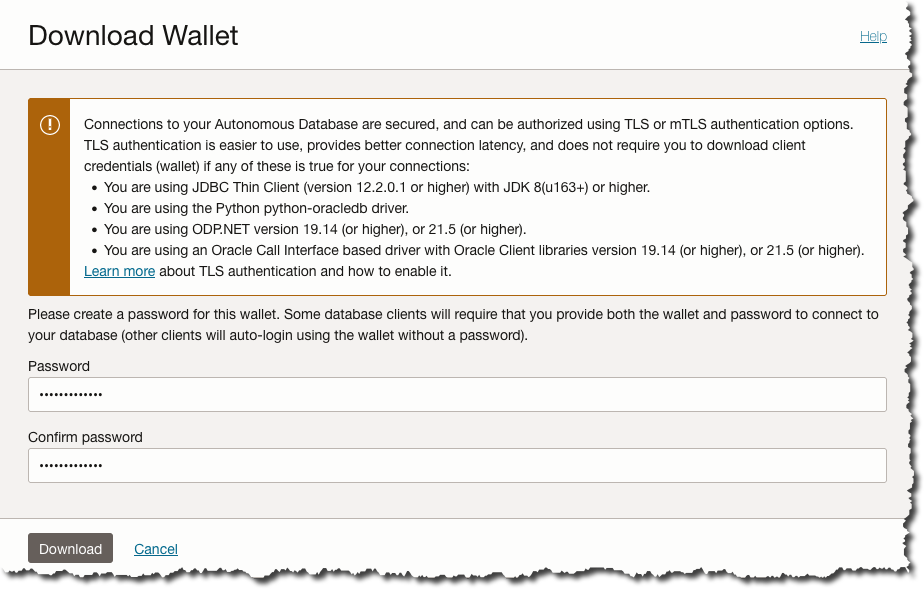
Click Download Wallet to download the Wallet.
-
You will need to provide a password for the Wallet. Make a note of where the wallet is located you’ll be needing it when connection to the Database.
-
Close the Database Connection Dialog Box
Access the Database using SQLcl and the Wallet
-
Obtain the ADMIN password
To get the ADMIN password for the database you need to read a k8s secret. Replace the
cbankdbwith the Database name for you deployment in the command below. The name is composed by the Application Name you gave during deployment with the suffixDB. If you didn’t provide an Application name, the database will name will be a random pet name with the suffixDBin the compartment you deployed application. Get the password using this command:$ kubectl -n application get secret cbankdb-db-secrets -o jsonpath='{.data.db\.password}' | base64 -d -
Start
SQLcland connect to the Database:Start SQLcl using the following command:
$ sql /nolog


SQLcl: Release 22.4 Production on Fri Mar 03 10:33:33 2023

Copyright (c) 1982, 2023, Oracle.  All rights reserved.

SQL>
Run the following command to load the wallet. Make sure you use the right location and name of the wallet
SQL> set cloudconfig /path/to/wallet/wallet_name.zipDisplay the TNS Entries by executing the following command. The TNS Entries will be different for your deployment.
SQL> show tns
CLOUD CONFIG set to: /path/to/wallet/wallet_name.zip

TNS Lookup Locations
--------------------

TNS Locations Used
------------------
1. /path/to/wallet/wallet_name.zip
2.  /Users/atael

Available TNS Entries
---------------------
CBANKDB_HIGH
CBANKDB_LOW
CBANKDB_MEDIUM
CBANKDB_TP
CBANKDB_TPURGENT
SQL>
Connect to the Database using this command. Replace the
ADMIN-PASSWORDwith the password obtained from the k8s secret and replaceTNS-ENTRYwith your database name followed by_TP. In this example it would beCBANKDB_TPSQL> connect ADMIN/ADMIN-PASSWORD@TNS-ENTRY Connected.You can now close the connection or leave it open as you are going to need it in later Labs.