Create APISIX routes
To be able to access the CLoudBank services from the public internet we need expose the services via the Apache APISIX gateway. We’re going to do that using scripts.
-
Get APISIX Gateway Admin Key
You are going to need the Admin Key for the APISIX Gateway to configure the route. It is stored in a k8s ConfigMap. Run the command and make a note of the admin key.
kubectl -n apisix get configmap apisix -o yamlLook for the
key:information in theadmin_keysection and save it. You’ll be needing it later in this module.admin_key: # admin: can everything for configuration data - name: "admin" key: edd1c9f03........... role: admin -
Create tunnel to APISIX
kubectl port-forward -n apisix svc/apisix-admin 9180 -
Create the routes
In the
rootdirectory run the following command. NOTE, you must add your API-KEY to the command:(cd apisix-routes; source ./create-all-routes.sh <YOUR-API-KEY>)The script will create the following routes:
CloudBank Service URI ACCOUNT /api/v1/account* CREDITSCORE /api/v1/creditscore* CUSTOMER /api/v1/customer* TESTRUNNER /api/v1/testrunner* TRANSFER /transfer* -
Verify the routes in the APISIX Dashboard
-
Get the password for the APISIX dashboard.
Retrieve the password for the APISIX dashboard using this command:
kubectl get secret apisix-dashboard -n apisix -o jsonpath='{.data.conf\.yaml}' | base64 --decode -
Start the tunnel in a new terminal window using this command.
$ kubectl -n apisix port-forward svc/apisix-dashboard 7070:80
Forwarding from 127.0.0.1:7070 -> 9000
Forwarding from [::1]:7070 -> 9000
Open a web browser to http://localhost:7070 to view the APISIX Dashboard web user interface. It will appear similar to the image below.
If prompted to login, login with username
adminand the password you got from the k8s secret earlier. Note that Oracle strongly recommends that you change the password, even though this interface is not accessible outside the cluster without a tunnel.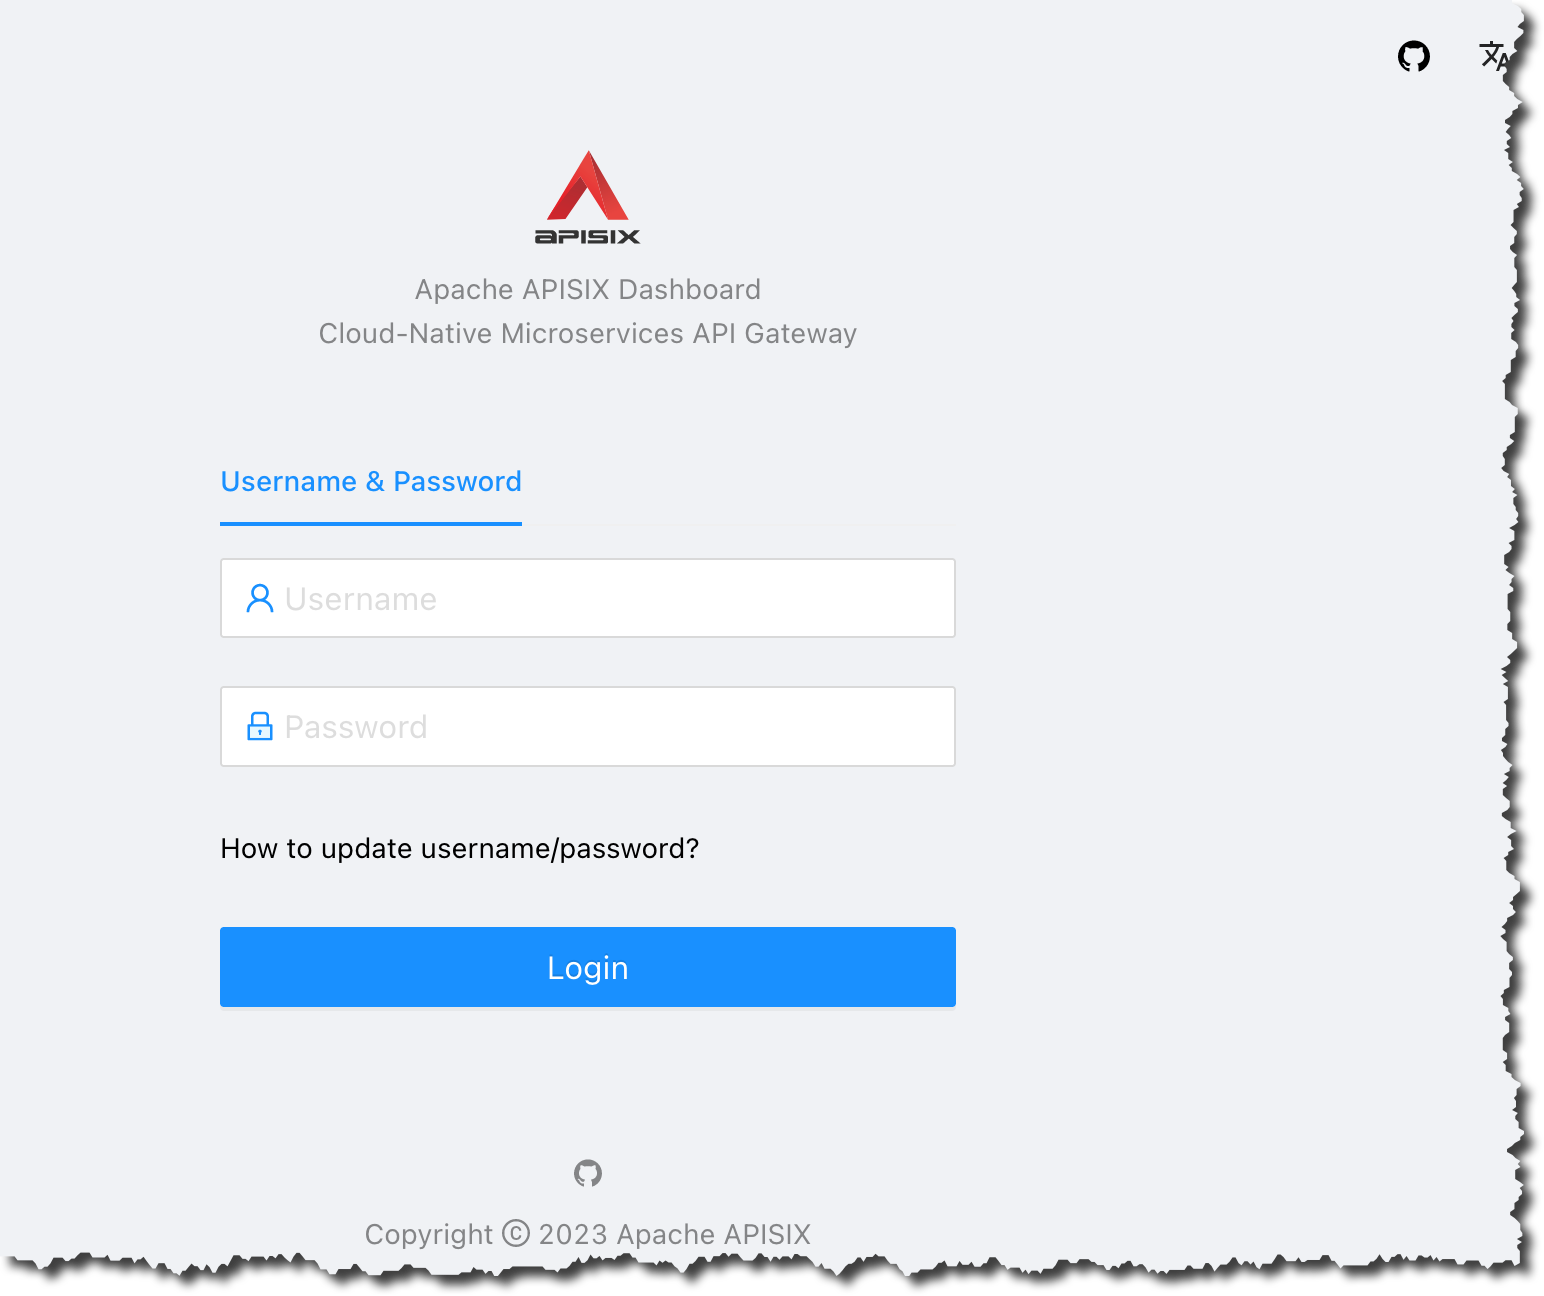
Click the routes menu item to see the routes you created in step three.
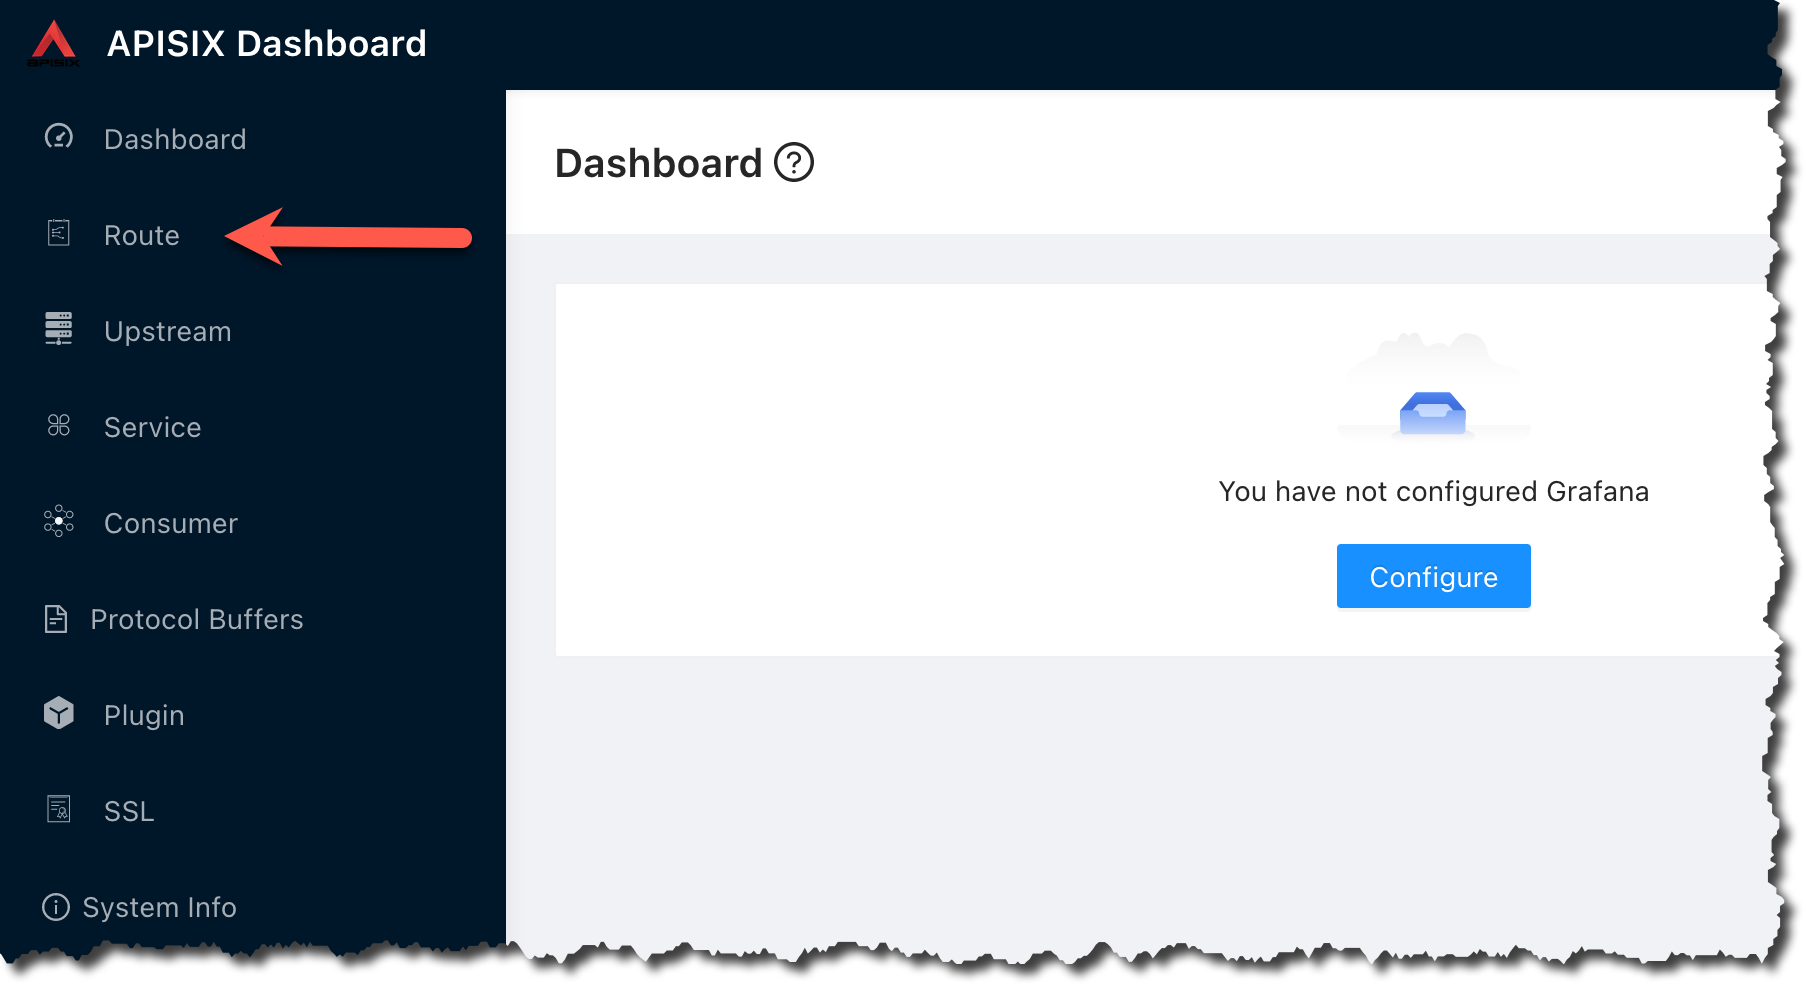
Verify that you have three routes created

-