Using the VS Code plugin
-
If you have done the optional Task 11 of Lab. 2, you could proceed doing the activities from Task 3 to Task 5 using Oracle Backend for Microservices and AI VS Code plugin. If you don’t see the plugin in the left bar, with the Oracle logo, as shown here:
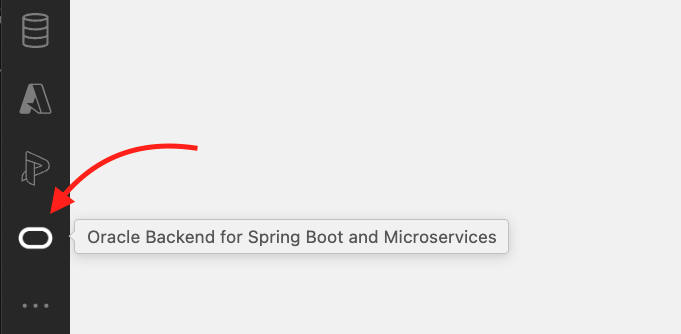
click on Additional Views menu to select the Oracle Backend fo Spring Boot and Microservices.
The Oracle Backend fo Spring Boot and Microservices VS Code plugin will ask to specify the Kubernetes config file full path as shown here:

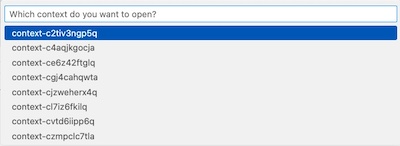
By default, it’s shown the path in the user’s Home directory .kube/config in which normally kubectl stores all the information regarding the K8S clusters configured. You could set the full path of another Kubernetes config file. If the file is correctly loaded, the plugin will show the list of contexts available in which select one:
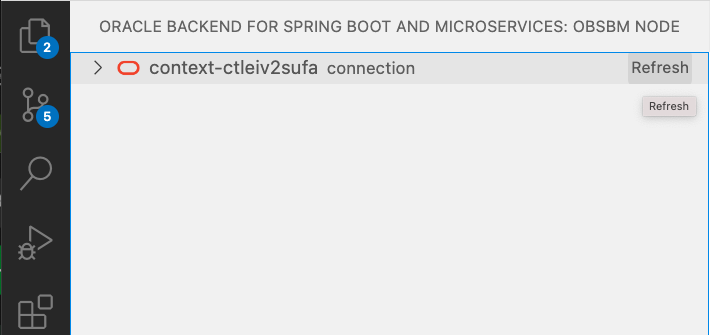
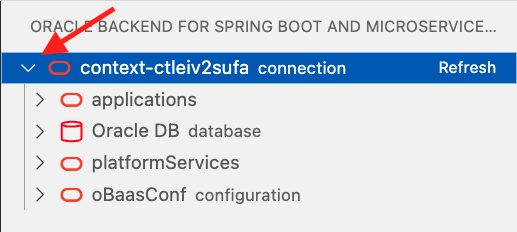
In positive case, you should see a tree view with one node and the context chosen:
If the file path it hasn’t been correctly set, it will show an error message:

To restart the plugin and proceed again in Kubernetes config file setting, in command palette execute a Reload Window command:

-
How to access to cluster
Until you create a dedicated ssh tunnel to the Kubernetes cluster, and you don’t connect to Oracle Backend for Microservices and AI admin services, you will not be able to browse resources included into the Oracle Backend for Microservices and AI deployment. To do this, follow these steps:
-
Obtain the
obaas-adminpassword by executing the following command in a terminal window to get theobaas-adminpassword:kubectl get secret -n azn-server oractl-passwords -o jsonpath='{.data.admin}' | base64 -d -
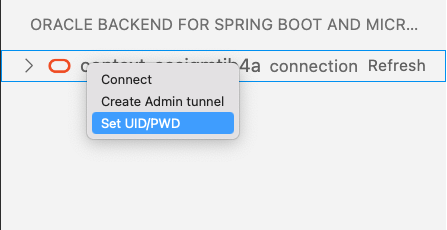
Right-click on the cluster name and select Set UID/PWD:
-
Enter the username obaas-admin for the Oracle Backend for Microservices and AI.

-
Followed by the password you obtained in an earlier step:

-
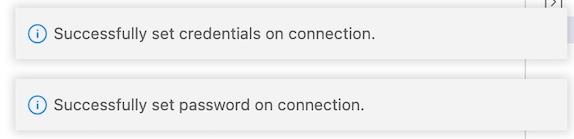
Two message boxes will confirm credentials have been set correctly:
WARNING: if you don’t execute this steps and try to expand the kubernetes context, you will receive a message:

-
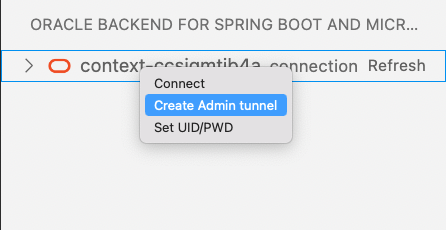
Select again the cluster and click the right mouse button and choose Create Admin tunnel menu item.
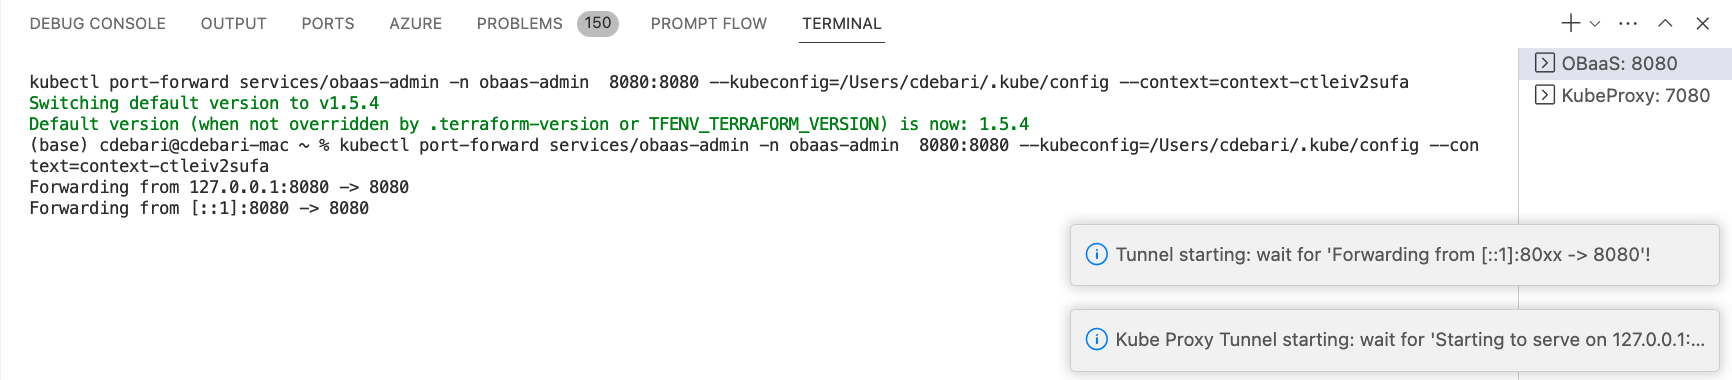
VS Code will open a new terminal that will try to open a tunnel to the Kubernetes cluster on a local port, starting from 8081:
-
Before proceed to connection, please wait until the tunnel is established and the terminal shows a message like this:

NOTE: if the K8s cluster it’s not related to an Oracle Backend for Microservices and AI deployment, the tunnel creation will fail. In this case in command palette execute a window reload too chose another cluster. If you have any problem in connection, you could start another tunnel: the plugin will try on another local port to connect to the cluster.
-
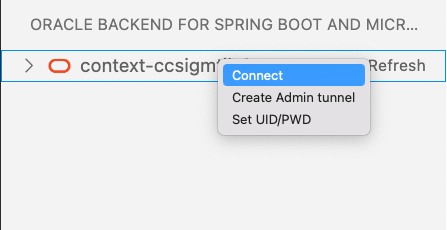
Again select the cluster and by clicking the right mouse button choose Connect menu item. This will create a session with credentials set at the first step.
-
-
Explore resources
As soon as completed the steps to create tunnel, and you get connected to the backend, it’s possible to expand or refresh the tree related to the deployment.
You’ll see four top classes of resources that can be exploded in underlying items:
- applications: the list of applications deployed and the services holding
- Oracle DB: in this release we have one Database in which are stored configuration and schema related to services deployed
- platformServices: the list of Oracle Backend for Microservices and AI deployed services, like Grafana, Spring, Apisix, Eureka and Jaeger.
- oBaasConf: the list of keys defined by application, stored in the ADB provisioned and available to share configuration information among services in each application.
Let’s go to show the operations you can do on each item of browse tree.
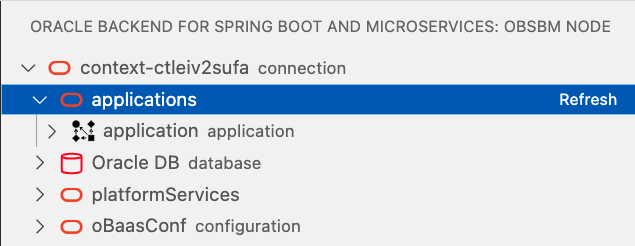
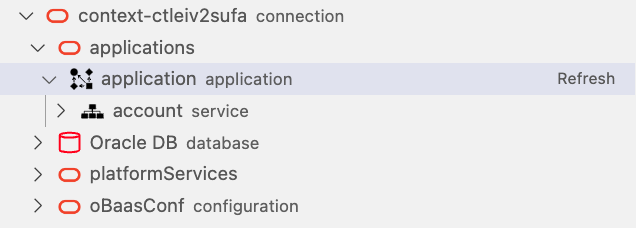
Open the list clicking on the arrow at the left of applications, and then expand the application about you want to know which services includes:
it should be empty. If not, proceed to delete the full application and re-create it through the plug-in:
-
First, select the default application and with right-click on mouse, select Delete application:
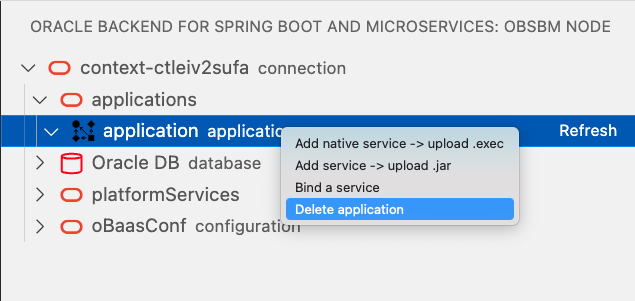
-
Wait a moment and refresh the content of applications leaf. When empty, select applications and with right-click on mouse, select Add application:

-
Fill in the command palette the (application name) with application:

-
The four Spring Boot microservices deployment
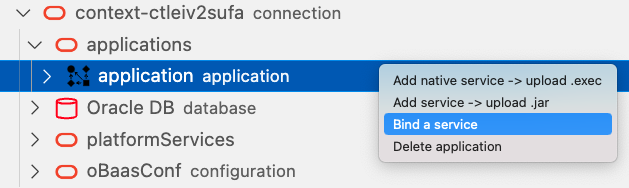
First it must be bind the service if the case. For account service you have to:
-
Select applications leaf and with right click select Bind a service item menu:
-
and the input following values:
- Service Name: account
- DB User (optional):
- DB User Password: Welcome1234##
- Spring Binding Prefix (optional): spring.datasource
- Update: False
-
you’ll get the message:

Repeat the same for:
-
checks service you have to:
- Service Name: checks
- DB User (optional): account
- DB User Password: Welcome1234##
- Spring Binding Prefix (optional): spring.datasource
- Update: False
-
customer service you have to:
- Service Name: customer
- DB User (optional):
- DB User Password: Welcome1234##
- Spring Binding Prefix (optional): spring.datasource
- Update: False
-
testrunner service you have to:
- Service Name: testrunner
- DB User (optional): account
- DB User Password: Welcome1234##
- Spring Binding Prefix (optional): spring.datasource
- Update: False
-
Ensure to get the message like this for all previous binding:
Let’s start with the first service deployment:
-
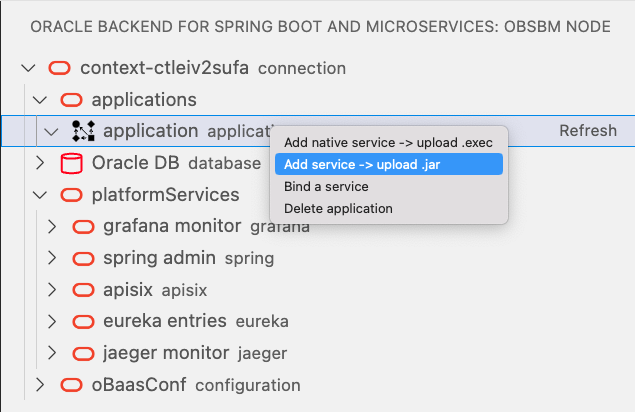
Select application under applications and Right-click on mouse to select Add service -> upload .jar:
-
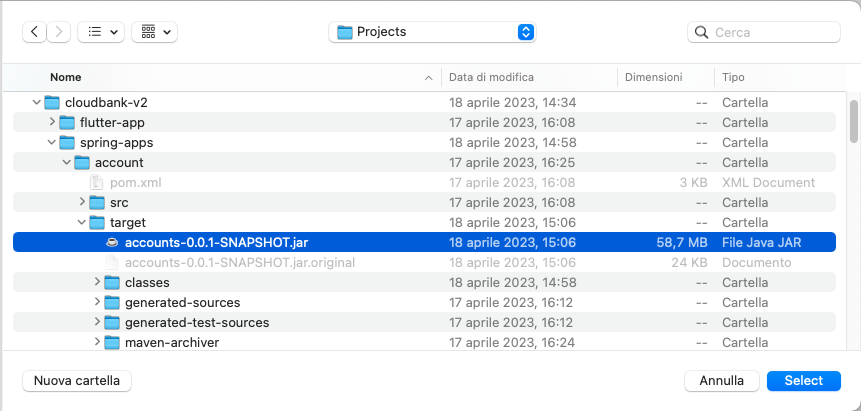
Look for the accounts-0.0.1-SNAPSHOT.jar file built previously:
-
In the command palette will be asked all the parameters needed to upload the services:
-
Service Name :
account -
Bind [jms] : ``
-
Image Version:
0.0.1 -
Java Image:
ghcr.io/oracle/graalvm-native-image-obaas:21 -
Add Health probe?: False
-
Service Port: leave default
8080 -
Service Profile: leave default
obaas -
Initial Replicas : 1
-
Inform the database name for Liquibase:
admin -
You will see messages that confirm the deployment is started:
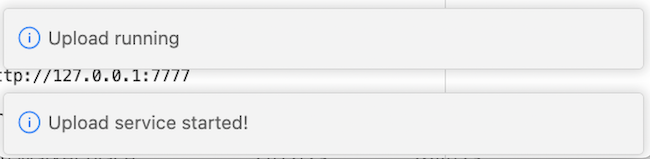
-
Finally, you’ll receive the message “Service deployed successfully”:
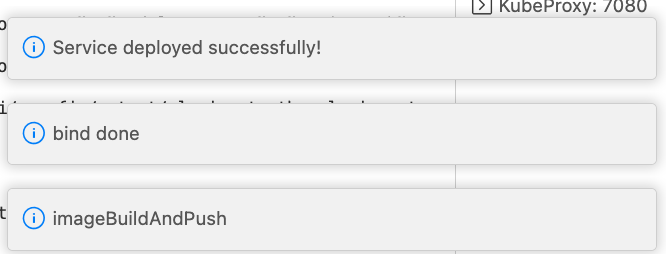
-
Refreshing the application leaf, you should see now:
Repeat the same for:
-
checks service deployment:
- Look for the checks-0.0.1-SNAPSHOT.jar file built previously
- Service Name :
checks - Bind [jms] : ``
- Image Version:
0.0.1 - Java Image: ghcr.io/oracle/graalvm-native-image-obaas:21`
- Add Health probe?: False
- Service Port: leave default
8080 - Service Profile: leave default
obaas - Initial Replicas : 1
- Inform the database name for Liquibase:
admin
-
customer service deployment:
- Look for the customer-0.0.1-SNAPSHOT.jar file built previously
- Service Name :
customer - Bind [jms] : ``
- Image Version:
0.0.1 - Java Image:
ghcr.io/oracle/graalvm-native-image-obaas:21 - Add Health probe?: False
- Service Port: leave default
8080 - Service Profile: leave default
obaas - Initial Replicas : 1
- Inform the database name for Liquibase:
admin
-
creditscore service deployment:
- Look for the creditscore-0.0.1-SNAPSHOT.jar file built previously
- Service Name :
creditscore - Bind [jms] : ``
- Image Version:
0.0.1 - Java Image:
ghcr.io/oracle/graalvm-native-image-obaas:21 - Add Health probe?: False
- Service Port: leave default
8080 - Service Profile: leave default
obaas - Initial Replicas : 1
- Inform the database name for Liquibase: ``
-
testrunner service deployment:
- Look for the testrunner-0.0.1-SNAPSHOT.jar file built previously
- Service Name :
testrunner - Bind [jms] : ``
- Image Version:
0.0.1 - Java Image:
ghcr.io/oracle/graalvm-native-image-obaas:21 - Add Health probe?: False
- Service Port: leave default
8080 - Service Profile: leave default
obaas - Initial Replicas : 1
- Inform the database name for Liquibase: ``
-
transfer service deployment:
- Look for the transfer-0.0.1-SNAPSHOT.jar file built previously
- Service Name :
transfer - Bind [jms] : ``
- Image Version:
0.0.1 - Java Image:
ghcr.io/oracle/graalvm-native-image-obaas:21 - Add Health probe?: False
- Service Port: leave default
8080 - Service Profile: leave default
obaas - Initial Replicas : 1
- Inform the database name for Liquibase: ``
Be sure to receive for all the deployments a message that confirms the deployment is started and finally “Service deployed successfully”.
Now we have the three services up & running as you should see from VS Code plug-in:
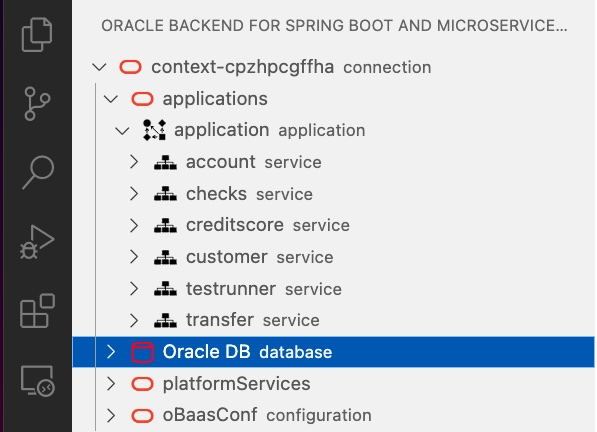
-
-
Verify that the services are running properly by executing this command:
$ <copy>kubectl get all -n application</copy>The output should be similar to this, all applications must have
STATUSasRunning(base) cdebari@cdebari-mac ~ % kubectl get all -n application NAME READY STATUS RESTARTS AGE pod/account-777c6b57dc-mgnq9 1/1 Running 0 17m pod/checks-65cf5f77f9-nfqt4 1/1 Running 0 15m pod/creditscore-648fd868ff-twjsl 1/1 Running 0 9m43s pod/customer-5dc57bc575-2n6mf 1/1 Running 0 13m pod/testrunner-7df6f8f4c5-6t6gf 1/1 Running 0 8m50s pod/transfer-59d9c55df5-llppn 1/1 Running 0 7m57s NAME TYPE CLUSTER-IP EXTERNAL-IP PORT(S) AGE service/account ClusterIP 10.96.140.242 <none> 8080/TCP 17m service/checks ClusterIP 10.96.61.226 <none> 8080/TCP 15m service/creditscore ClusterIP 10.96.97.155 <none> 8080/TCP 9m44s service/customer ClusterIP 10.96.118.193 <none> 8080/TCP 13m service/testrunner ClusterIP 10.96.235.62 <none> 8080/TCP 8m51s service/transfer ClusterIP 10.96.98.16 <none> 8080/TCP 7m58s NAME READY UP-TO-DATE AVAILABLE AGE deployment.apps/account 1/1 1 1 17m deployment.apps/checks 1/1 1 1 15m deployment.apps/creditscore 1/1 1 1 9m44s deployment.apps/customer 1/1 1 1 13m deployment.apps/testrunner 1/1 1 1 8m51s deployment.apps/transfer 1/1 1 1 7m58s NAME DESIRED CURRENT READY AGE replicaset.apps/account-777c6b57dc 1 1 1 17m replicaset.apps/checks-65cf5f77f9 1 1 1 15m replicaset.apps/creditscore-648fd868ff 1 1 1 9m44s replicaset.apps/customer-5dc57bc575 1 1 1 13m replicaset.apps/testrunner-7df6f8f4c5 1 1 1 8m51s replicaset.apps/transfer-59d9c55df5 1 1 1 7m58s -
Expose the services using APISIX Gateway
Execute the same actions as described in Lab. 5, Task 5 except for the step 4., that it could be executed in the following alternative way, accessing comfortably to the APISIX admin console straight from VS Code.
-
Select under platformServices the leaf apisix and, with a right-click on mouse, select Open Apisix console:
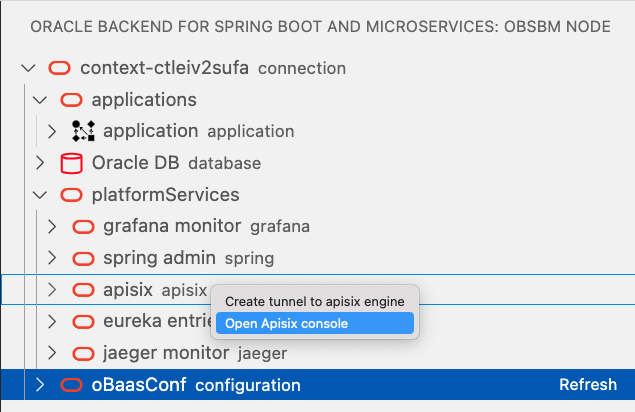
-
It will open a terminal window in which it will be started a tunneling to that service, that will end opening a message box with a button you can click to open the APISIX admin console in a new browser:
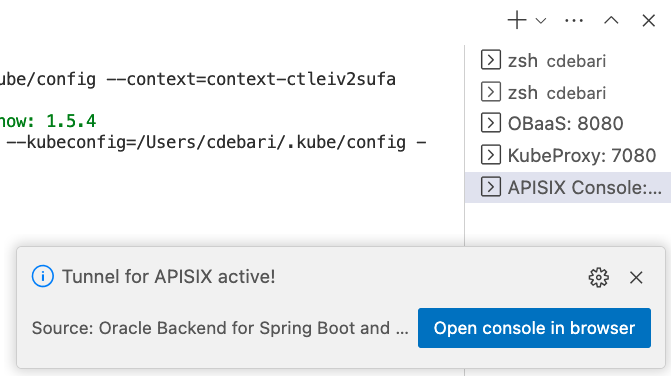
-