![]()
Building Multi-Cloud Apps
Developing an ASP.NET App for ADB (on Azure VM)
Introduction
Interest in using Oracle Autonomous Database (ADB) is high. In fact, many developers ask how to connect their App Tier on Azure to ADB. Let’s first build a basic ASP.NET Web application in Visual Studio that connects to ADB. You will be using Visual Studio 2017, but steps in other Visual Studio versions should be similar. You will use managed ODP.NET for data access between the application and database, but ODP.NET Core should work as well with these instructions.
Let’s get started.
Steps
STEP 1: Install Visual Studio
-
Download free Visual Studio Community 2019 edition from here on your Azure VM (in case you have the issue with downloading the software, please follow this document to change the settings in IE).
-
Run the installation of Visual Studio and select ASP.NET and web development and Azure development as the workloads and click Install.
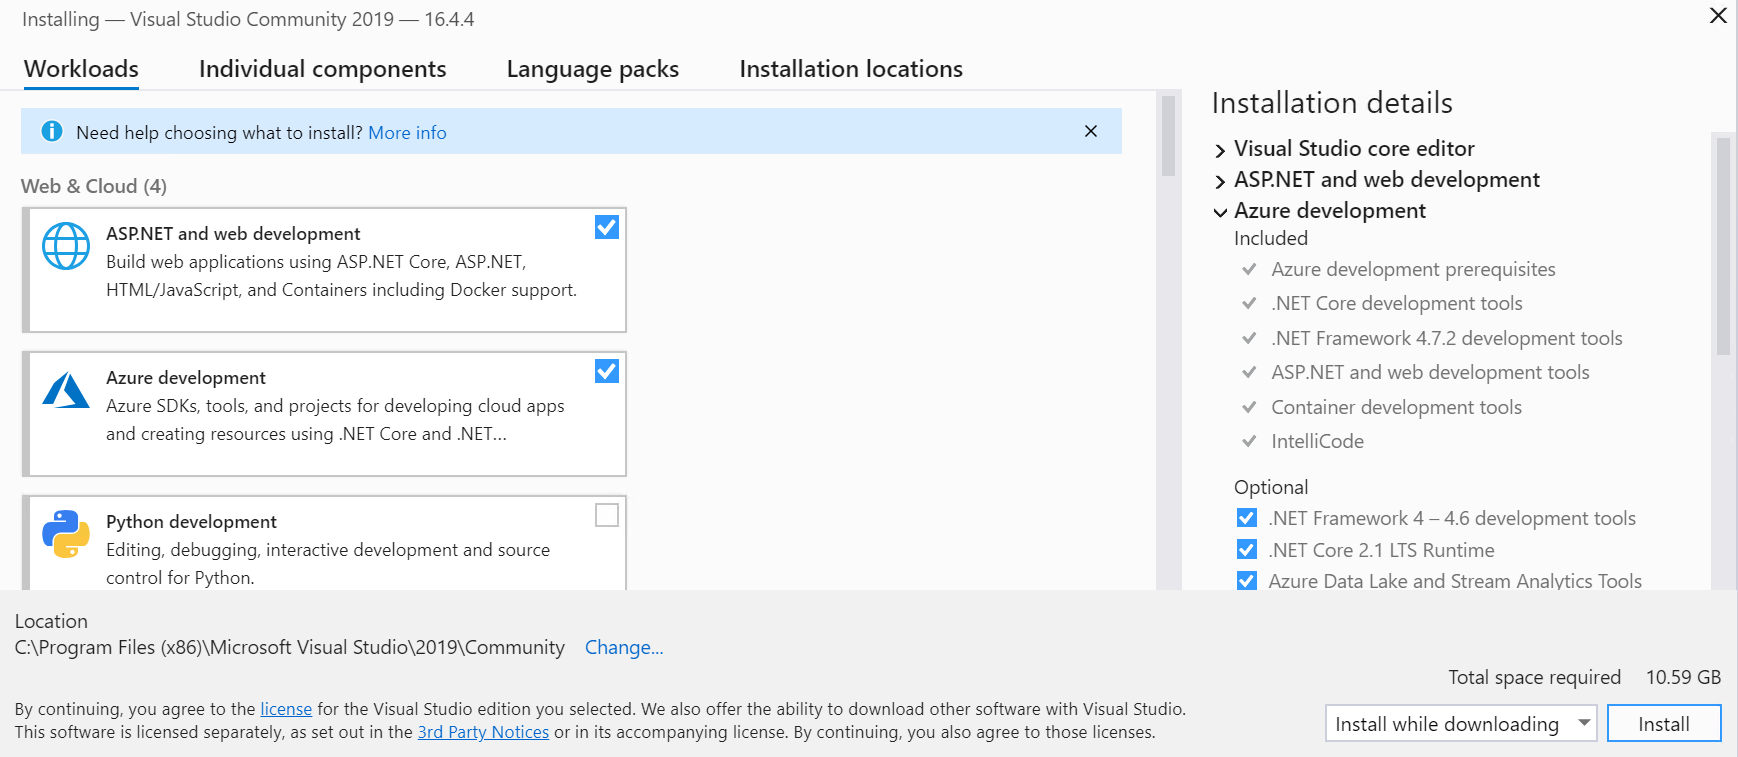
Full installation guide of Visual Studio you can find here.
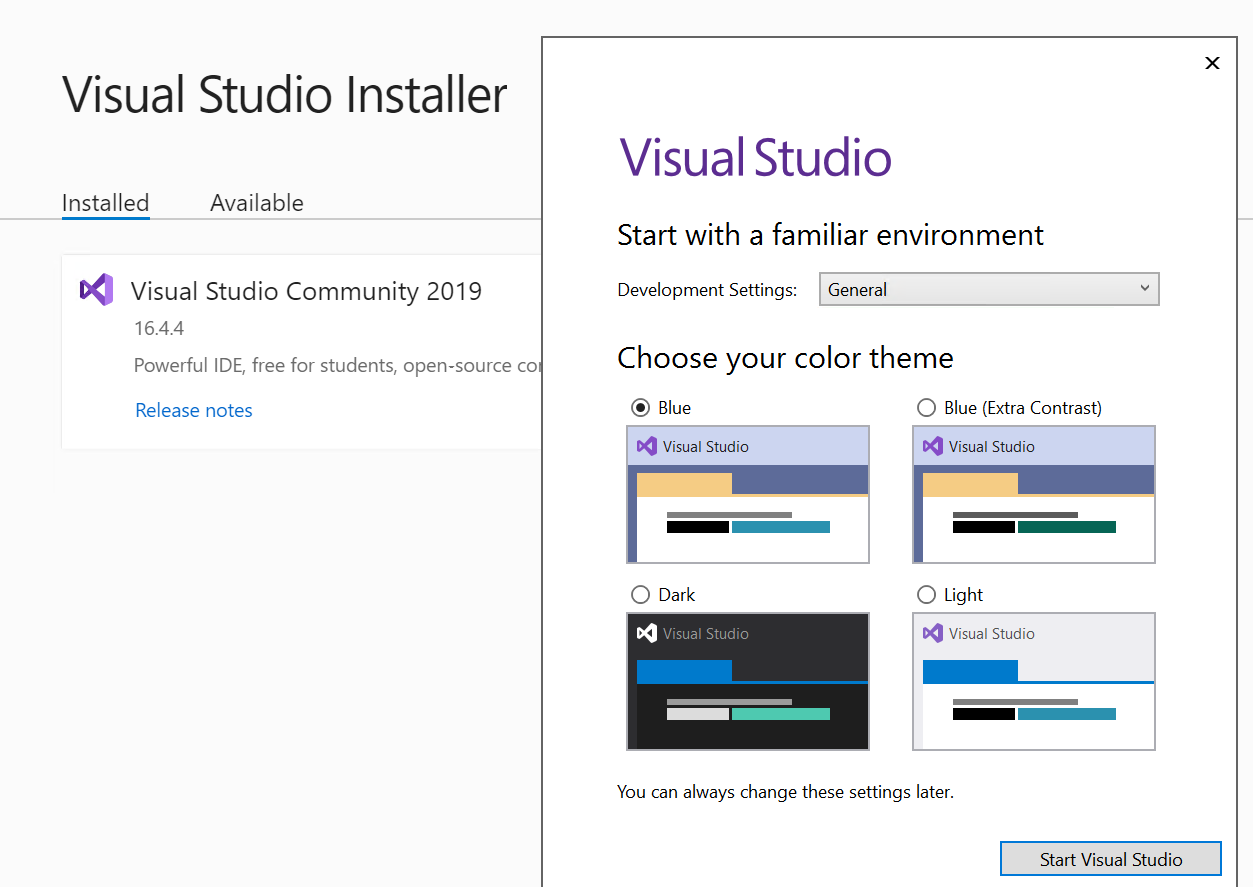
- In about 10-15 minutes, Visual Studio should be ready to go. Click Start Visual Studio.
STEP 2: Create a new ASP.NET Web Application
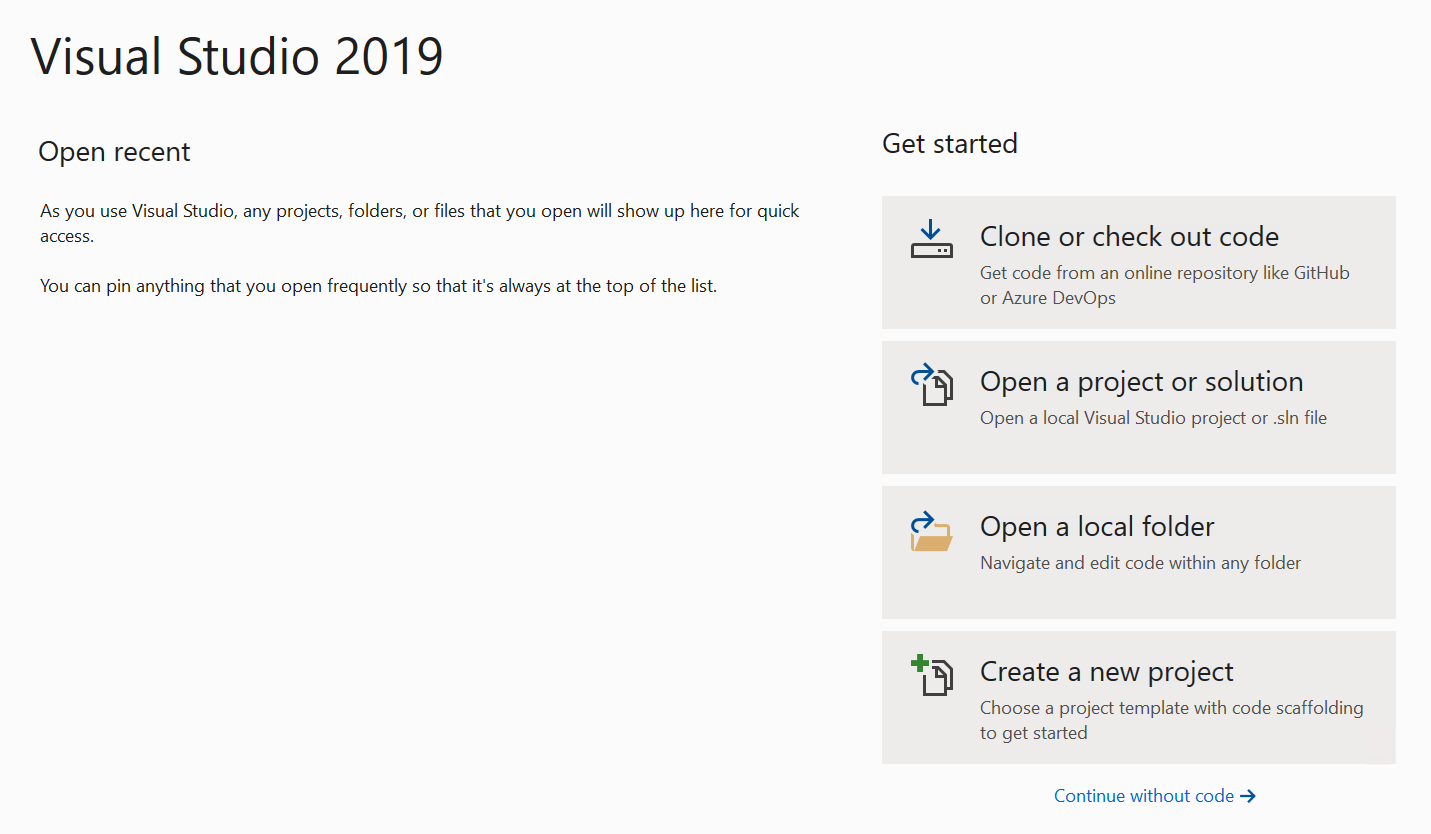
- Click Create a new project.
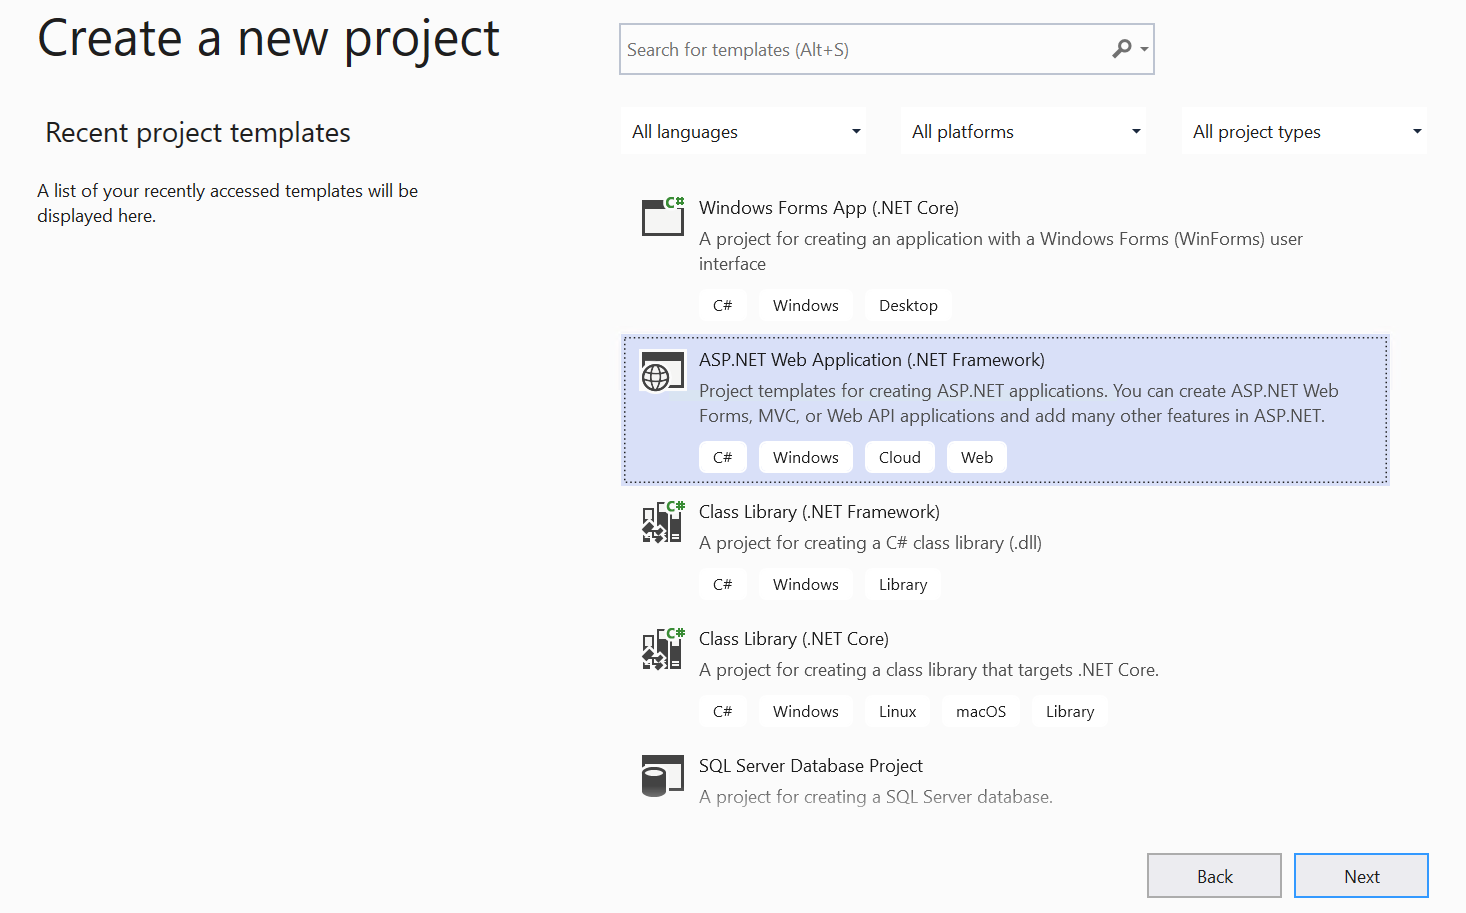
- Select a new ASP.NET Web Application (.NET Framework) and click Next.
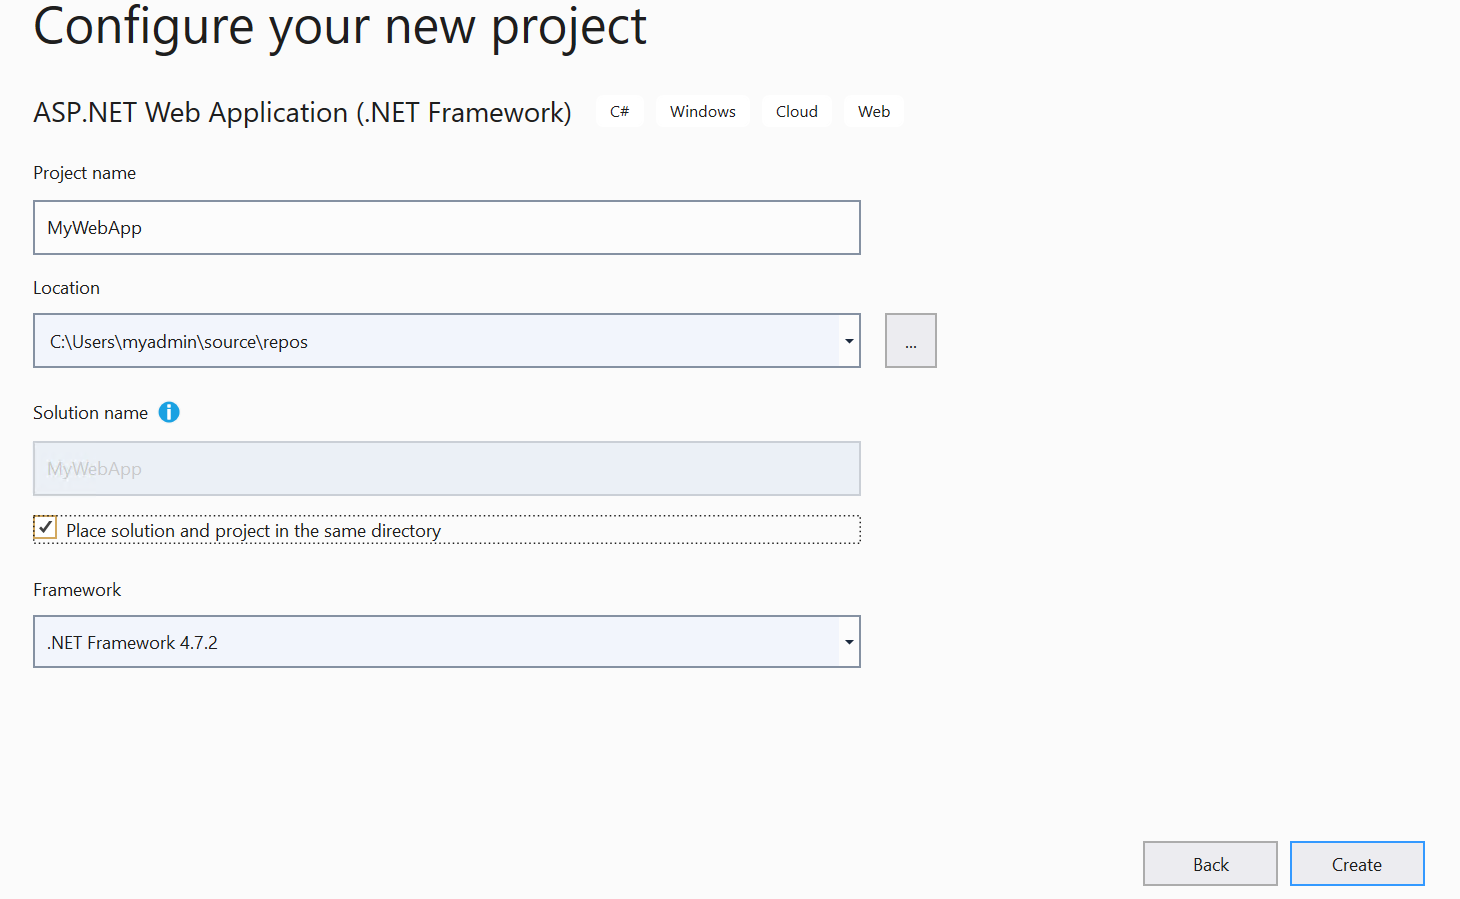
- On the Configure your new project screen, please provide the following details:
- Enter a Name for your project, such as MyWebApp.
- Provide the desired location for your project and write it down for later usage.
- Leave a Solution name the same as Project name and tick the box Place solution and project in the same directory.
- Click Create.
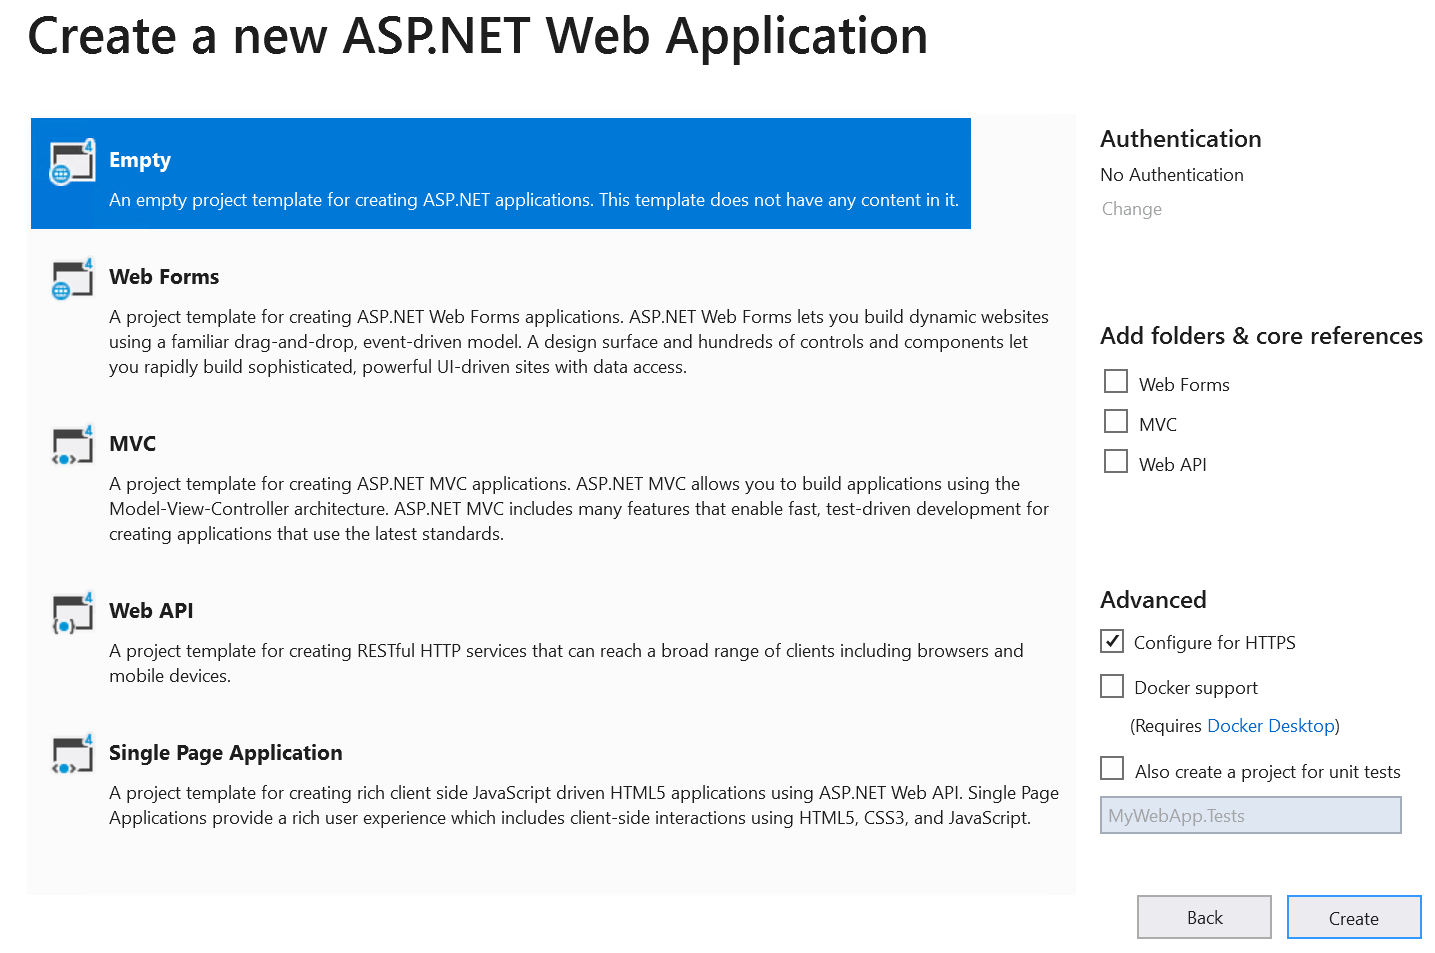
- Select an Empty project on the next screen and hit Create again.
- Copy the following three files from the Oracle .NET GitHub sample code site into your web project root directory (C:\Users\myadmin\source\repos\MyWebApp in this case). The easy way is to fork the repository (you need your GitHub account) and then clone or download a ZIP file. Then copy these 3 files to your web project root directory.
- autonomous-managed-odp.aspx
- autonomous-managed-odp.aspx.cs
- autonomous-managed-odp.aspx.designer.cs
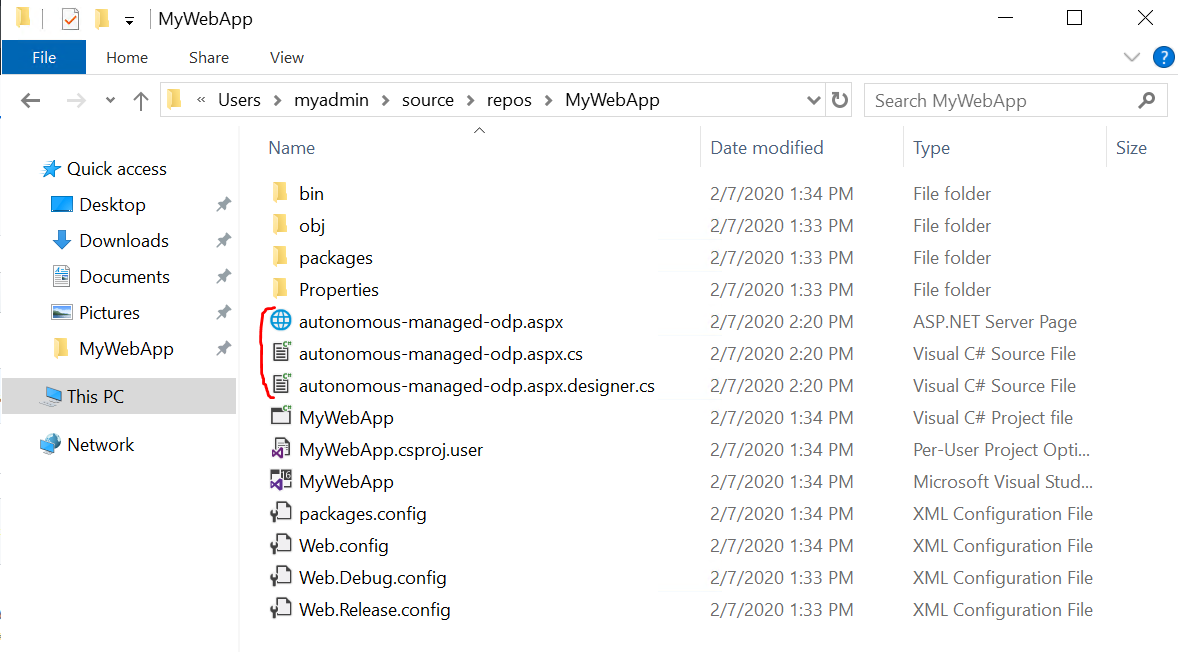
These files constitute a web page that connects to ADB and returns the database version it is using to demonstrate basic connectivity.
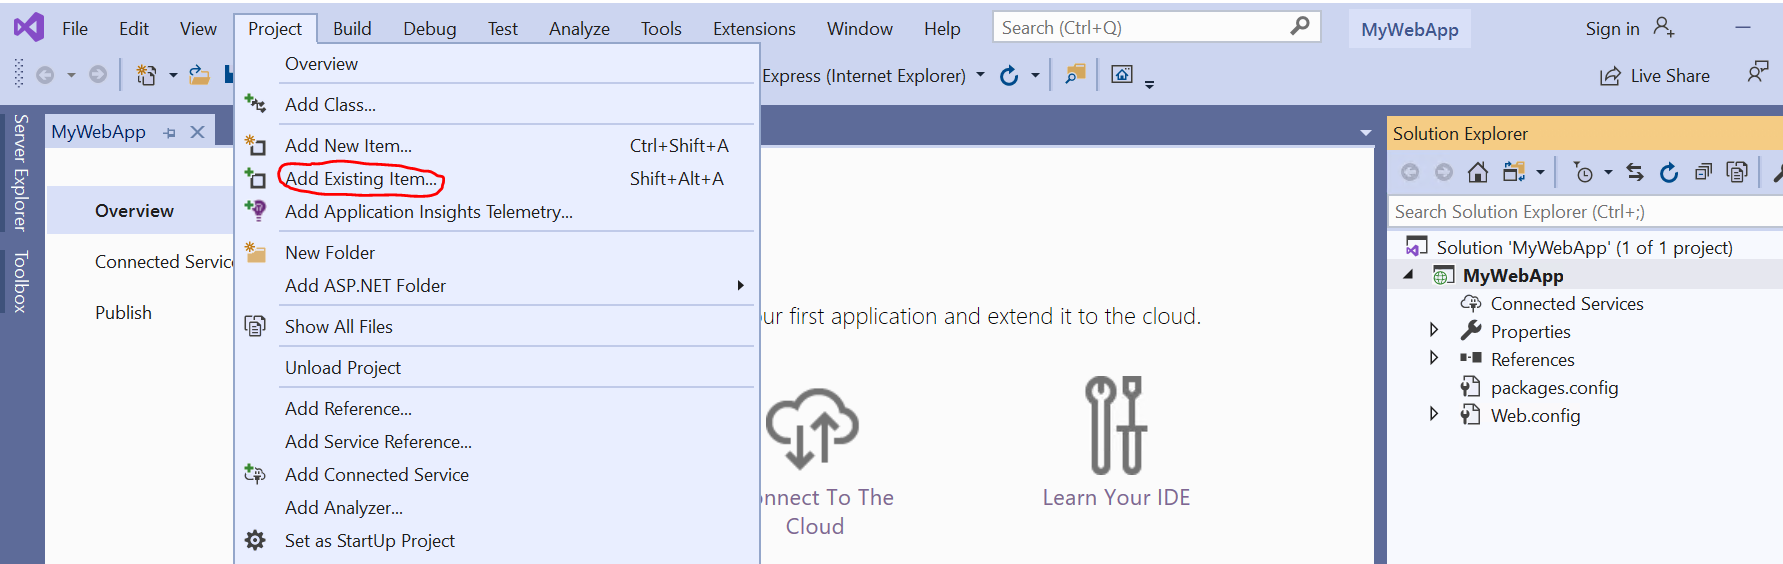
- Click on Project tab and select Add Existing Item in order to add these files to your project in Visual Studio.
-
Add managed ODP.NET assembly driver (Oracle.ManagedDataAccess) to your project.
- Right click on the References in the Solution Explorer and select Manage NuGet Packages.
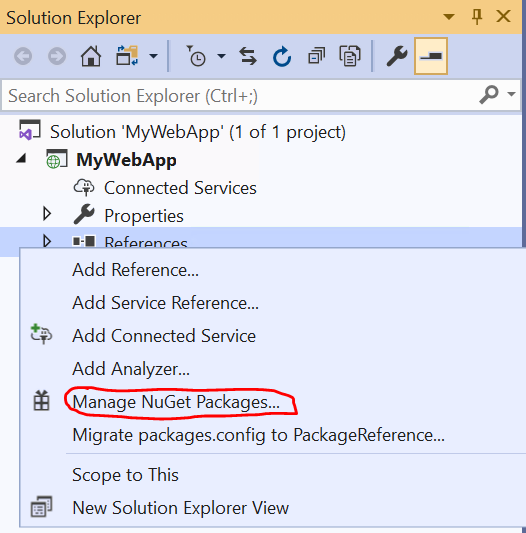
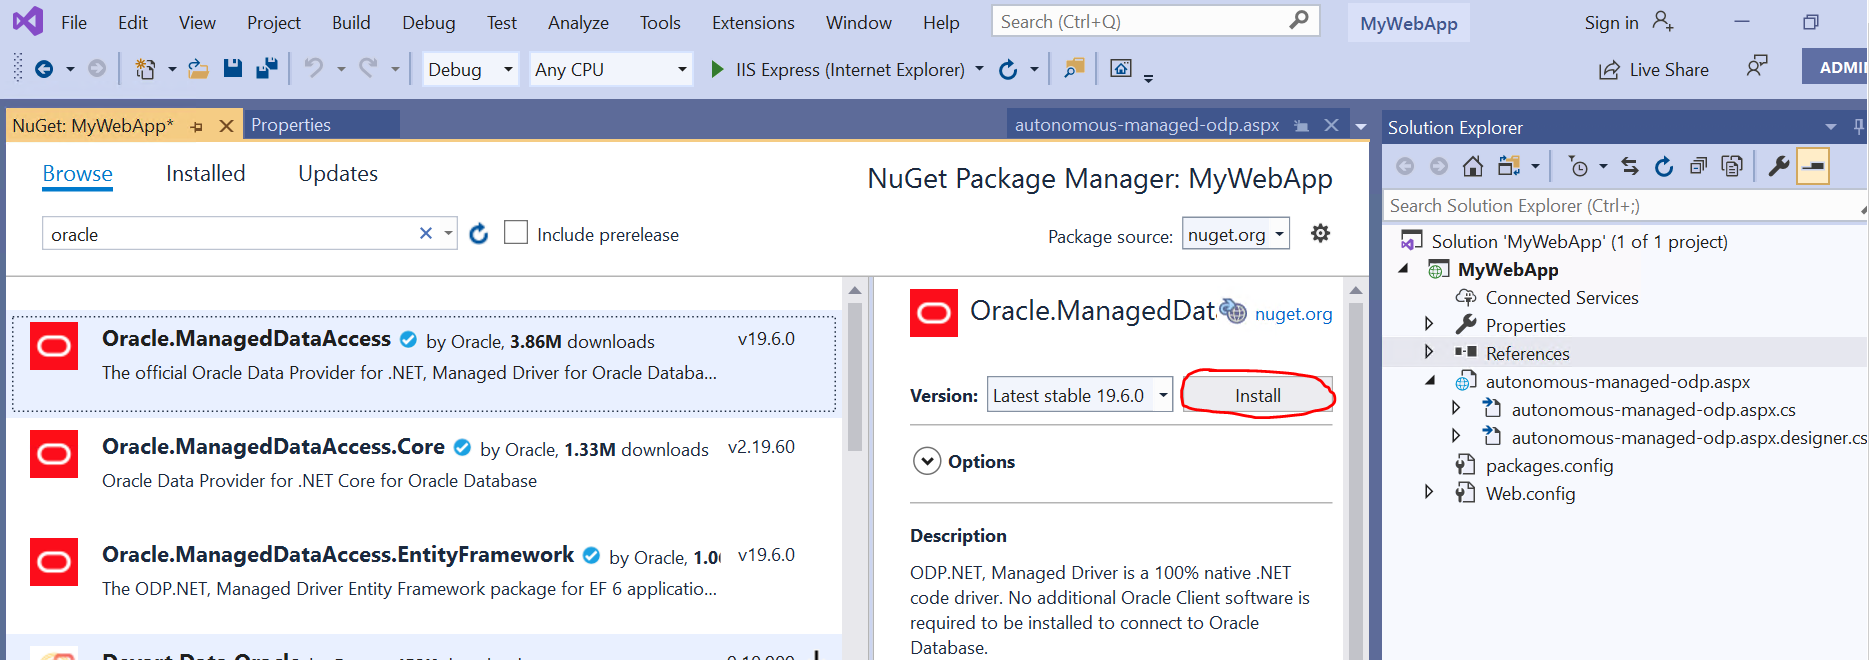
- Browse for Oracle, select Oracle.ManagedDataAccess and click Install.
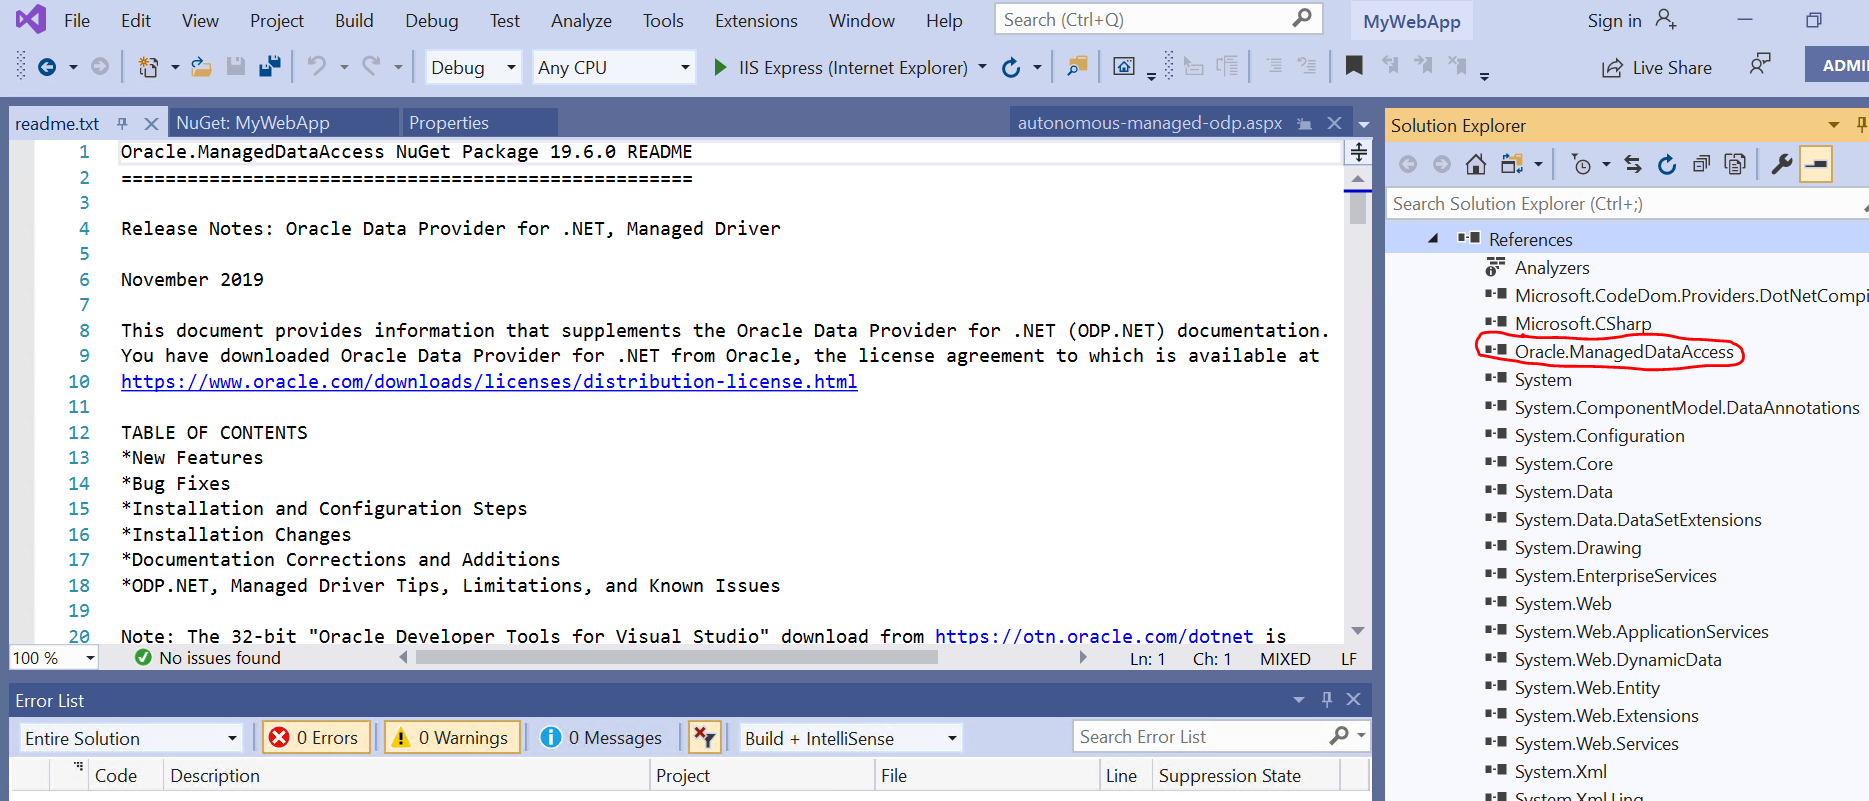
- After accepting the license terms for the package, the ODP.NET readme.txt file opens. In the Solution Explorer window, expand References and verify that ODP.NET assembly was added to the project meaning, that these assembly was successfully downloaded and installed.
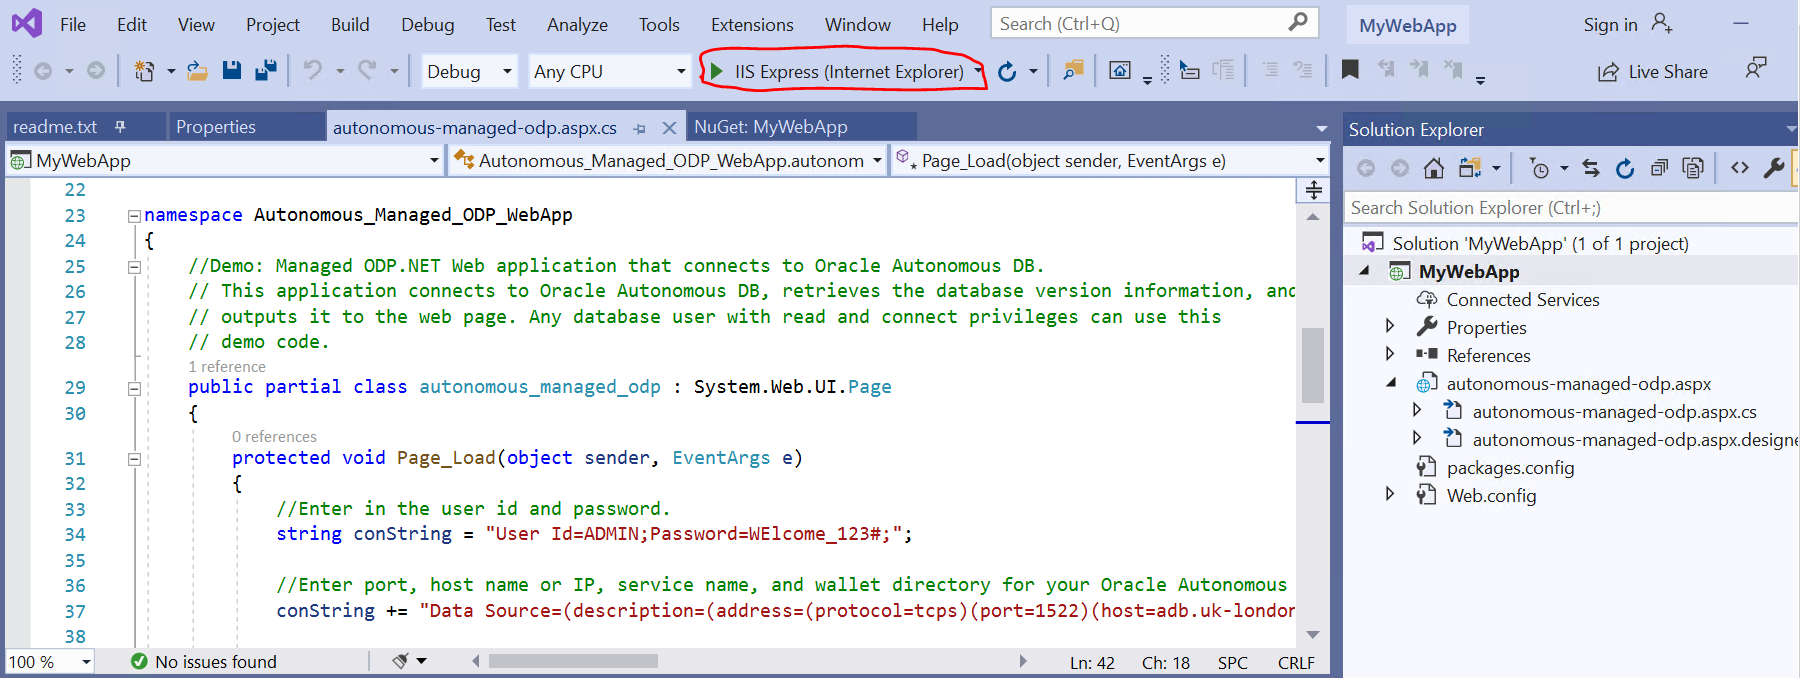
- Open the autonomous-managed-odp.aspx.cs file in the Visual Studio:
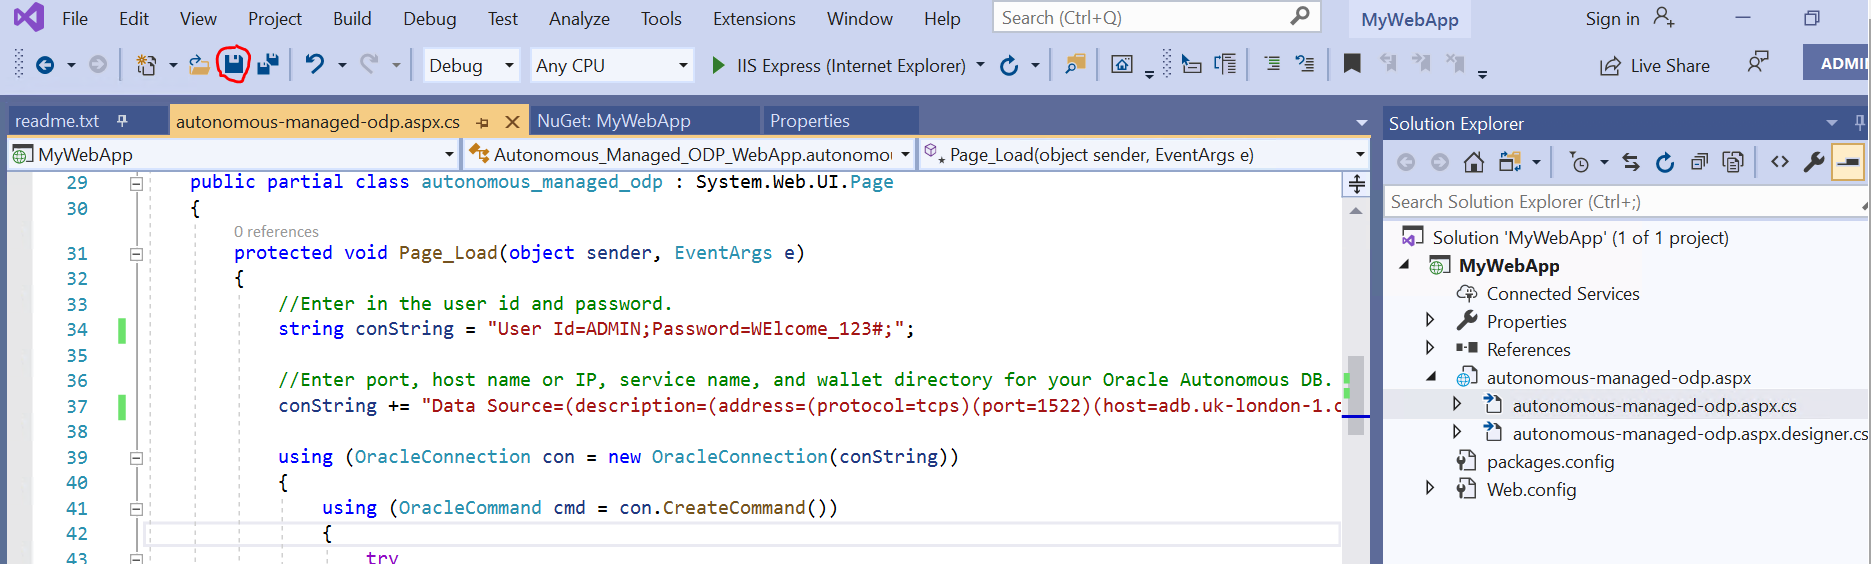
- Modify the User Id and Password credentials in the connection string specific to your ADB instance.
//Enter in the user id and password.

string conString = "User Id=<USER ID>;Password=<PASSWORD>;";

Example: string conString = "User Id=ADMIN;Password=WElcome_123#;";
- On the next connection string line, modify the following settings for your ADB instance:
//Enter port, host name or IP, service name, and wallet directory for your Oracle Autonomous DB.

conString += "Data Source=(description=(address=(protocol=tcps)(port=<PORT>)(host=<HOSTNAME OR IP>))(connect_data=(service_name=<SERVICE NAME>))(SECURITY = (MY_WALLET_DIRECTORY = <DIRECTORY LOCATION>)));";

Example:
conString += "Data Source=(description=(address=(protocol=tcps)(port=1522)(host=adb.uk-london-1.oraclecloud.com))(connect_data=(service_name=d4qvm7rtgjikgr5_myautonomousdb_high.atp.oraclecloud.com))(SECURITY = (MY_WALLET_DIRECTORY = C:\\Users\\myadmin\\source\\repos\\MyWebApp)));";
You will find these entries in the tnsnames.ora file from Wallet_MyAutonomousDB.zip downloaded in the previous lab. The wallet directory must be set to the local machine directory where your ADB wallet file will reside. For this tutorial, you will copy the wallet zip file to the web project’s root directory.
In this example C:\\Users\\myadmin\\source\\repos\\MyWebApp.
Additionally, add the wallet file, cwallet.sso, from the credentials zip file to the web project root directory in line with the MY_WALLET_DIRECTORY setting.

- Save all changes made in the autonomous-managed-odp.aspx.cs file.
STEP 3: Install WebServer (IIS)
-
If it’s not already installed, install WebServer(IIS) and configure your local IIS attribute Load User Profile to “true” so that you can use the local wallet.
-
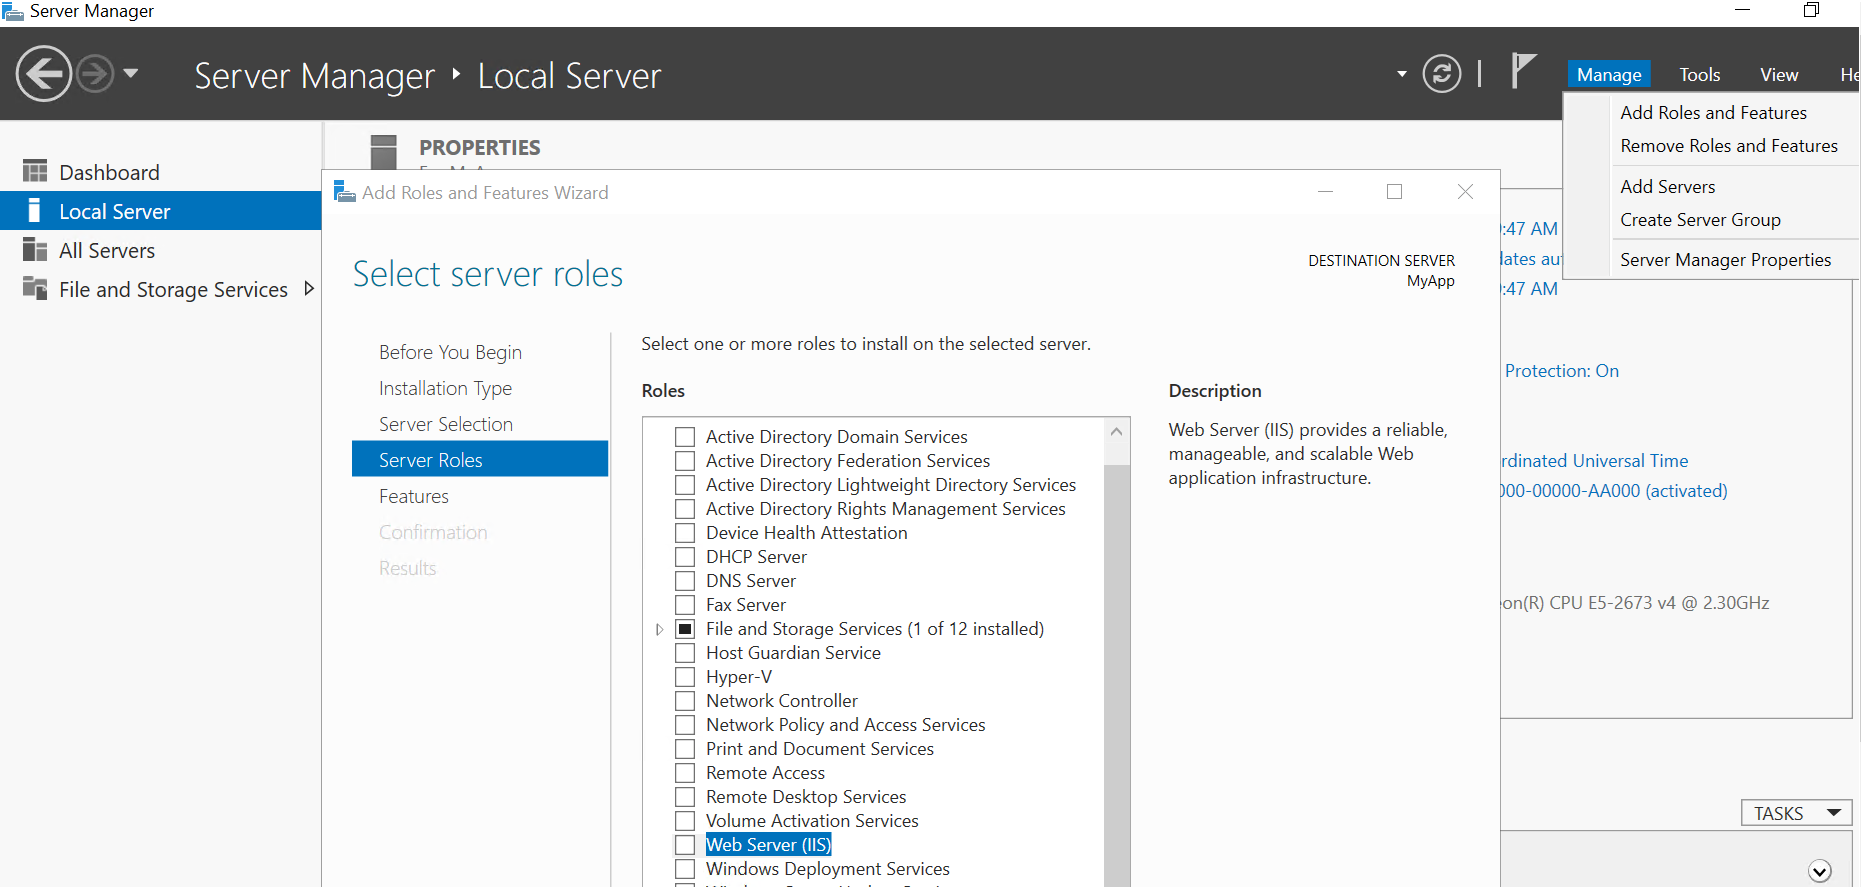
Open Server Manager o your Azure VM, select Local Server on the left menu and then click Manage and select Add Roles and Features.
-
Under Server Roles tick WebServer (IIS), the new window will pop up and then click Add Features.
-
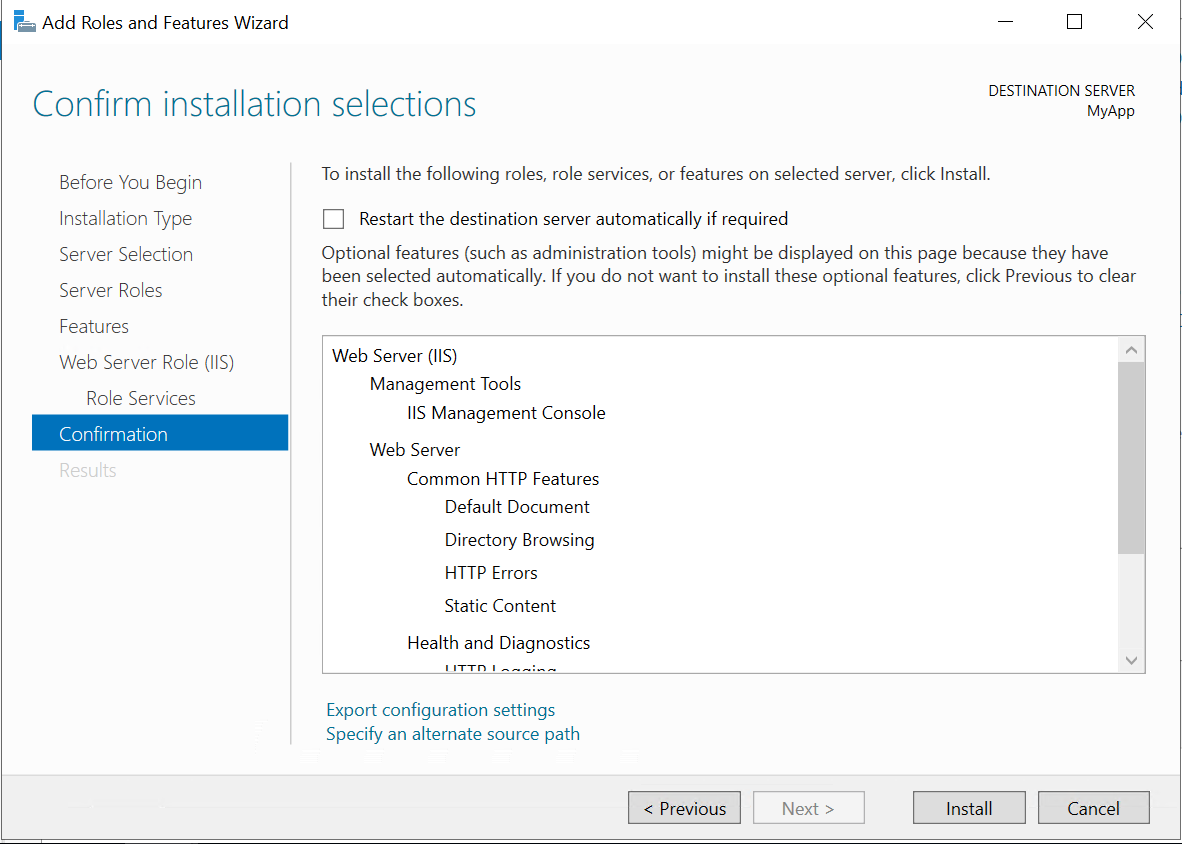
- Click Next few times until you get to the Confirmation page and then click Install (as soon as installation is completed close the wizard).
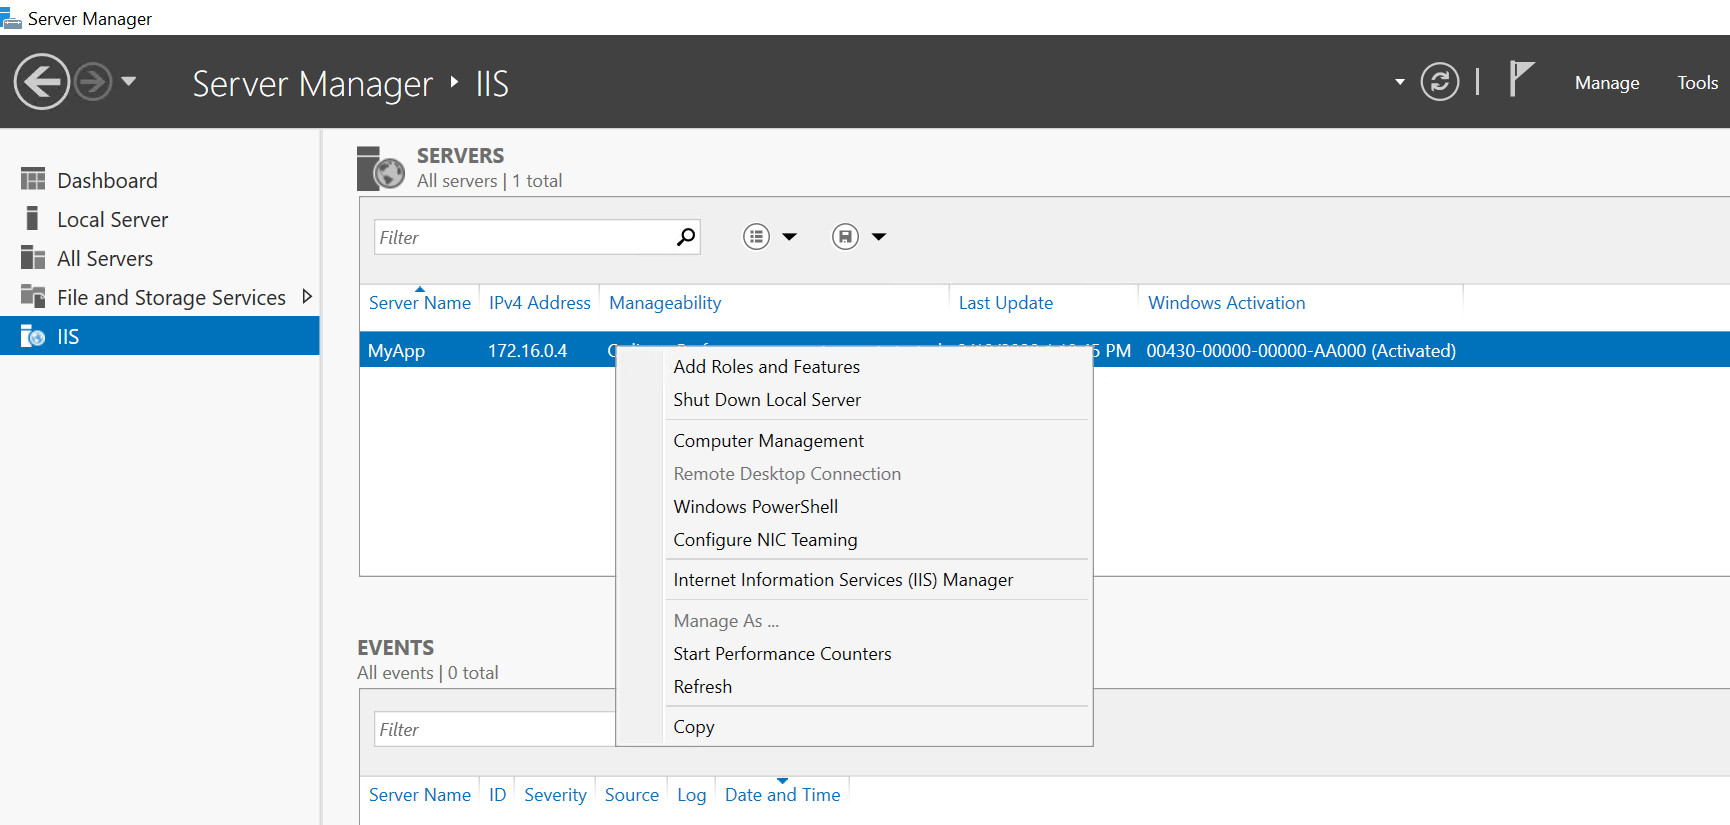
- IIS should appear on list, right click on your Server Name and select Internet Information Services (IIS) Manager in order to open it.
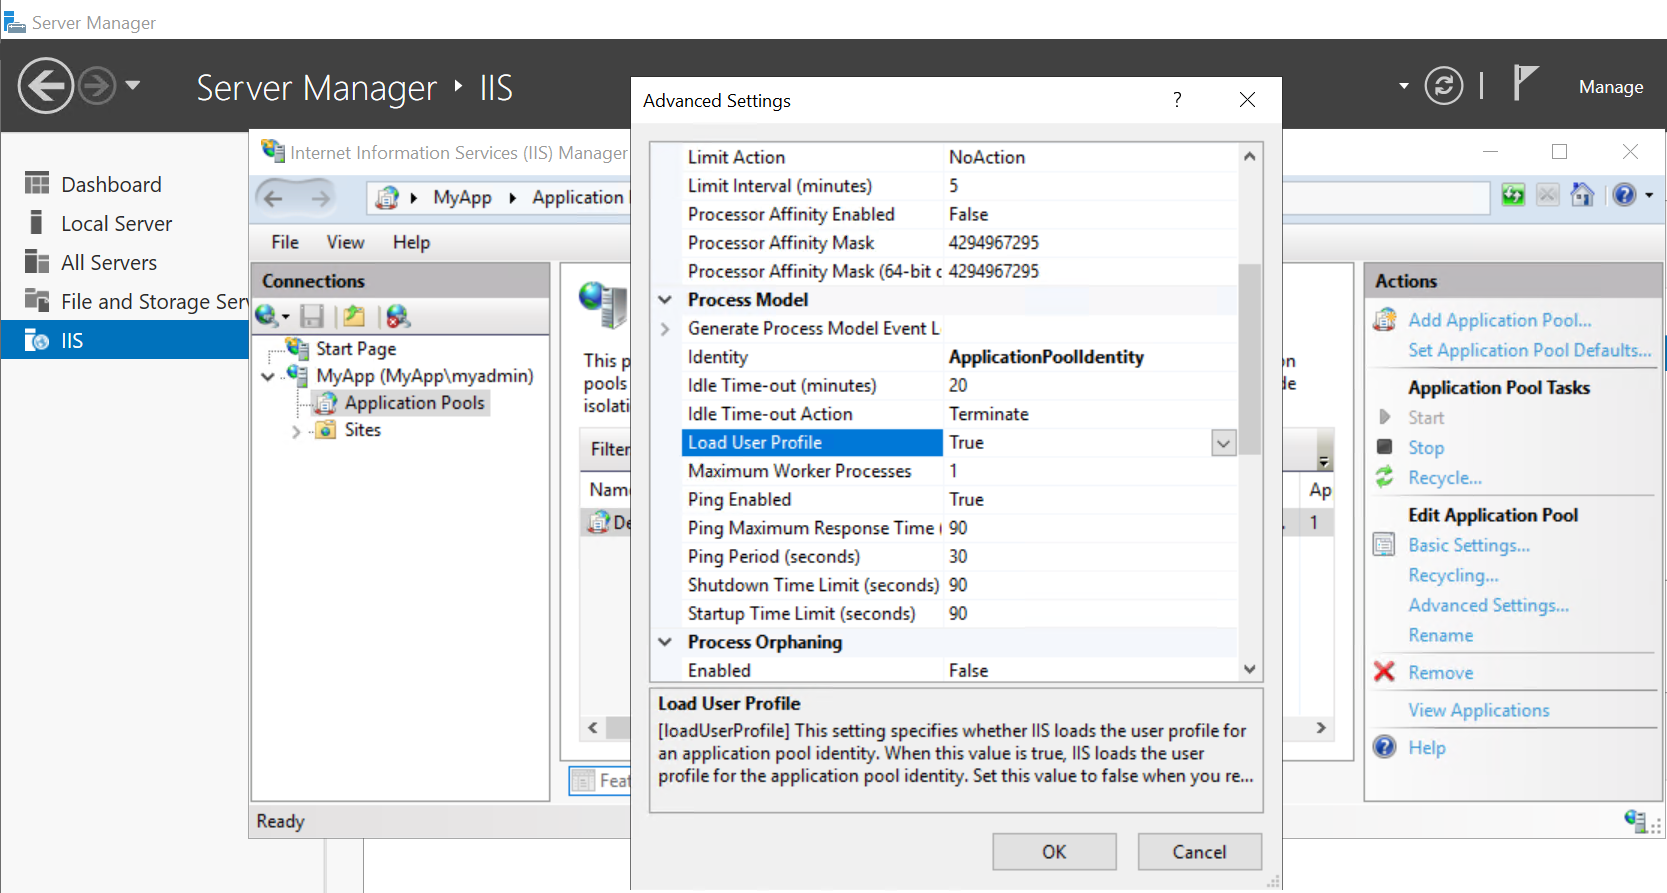
- IIS Manager window will appear, expand MyApp and select Application Pools, click on DefaultAppPool and then Advanced Settings.
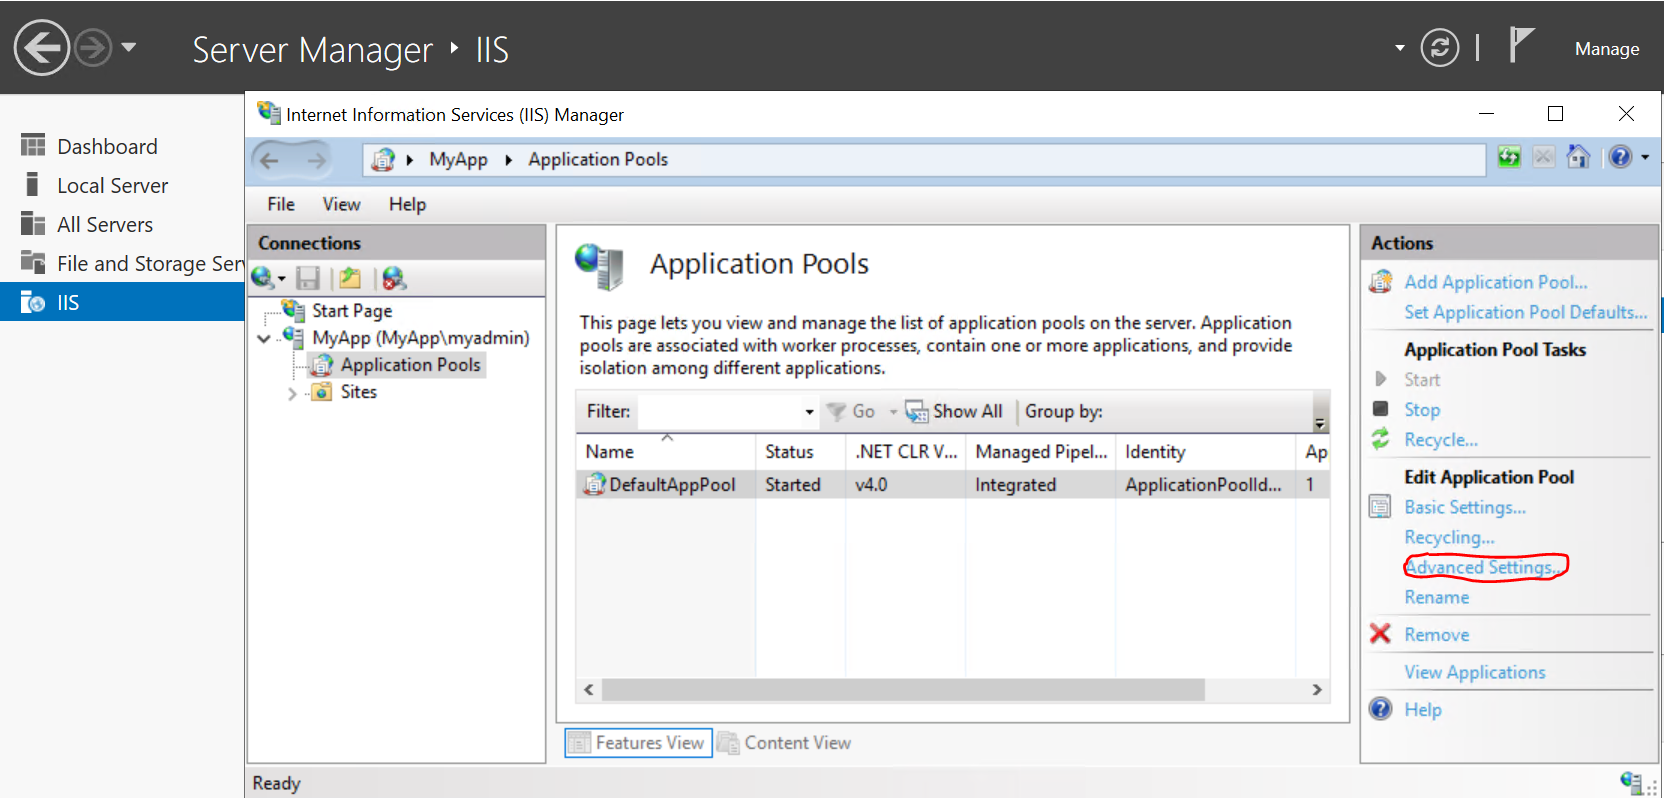
- In the Advanced Settings window, set Load User Profile as True and click OK (you can close Server Manager).
STEP 4: Run your .NET Web Application
- Run your web application by clicking IIS Express (Internet Explorer) button in Visual Studio.
- You should get an error, which is expected as you haven’t established yet interconnection link to the Autonomous Database. The connection will be allowed only through the private connection based on restriction you setup in Access Control List in the previous lab.

Congratulations, you are now ready to move to the next lab.