![]()
Building Multi-Cloud Apps
Create Cross-Cloud Interconnect
Introduction
Oracle and Microsoft have built a dedicated, high-throughput, low-latency, private network connection between Azure and Oracle Cloud Infrastructure data centers in the Ashburn, London and Toronto region that provides a data conduit between the two clouds. You can use the connection to securely transfer data at a high enough rate for offline handoffs and to support the performance required for primary applications that span the two clouds. You can access the connection by using either Oracle FastConnect or Microsoft ExpressRoute, as shown below, and you don’t need to deal with configuration details or third-party carriers.
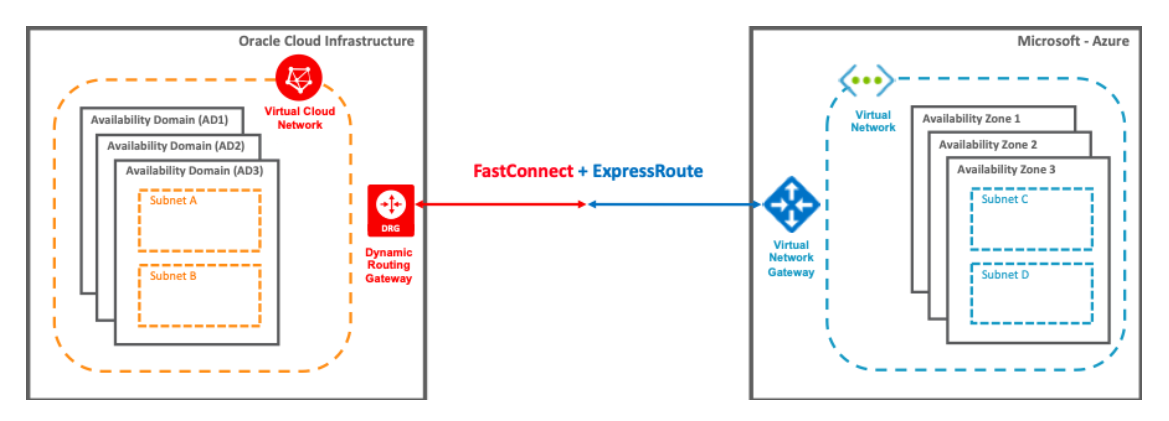
FastConnect and ExpressRoute together create a path for workloads on both clouds to communicate directly and efficiently, which gives you flexibility on how to develop and deploy services and solutions across Oracle Cloud Infrastructure and Microsoft Azure.
You will experience the following benefits when you interconnect the Oracle and Microsoft clouds:
- Secure private connection between the two clouds. No exposure to the internet.
- High availability and reliability. Built-in redundant 10-Gbps physical connections between the clouds.
- High performance, low latency, predictable performance compared to the internet or routing through an on-premises network.
- Straightforward, one-time setup.
- No intermediate service provider required to enable the connection.
Let’s get started in order to connect developed and deployed application on Azure VM with Autonomous Database on Oracle Cloud.
Steps
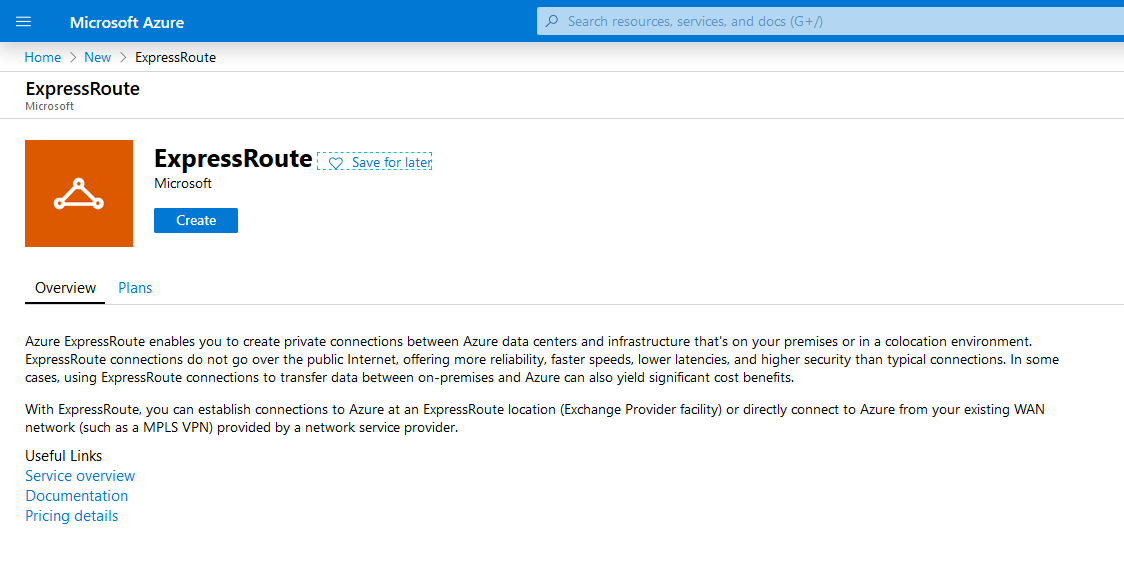
Step 1: Setup Azure ExpressRoute
- On the upper-left side of the Azure home screen, select Create a resource and type in the search bar ExpressRoute and click Create.
-
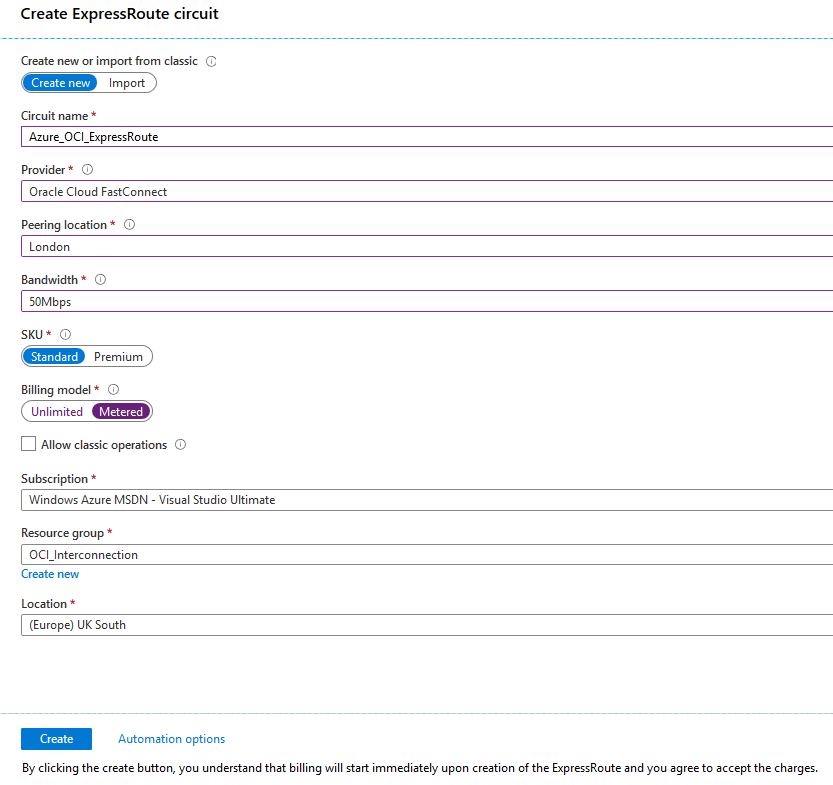
Add in the required details the following:
-
Provide Circuit Name, such as Azure_OCI_ExpressRoute.
-
Select Provider, such as Oracle Cloud FastConnect.
-
Select Peering Location, it is London in this example.
-
Choose the Bandwidth, it is enough 50Mbps for testing purposes.
-
Leave SKU as Standard.
-
Change Billing model to Metered.
-
Choose your Subscription.
-
Select the Resource group you created before: OCI_Interconnection.
-
Select Location as UK South.
-
Click Create.
-
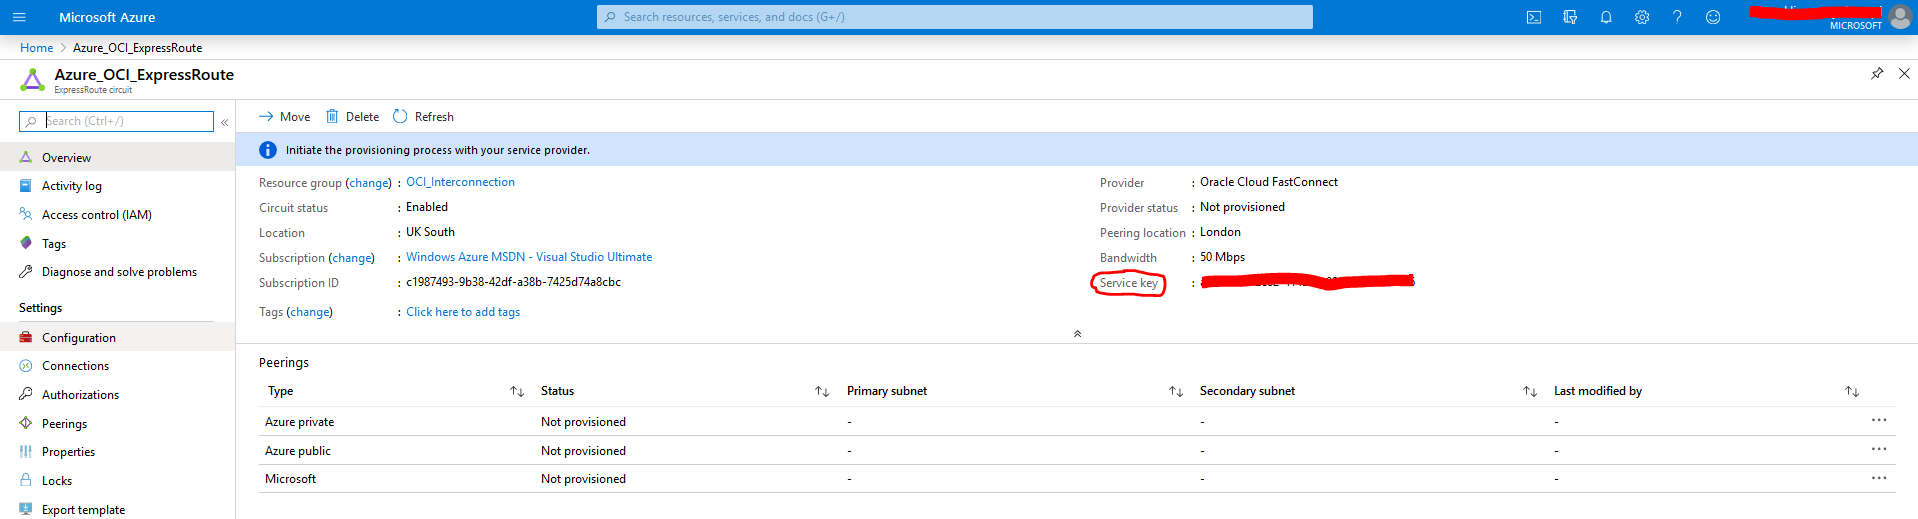
- This creates an ExpressRoute circuit, however it isn’t currently provisioned and doesn’t provide any connectivity details. Note down the service key as you will use this in the next step in Oracle Cloud Infrastructure console.
Step 2: Setup Oracle Cloud Infrastructure FastConnect
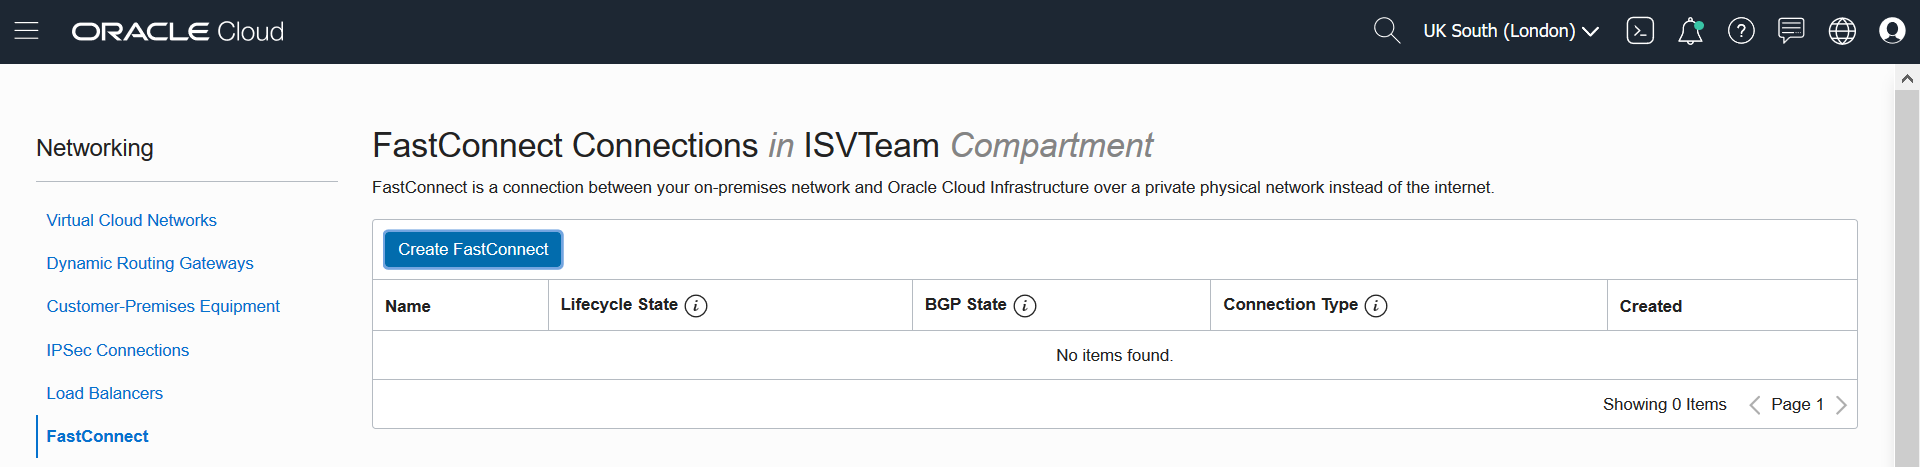
- In OCI Console, navigate to the Menu > Networking > FastConnect.
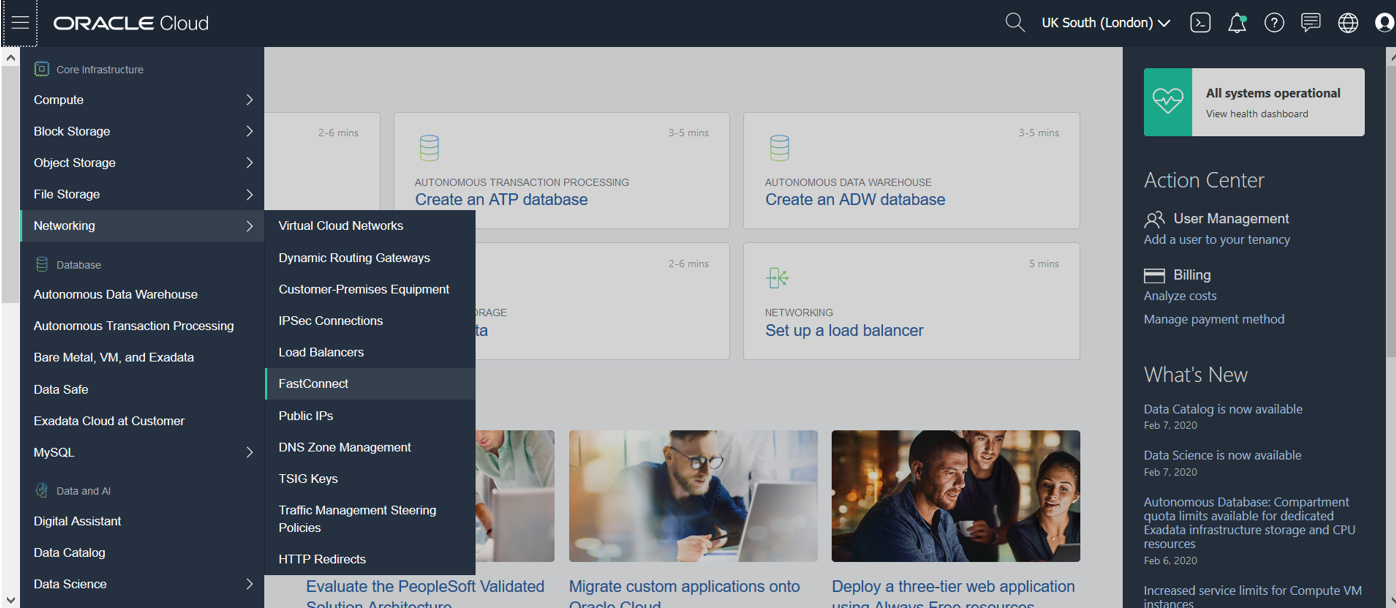
- Click Create FastConnect.
-
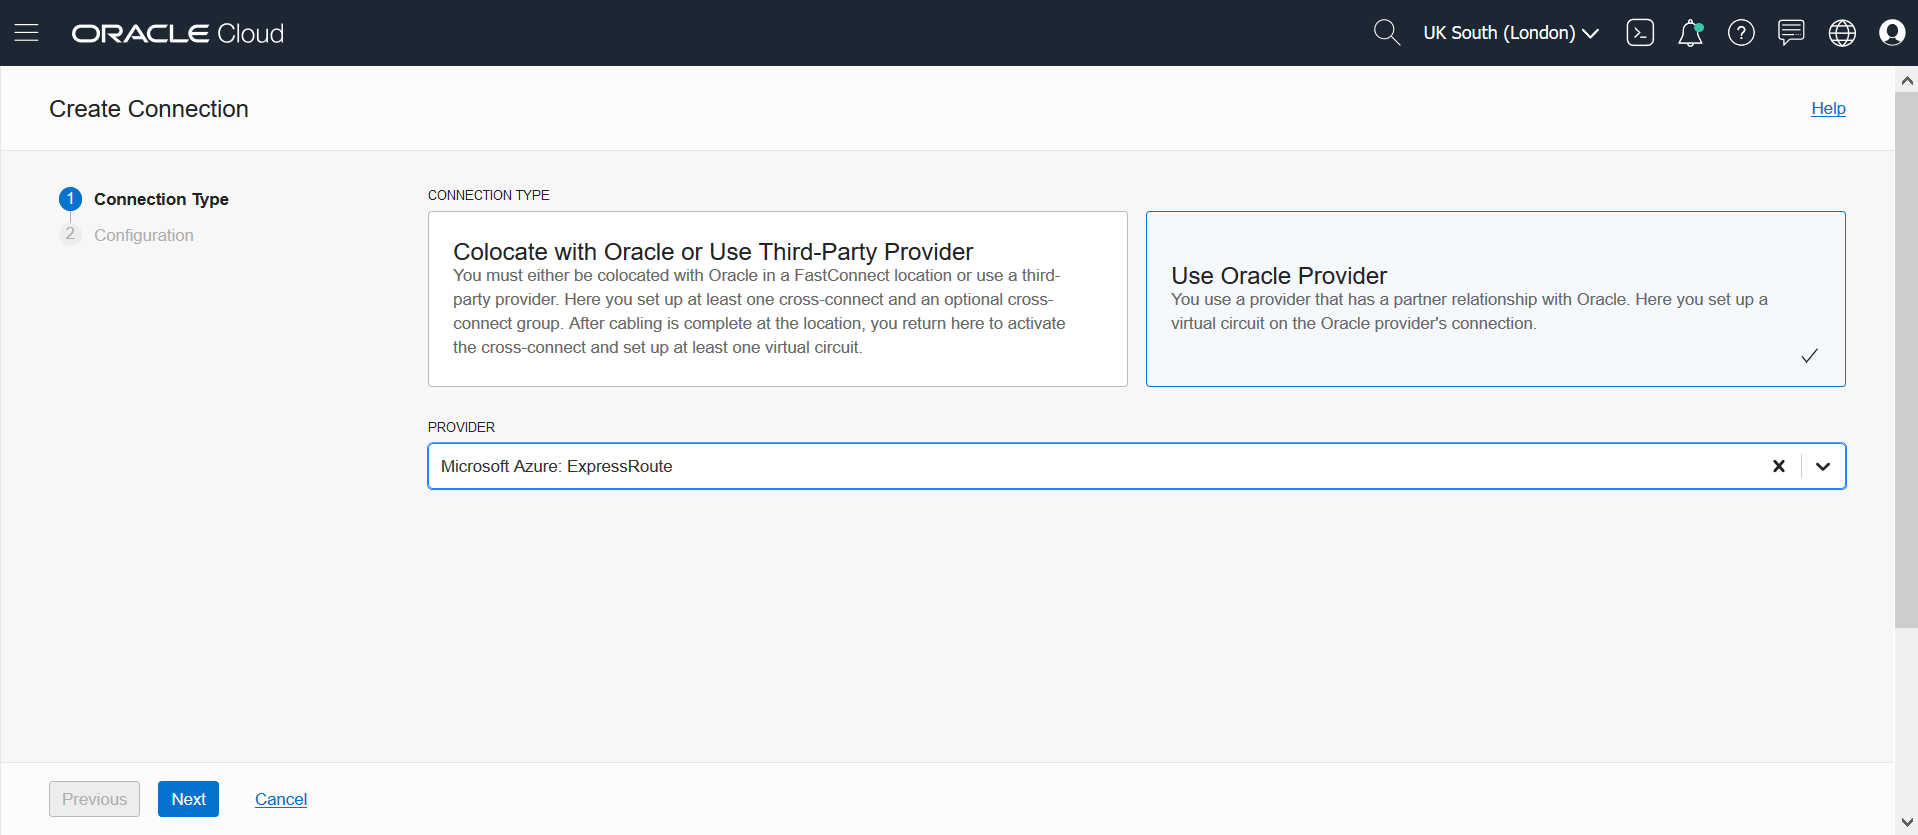
On the Create Connection screen provide the following:
-
Select Use Oracle Provider.
-
Select Microsoft Azure: ExpressRoute as a Provider.
-
Click Next.
-
-
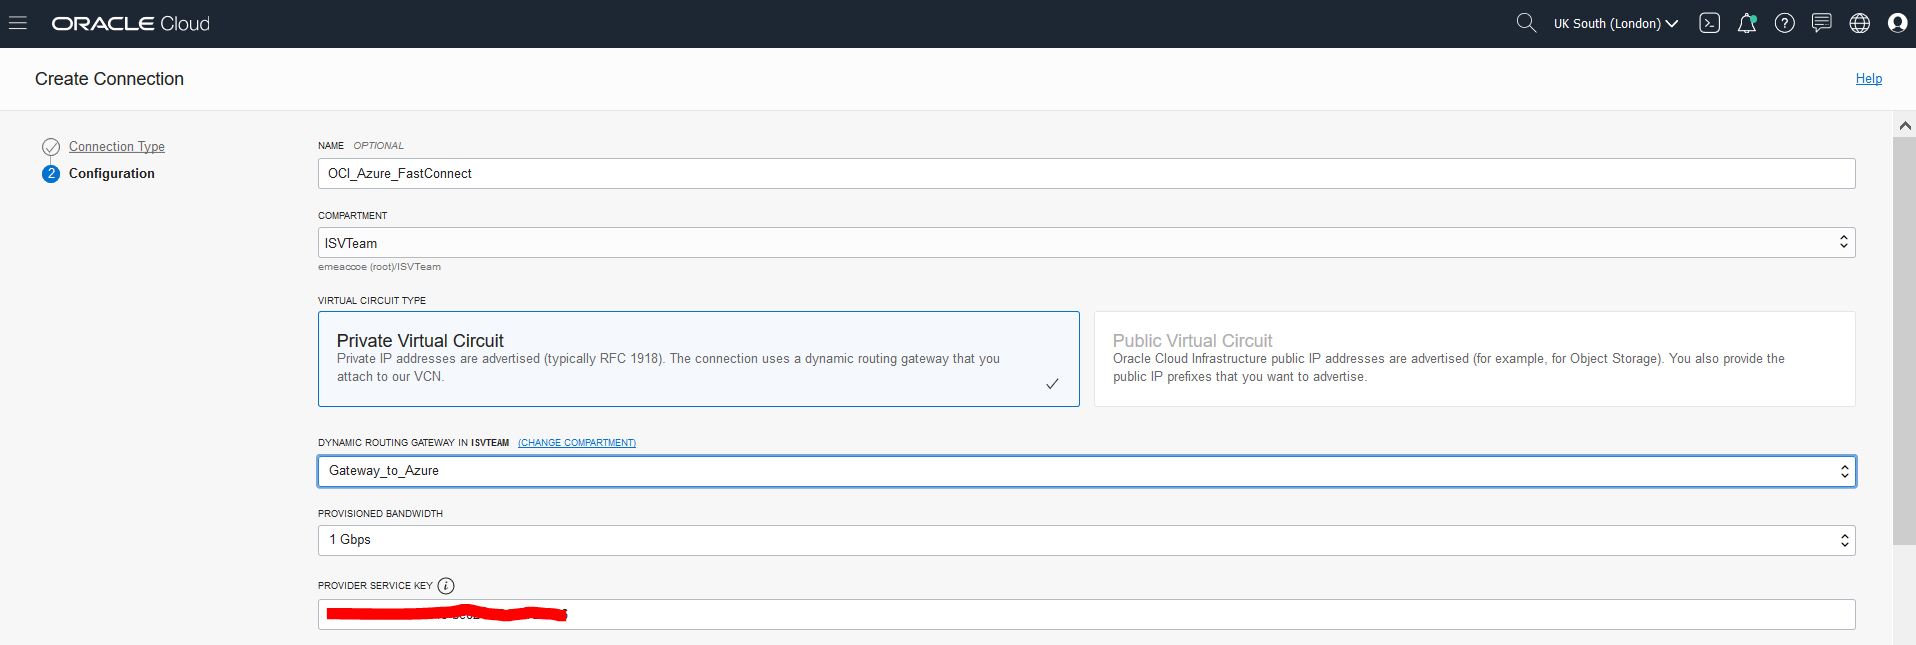
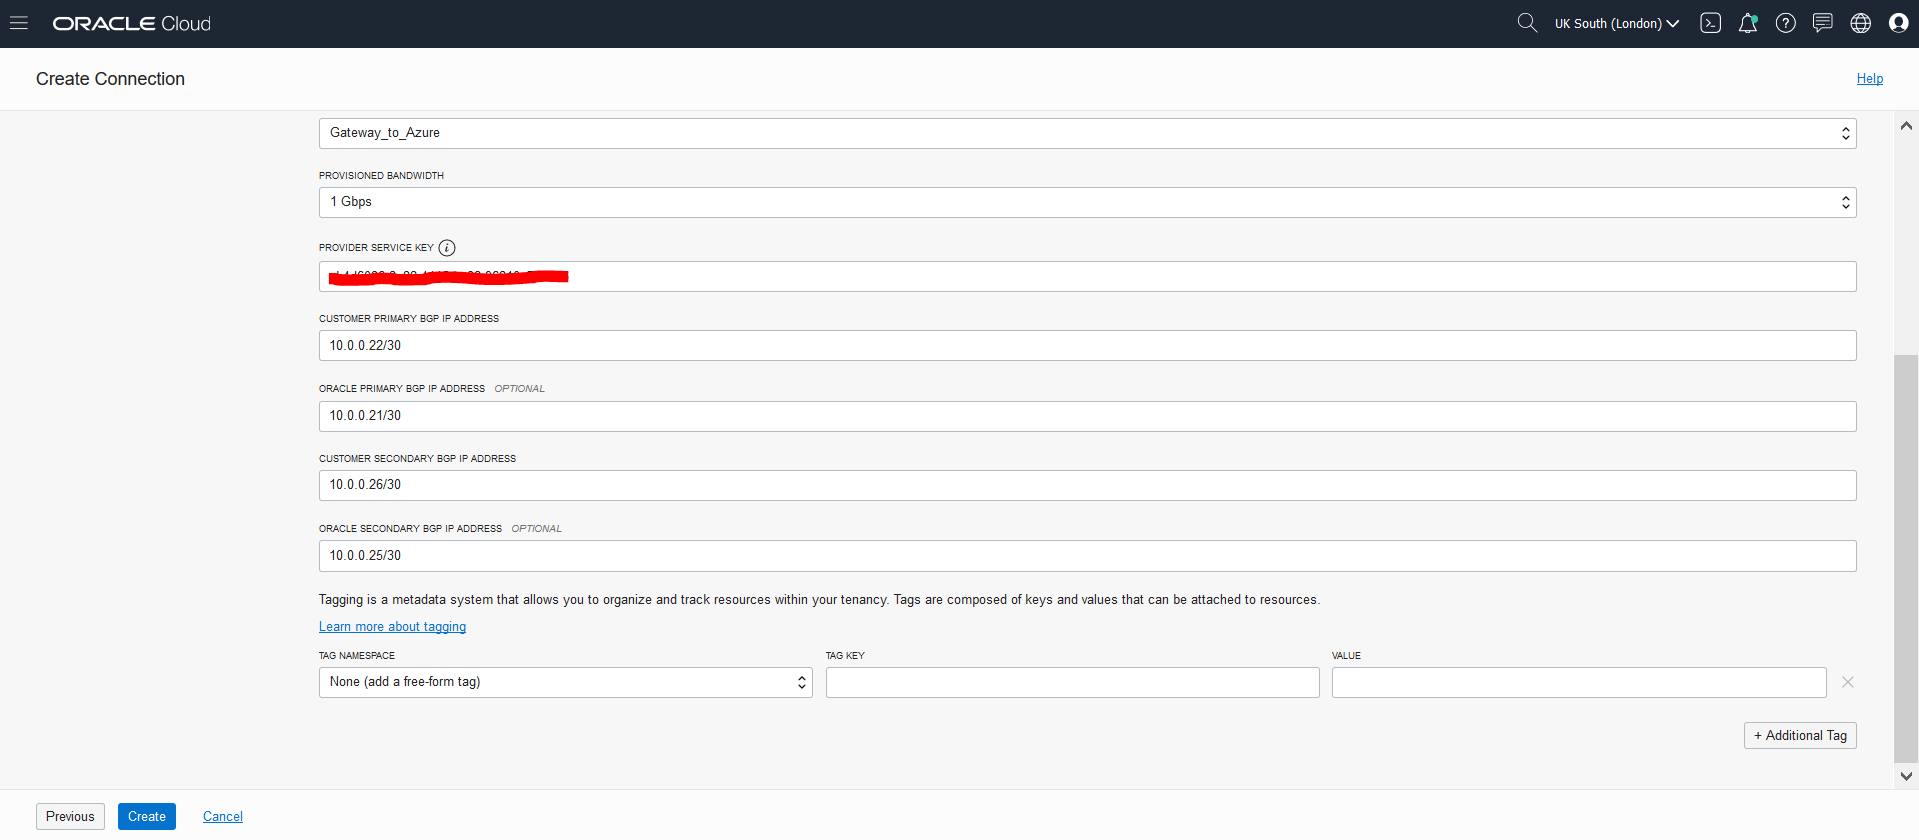
Under Configuration tab, please provide the following:
- Provide Name, such as OCI_Azure_FastConnect.
- Select your Compartment.
- Select Virtual Circuit Type as Private Virtual Circuit.
- Choose Dynamic Routing Gateway you created before.
- Choose Provisioned Bandwidth for testing purposes as 1 Gbps.
- Provide Provider Service Key, you noted down in the previous step.
- The connection between Azure VNet and OCI VCN uses BGP dynamic routing. Scroll down and provide the BGP IP addresses that will be used for the two redundant BGP sessions between Oracle and Azure:
- A primary pair of BGP addresses:
- Customer Primary BGP IP Address: 10.0.0.22/30.
- Oracle Primary BGP IP Address: 10.0.0.21/30.
- A separate, secondary pair of BGP addresses:
- Customer Secondary BGP IP Address: 10.0.0.26/30.
- Oracle Secondary BGP IP Address: 10.0.0.25/30.
- A primary pair of BGP addresses:
You provide /30 addresses here for the BGP connection. The second and third in each /30 are used as BGP IP address pair. The second address in the block is for the Oracle side of the BGP session and the third address in the block is for the Azure side of the BGP session.
- Click Create
- Initially the circuit will go into PROVISIONING state.

- Shortly after the circuit goes into ‘UP’ status with its lifecycle state as Provisioned.


- Similarly on the Azure side, the circuit status has changed into Provisioned as well.

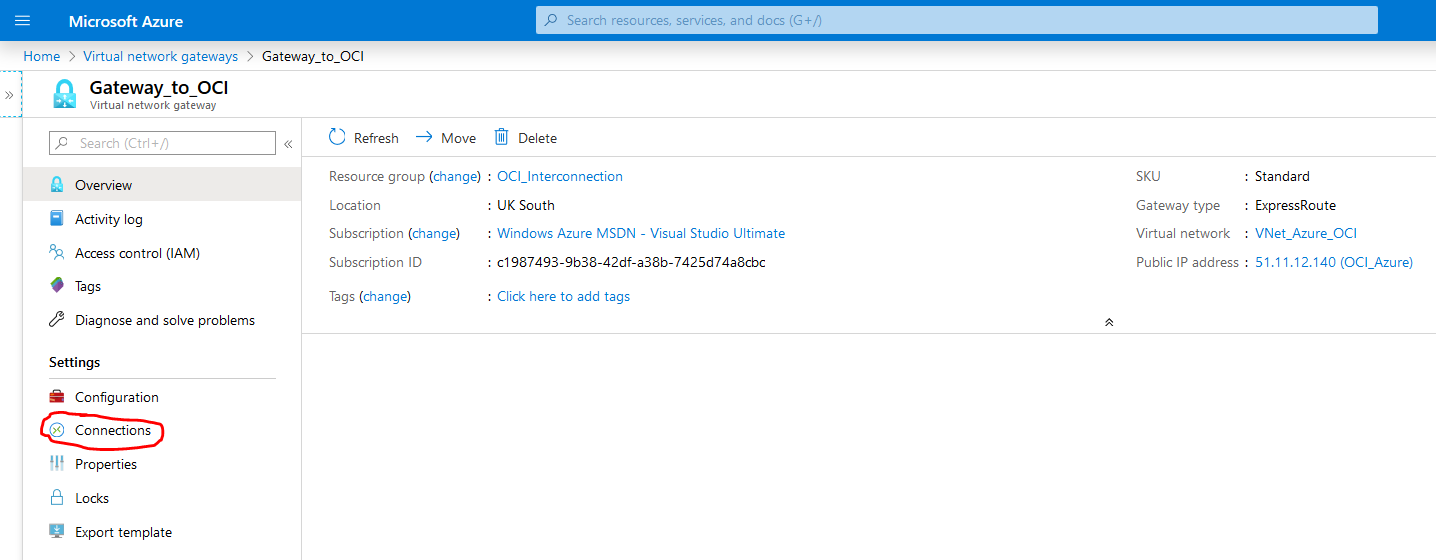
Step 3: Link VNet to Azure ExpressRoute
Next step is to create a link between the Azure Virtual Network (VNet) and ExpressRoute circuit.
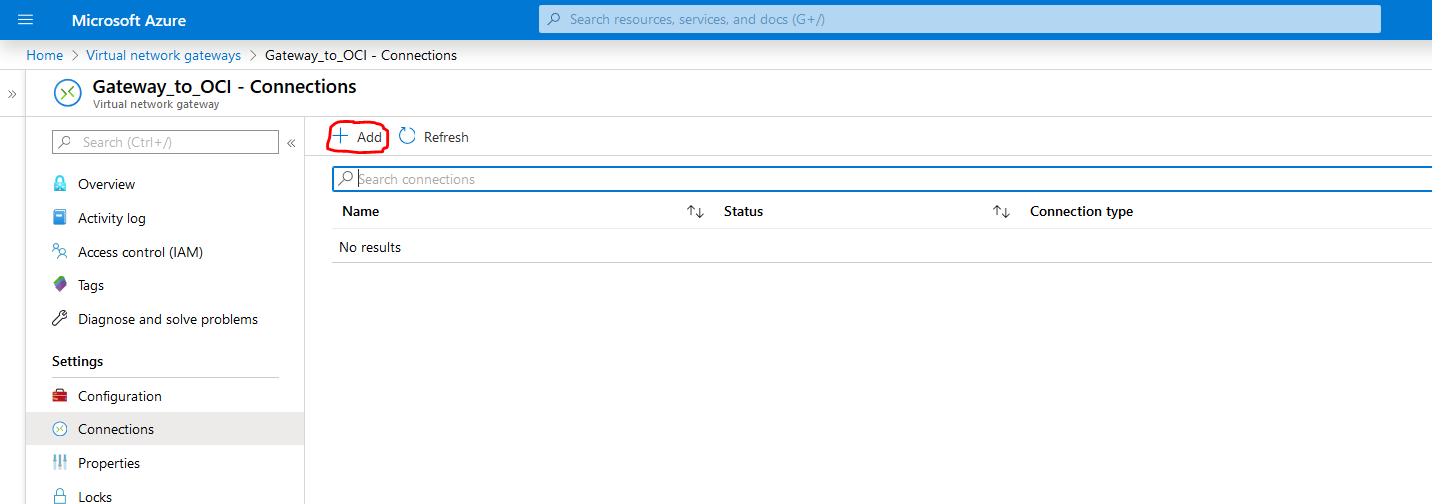
- On your Azure dashboard navigate to your virtual network gateway created before and click Connections under Settings.
- Click Add button.
-
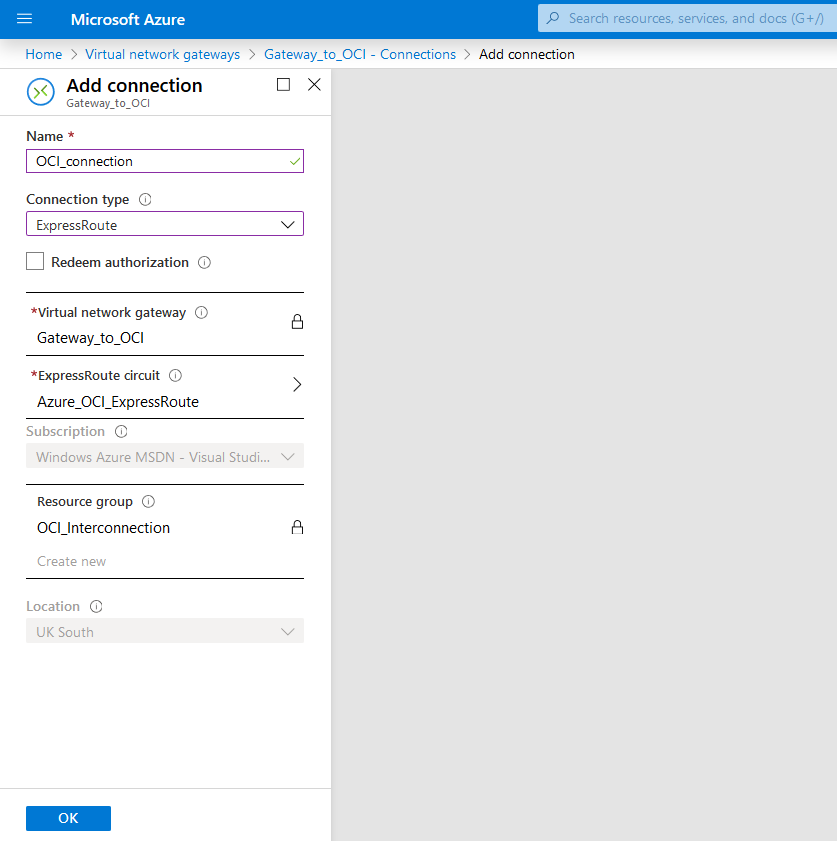
On the Add Connection screen provide the following:
-
Name for the connection, such as OCI_connection.
-
Choose Connection Type as ExpressRoute.
-
Select your ExpressRoute circuit you created before.
-
Click OK.
-
- Connection to ExpressRoute should appear on the list with status Succeeded.

Step 4: Associate Network Security group to Azure AppSubnet and create Inbound Security rules
You will reuse Network Security Group created automatically while creating Virtual Machine for your application
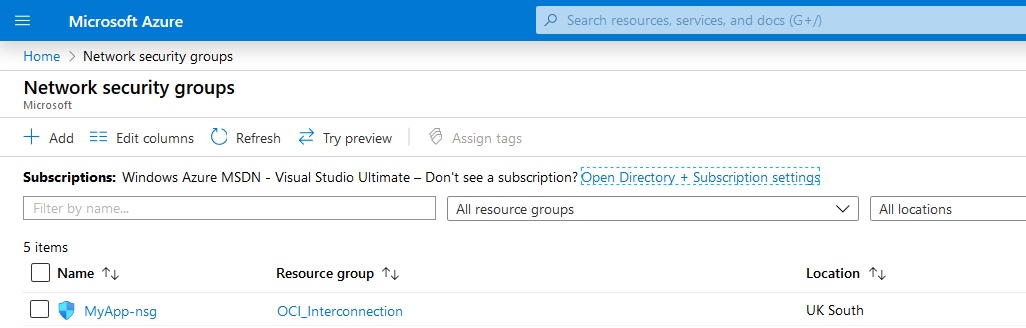
- Search for Network security groups in the search field and click on it.

- Click on MyApp-nsg, which is associated with your virtual machine.
-
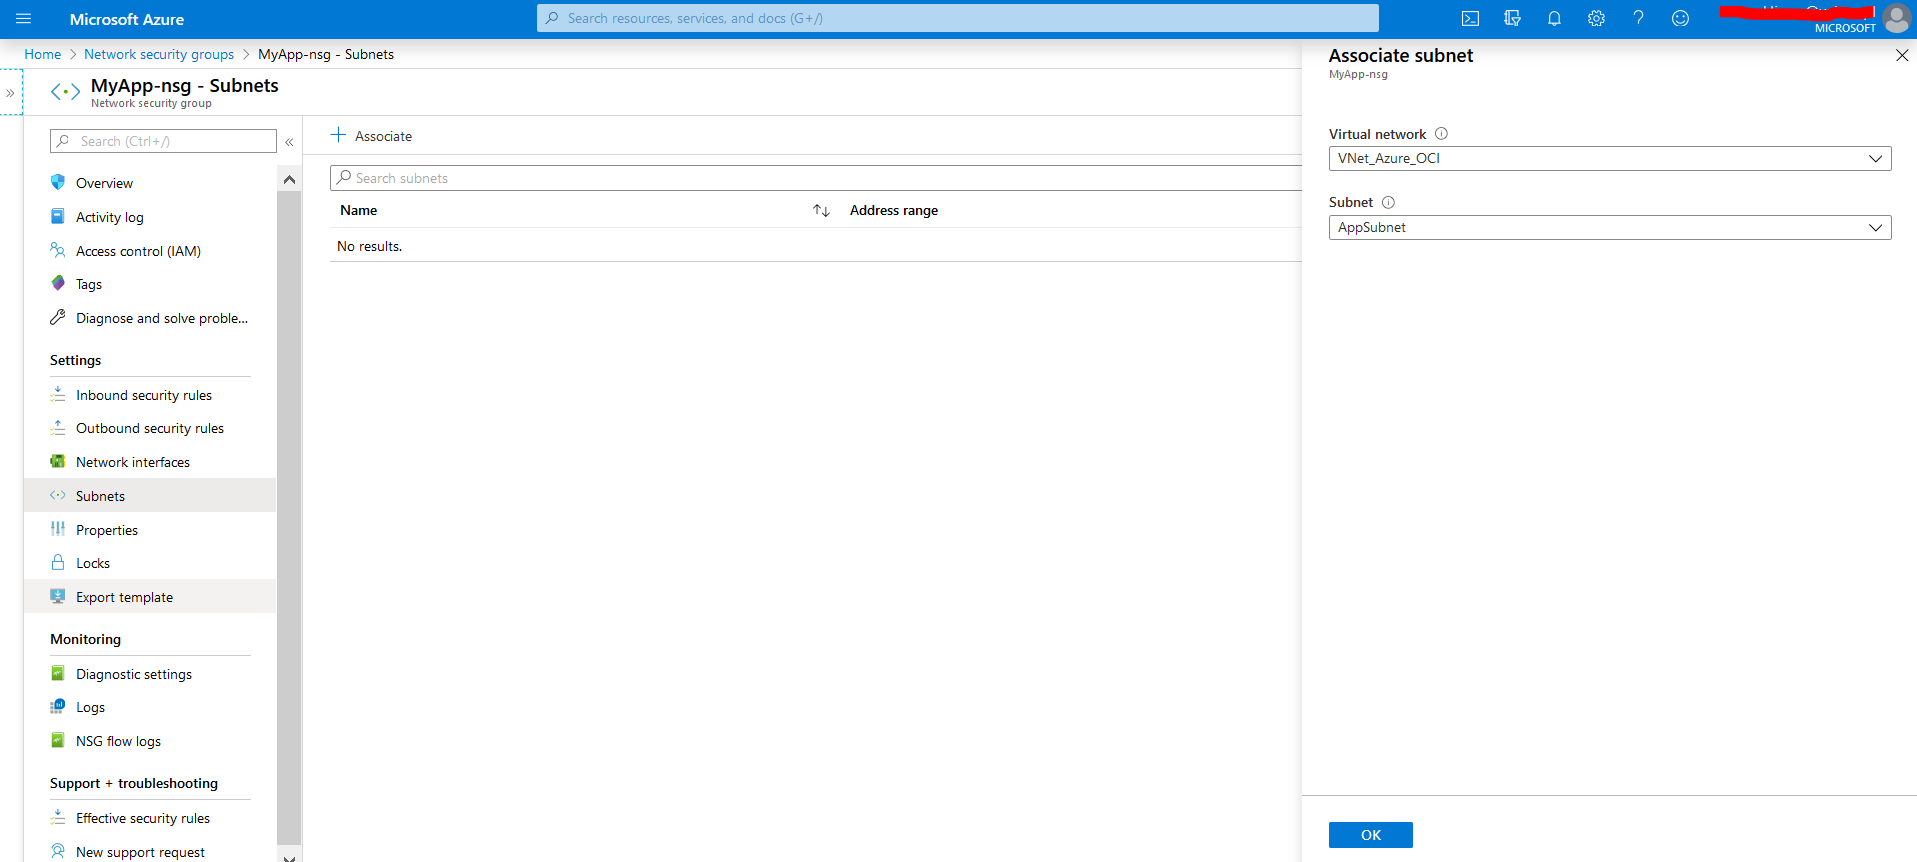
Under Settings select Subnets, then click on Associate button and provide the following:
-
Select Virtual network: VNet_Azure_OCI.
-
Select Subnet: AppSubnet.
-
Click OK.
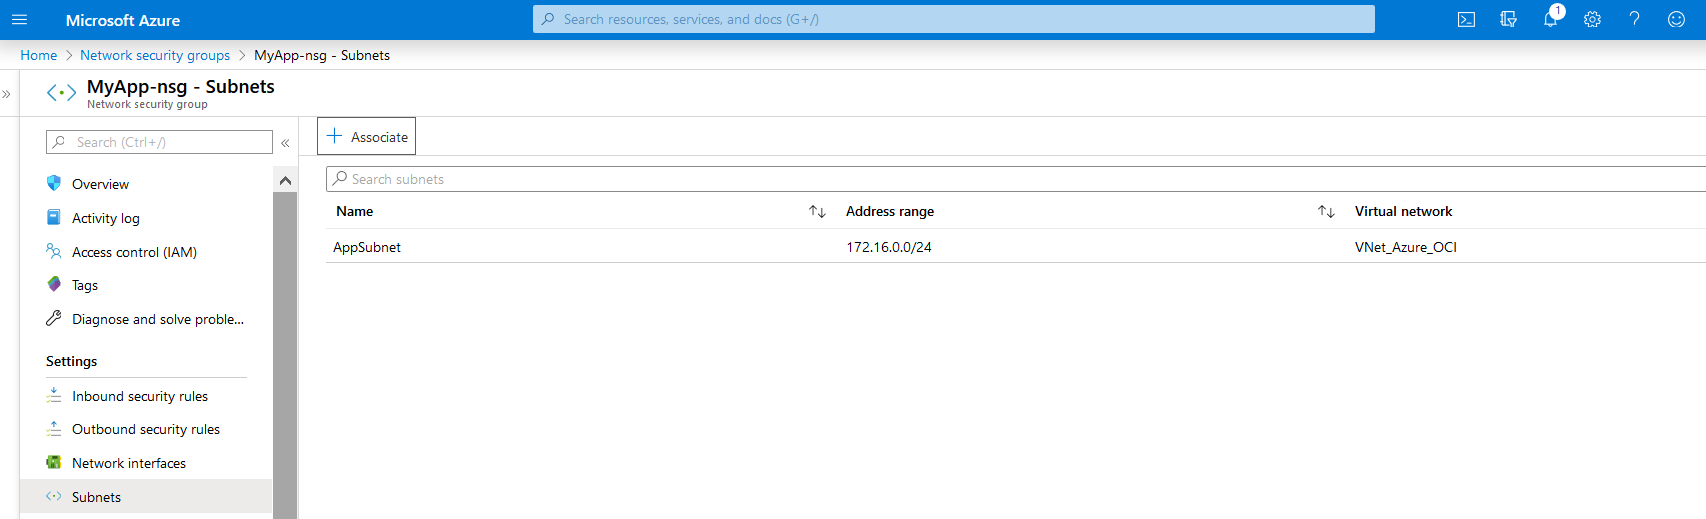
-
- The associated subnet and VNet should appear on the list as below:
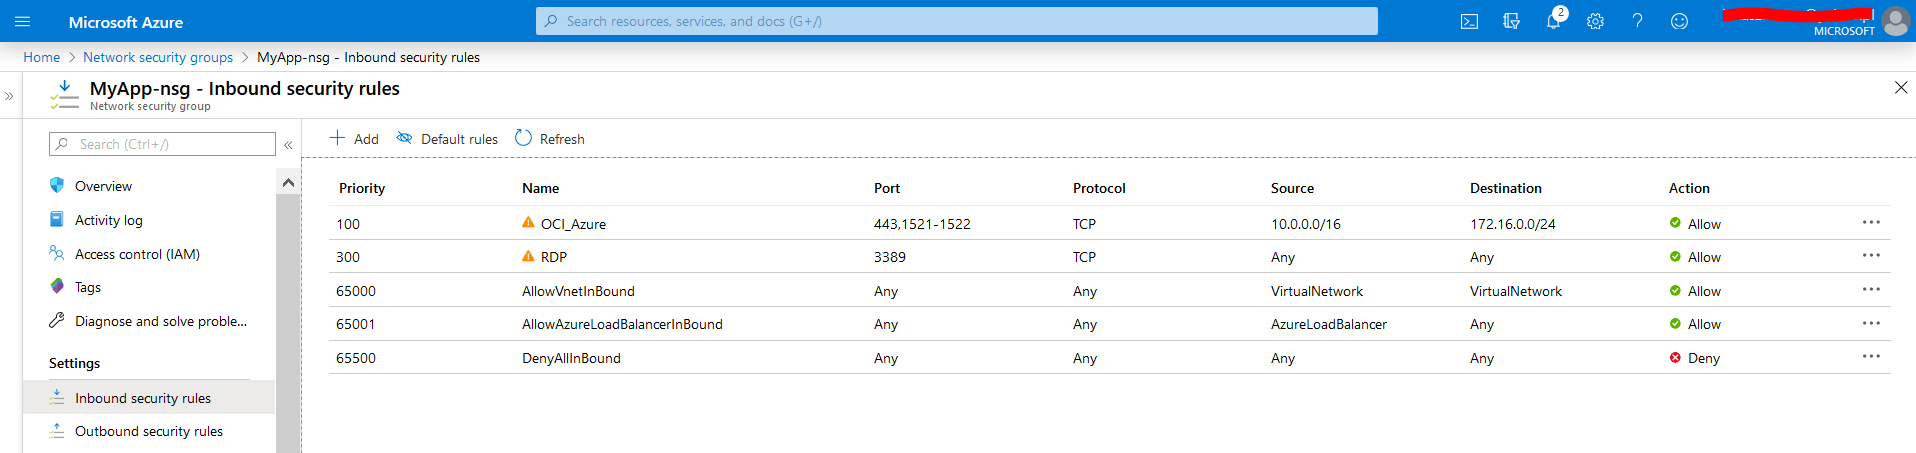
- Click on the Inbound security rules under Settings and then Add button in order to add relevant security group rules to allow traffic from Virtual Cloud Network on Oracle Cloud Infrastructure.
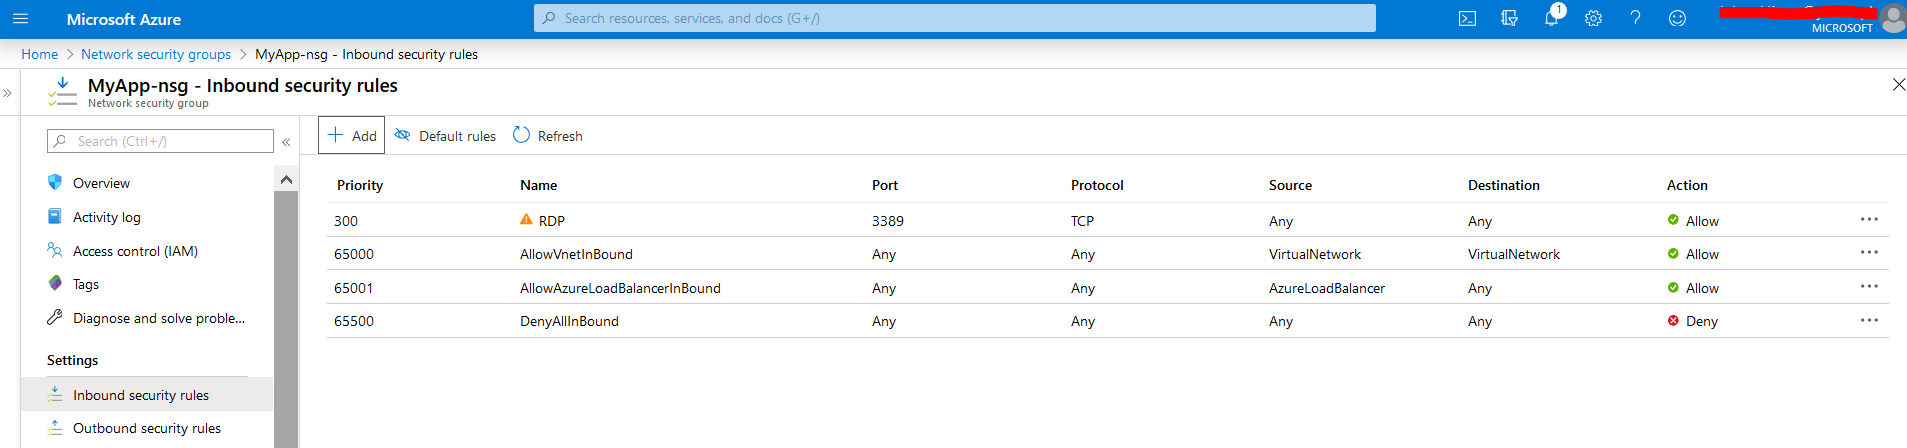
-
You will add two rules, one for port 443 and another for 1521-1522 in order to enable connection to Autonomous Database through OCI VCN (10.0.0.0/16) from your Application running on Virtual Machine in Azure VNet Subnet (172.16.0.0/24).
- Provide all the details as shown below.
- Click Add button.

- Created Inbound Security Rules should appear on the list.
Step 5: Create Route table and associate it with Azure VNet
- Search for Route tables in the search field and click on it.

- On the Route tables screen, click Add or Create Route Table button.
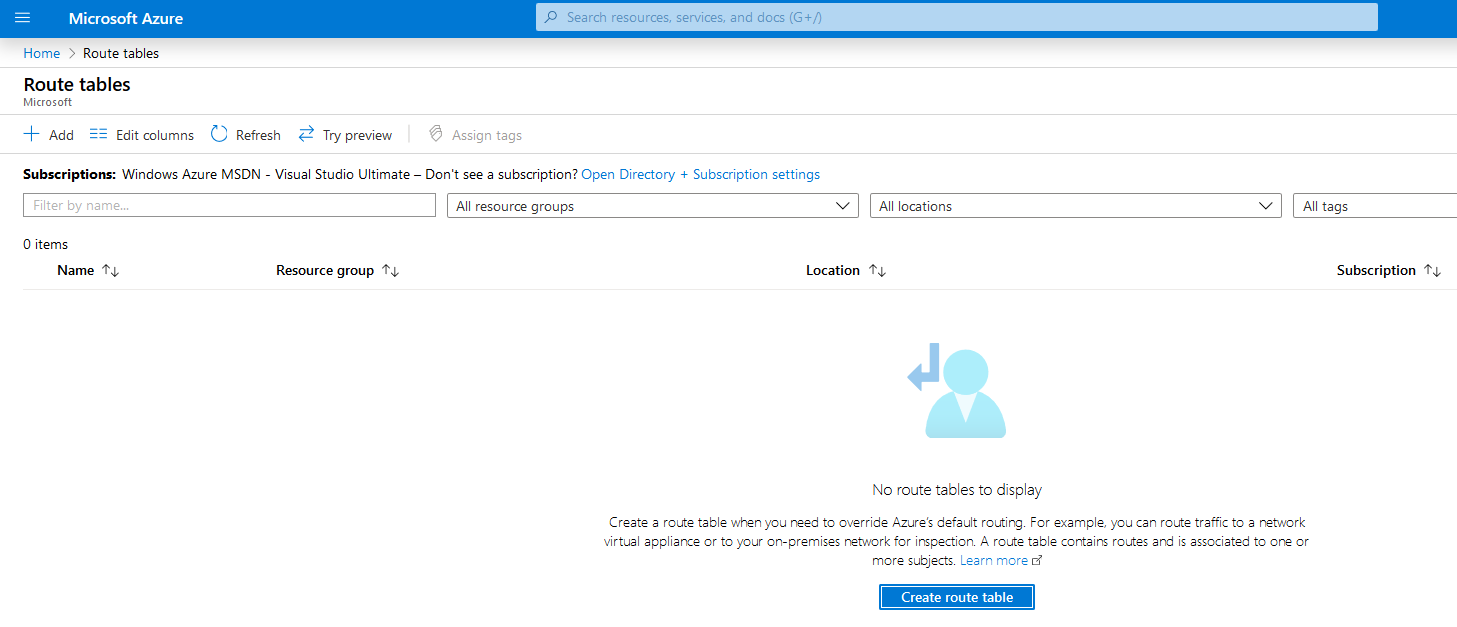
-
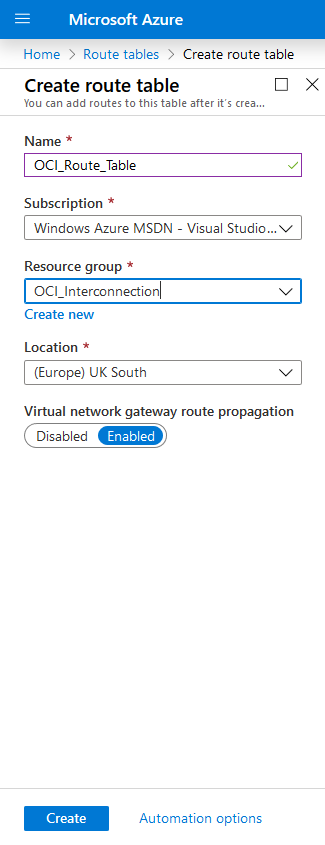
Under Create Route Table screen provide the following details:
-
Provide a Name, such as OCI_Route_Table.
-
Select your Resource Group: OCI_Interconnection.
-
Leave the rest as default.
-
Click Create button.
-
- Once the new route table is created, go to the resource, select Routes under Settings and click Add button in order to add a route.
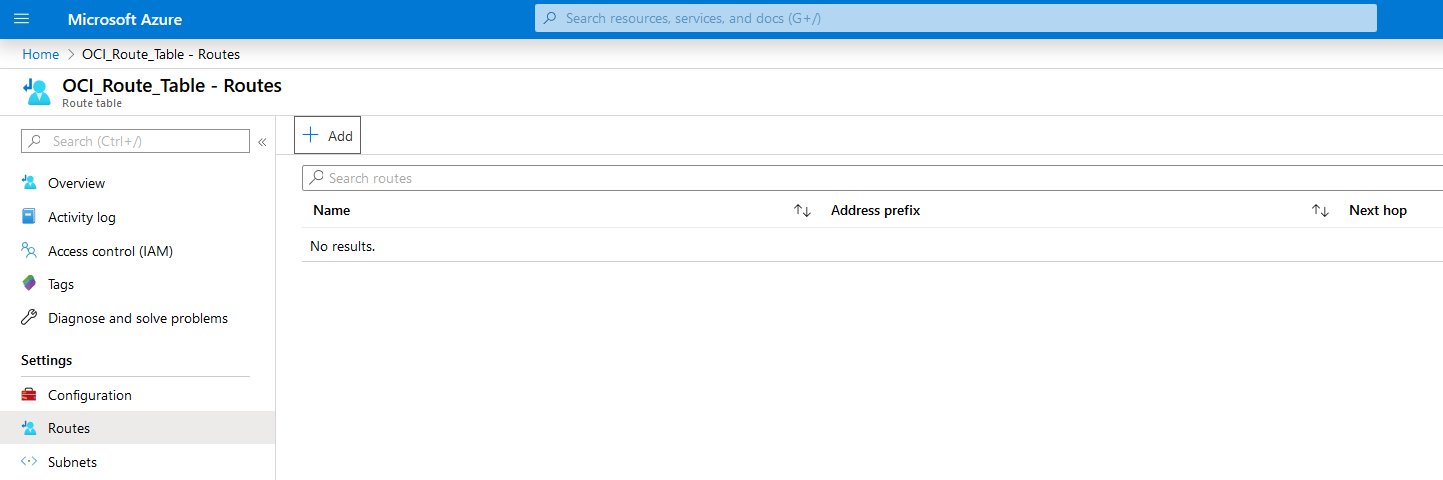
-
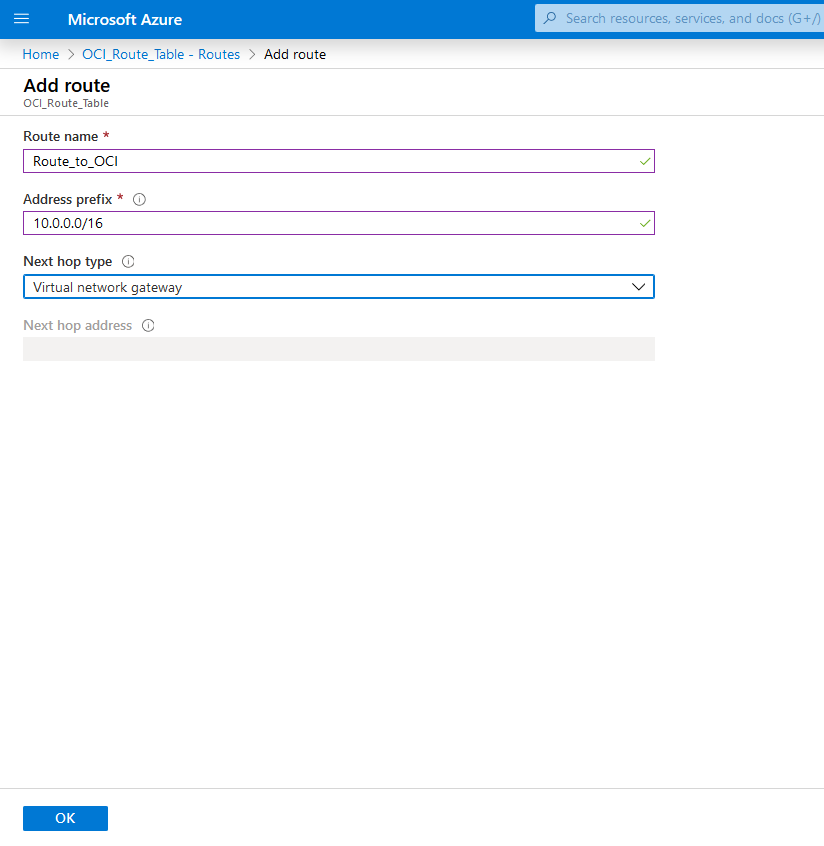
On the Add route provide the following:
-
Name for the route, such as Route_to_OCI.
-
Address prefix of the OCI VCN: 10.0.0.0/16.
-
Leave Next Hop Type as Virtual Network Gateway.
-
Click OK.
-
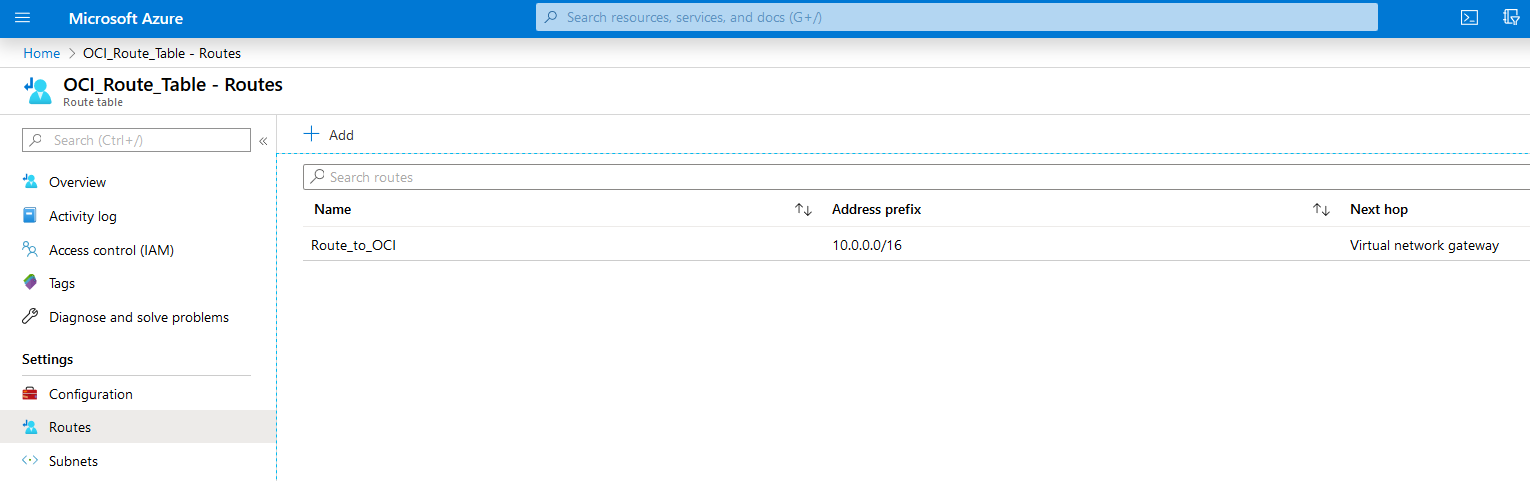
- The Route should appear on the list.
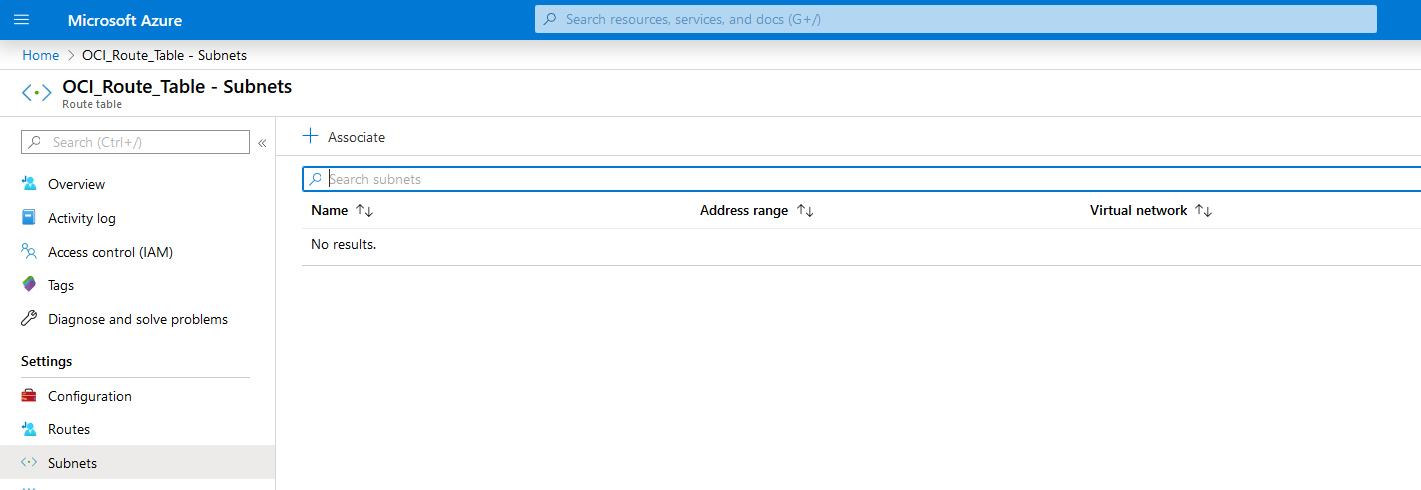
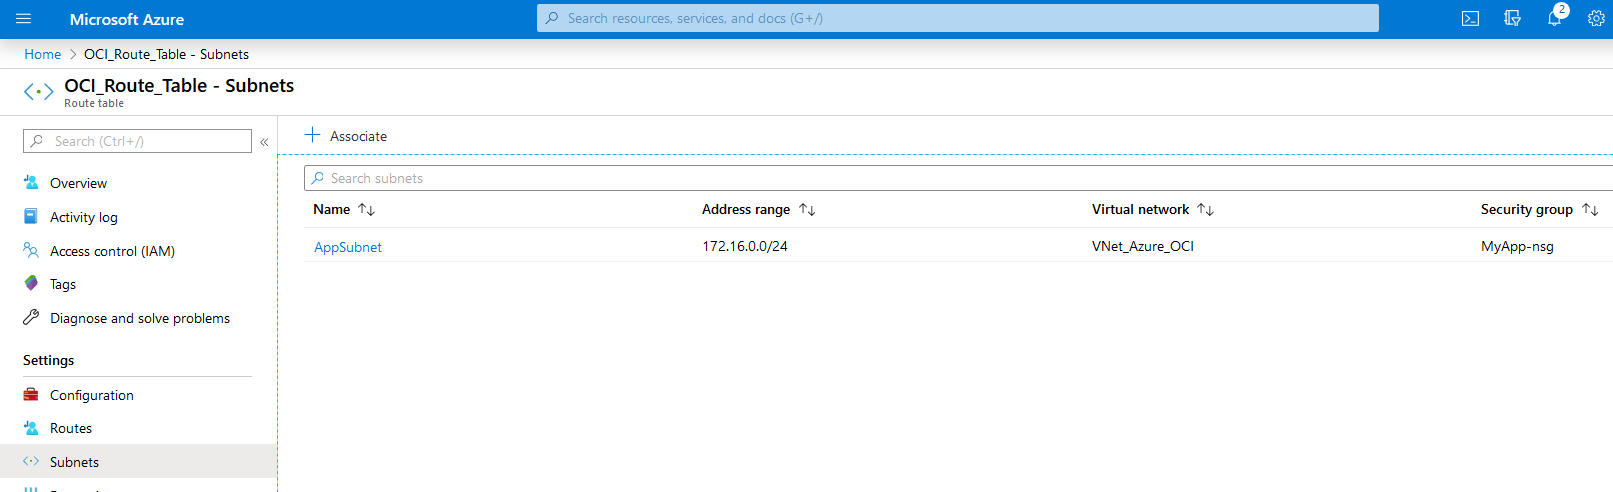
- Select Subnets under Settings and click Associate in order to associate created route table with AppSubnet.
-
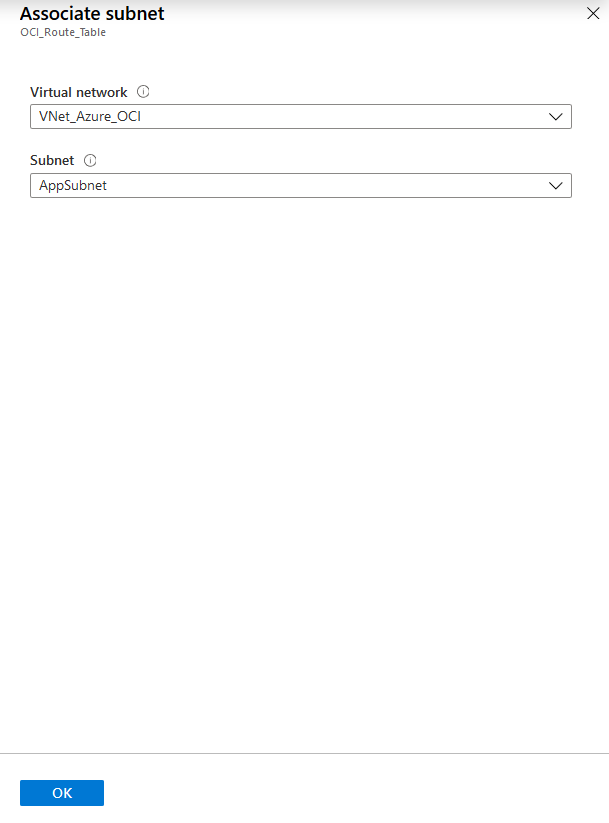
On the Associate subnet screen please do the following:
-
Select VNet_Azure_OCI as Virtual network.
-
Select AppSubnet as Subnet.
-
Click OK to associate.
-
- Associated subnet should appear on the list.
You have created an ExpressRoute, linked it with our Virtual Network Gateway and configured network security group and route table to allow traffic connectivity with OCI VCN.
Step 6: Test your Connection again
- Go to your Visual Studio installed on MyApp VM on Azure.
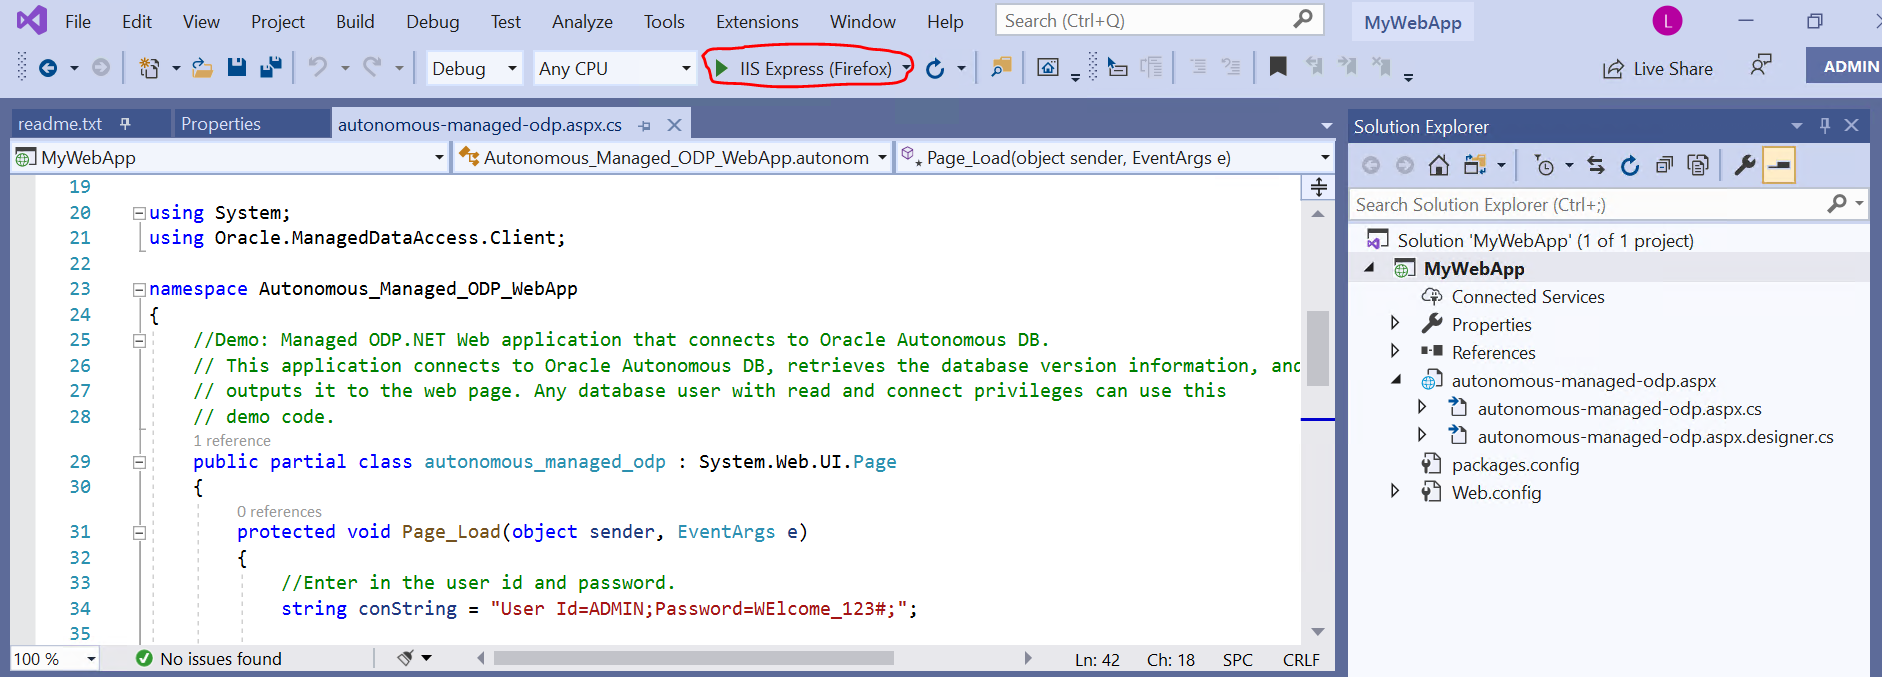
- Confirm that your application is connected to the Autonomous Database.
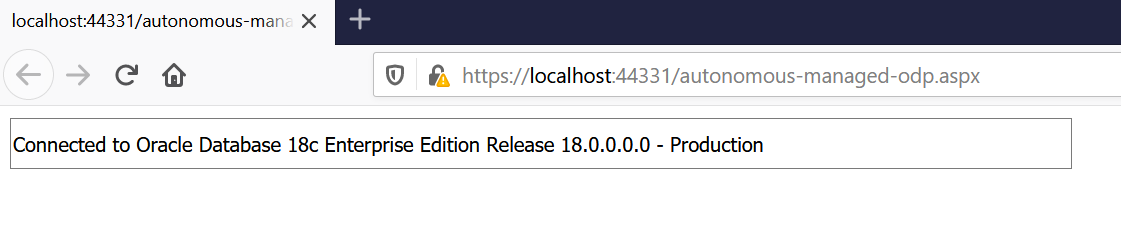
Congratulations! You are connected to Oracle Autonomous Database and have completed all laboratories.