Apache APISIX
Apache APISIX is an open source cloud native API platform that supports the full lifecycle of API management including publishing, traffic management, deployment strategies, and circuit breakers.
Installing APISIX
Apache APISIX will be installed if the apisix.enabled is set to true in the values.yaml file. The default namespace for Apache APISIX is apisix.
Accessing Apache APISIX
Oracle Backend for Microservices and AI deploys the Apache APISIX Gateway and Dashboard in the apisix namespace by default. The gateway is exposed via an external load balancer and an ingress controller.
To access the Apache APISIX APIs, use kubectl port-forward to create a secure channel to service/apisix-admin. Run the following command to establish the secure tunnel (replace the example namespace obaas-dev with the namespace where APISIX is deployed):
kubectl port-forward -n obaas-dev svc/apisix-admin 9180
Retrieving admin key
To access the APISIX APIs, you need the admin key. Retrieve it with the following command (replace the example namespace obaas-dev with the namespace where APISIX is deployed):
Option 1 - Using yq:
kubectl -n obaas-dev get configmap apisix -o yaml | yq '.data."config.yaml"' | yq '.deployment.admin.admin_key[] | select(.name == "admin") | .key'
Option 2 - Manual retrieval:
If the command above doesn't work:
- Run:
kubectl get configmap apisix -n obaas-dev -o yaml - Look for the
config.yamlsection - Find
deployment.admin.admin_keyand copy the key value
Test the admin key by running a simple curl command; it should return the list of configured routes.
curl http://127.0.0.1:9180/apisix/admin/routes -H "X-API-key: $admin_key" -X GET
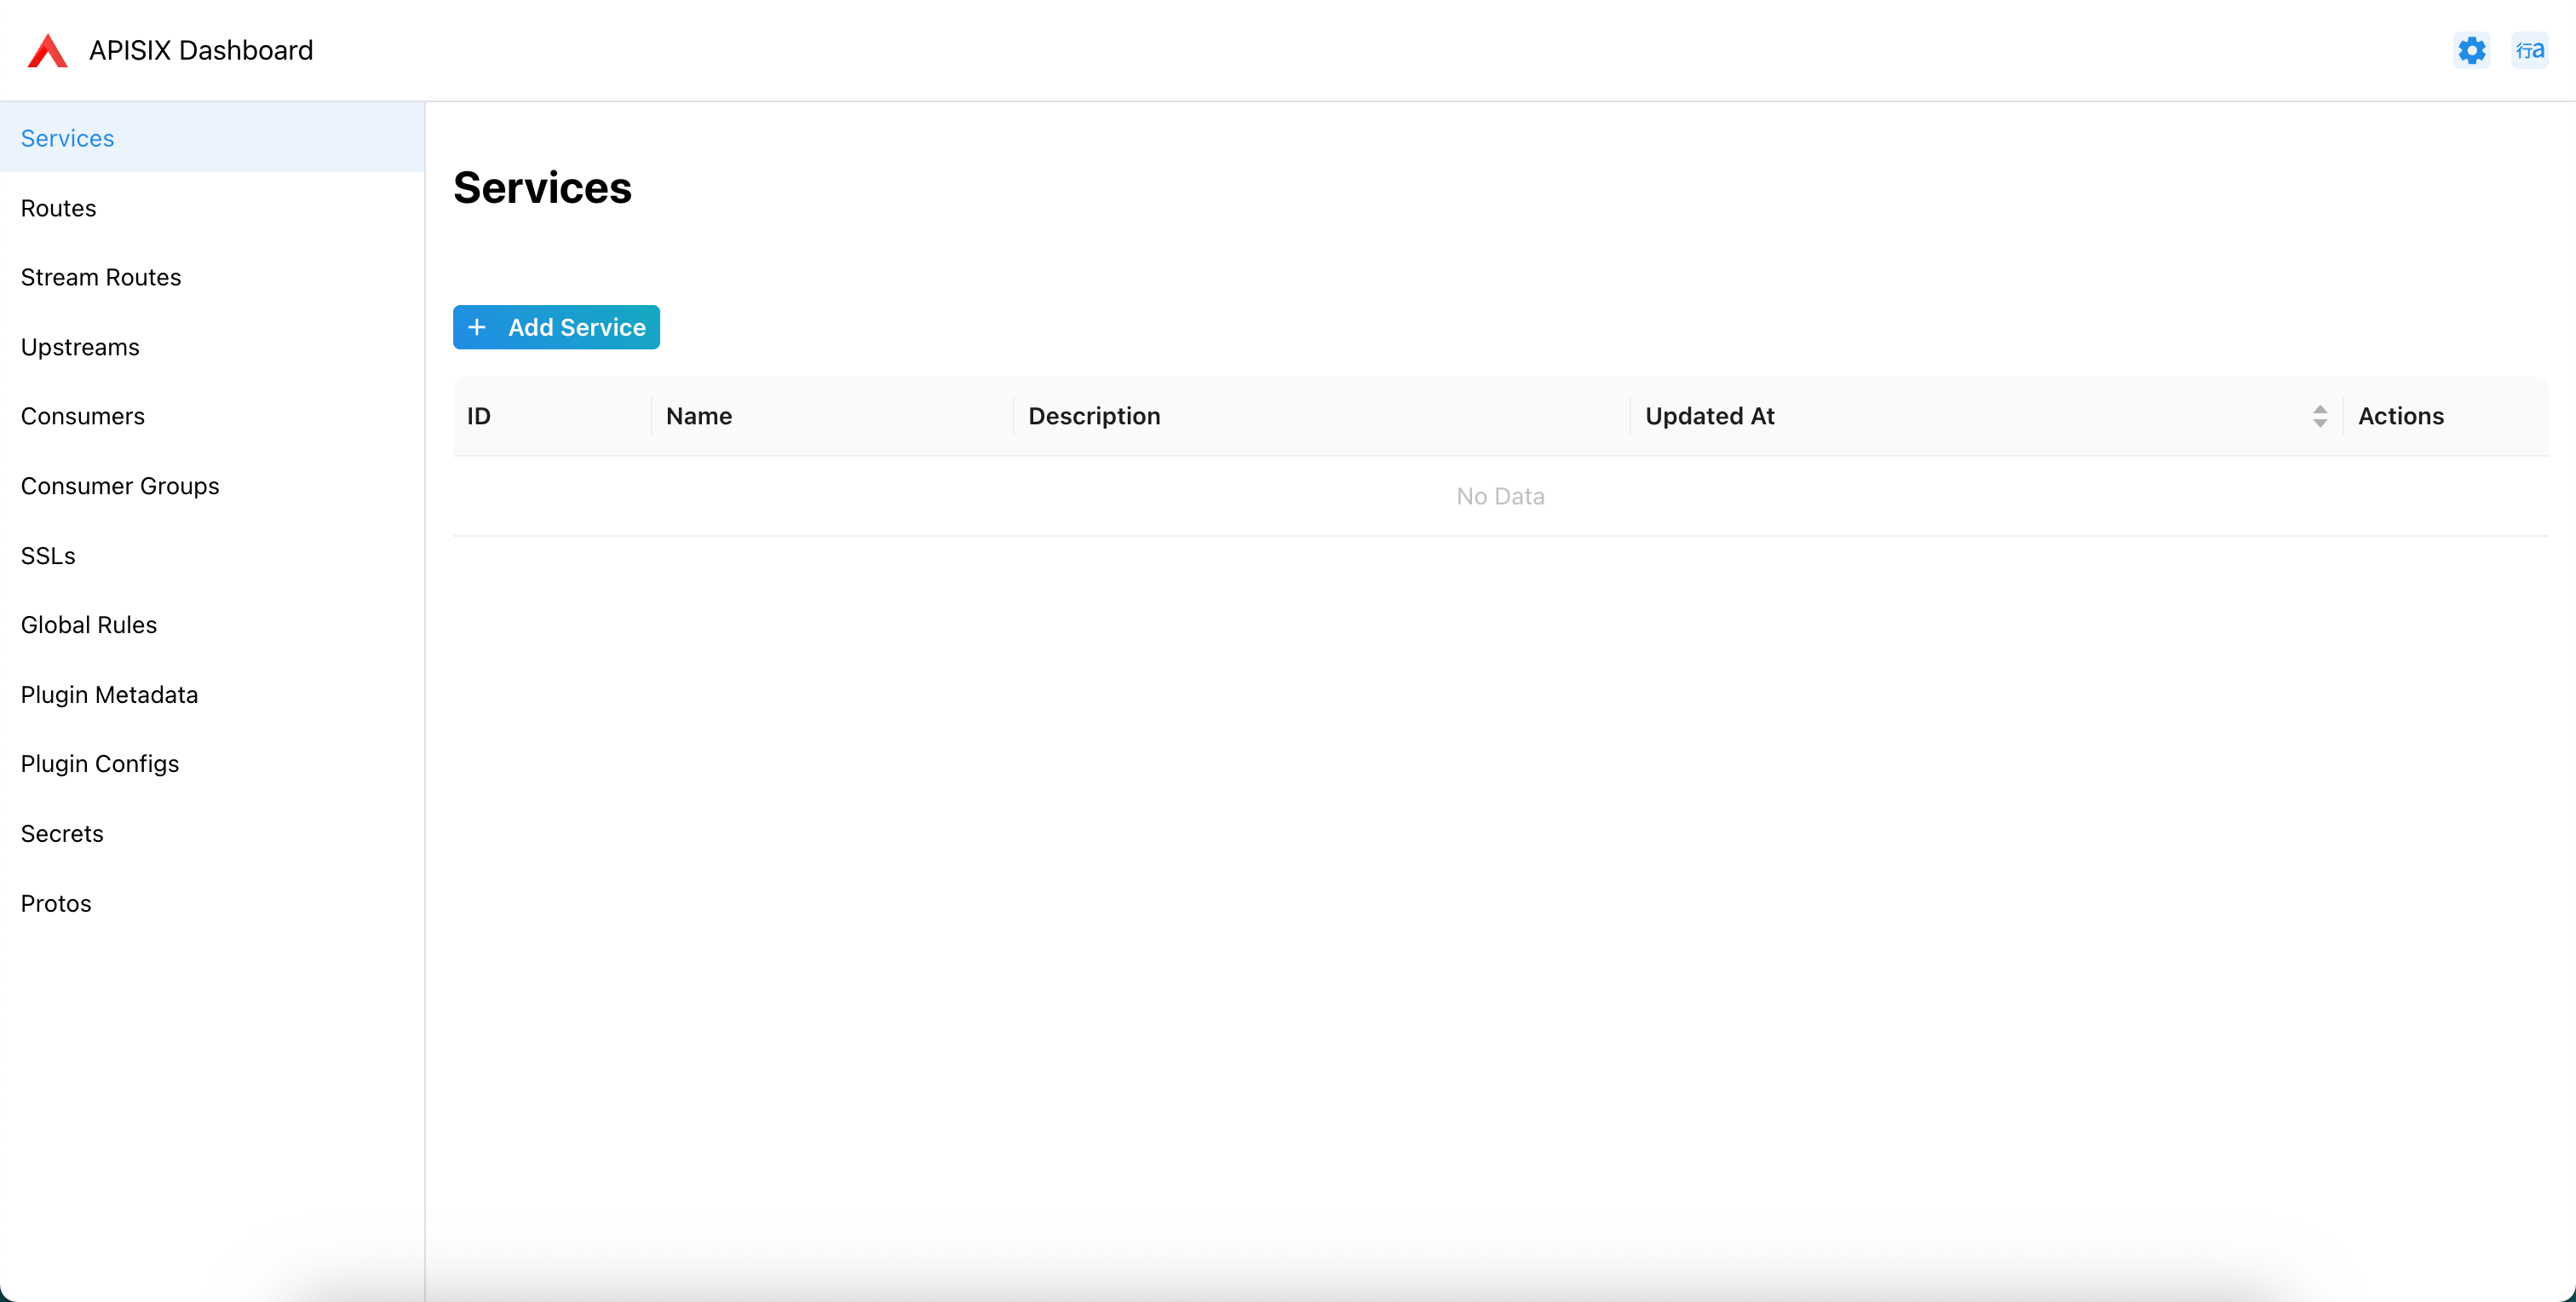
Accessing APISIX Dashboard
Note that all functionality is not available in the dashboard. You might need to use the REST APIs
APISIX has an embedded dashboard that can be accessed after a tunnel is established to the apisix-admin service. The dashboard is available on http://localhost:8190/ui. NOTE: you need the Admin key to be able to access the dashboard.
Configuring APISIX using REST APIs
You can configure and update the APISIX gateway using the provided APIs. Pleas refer to the API Documentation for detailed information.
Using custom plugins
You can install custom plugins in APISIS using the Helm charts.
First, add an extraConfigMaps section to the values.yaml file that you use with the obaas Helm chart. This will allow you
to create extra arbitrary Config Maps in your cluster as part of the OBaaS installation. In this config map, add one key (data item)
for each plugin, and include the Lua code for the plugin, as shown in the example below. You may list as many custom plugins as desired.
# ConfigMaps created by the parent chart
# Each top-level key becomes a ConfigMap name, with nested keys as data entries
extraConfigMaps:
  apisix-custom-plugin:
    abd.lua: |
      local core = require("apisix.core")

      local plugin_name = "abd"

      local _M = {
          version = 0.1,
          priority = 2500,
          name = plugin_name,
          schema = {}
      }

      function _M.access(conf, ctx)
          core.log.warn("ABD plugin executed")
      end

      return _M
    xyz.lua: |
      local core = require("apisix.core")

      local plugin_name = "xyz"

      local _M = {
          version = 0.1,
          priority = 2501,
          name = plugin_name,
          schema = {}
      }

      function _M.access(conf, ctx)
           core.log.info("XYZ plugin executed")
      end

      return _M
Next, in the apisix section, add a customPlugins section to configure the plugins, here is an example that loads the two plugins defined above:
# custom plugin
apisix:
  apisix:
    customPlugins:
      enabled: true
      luaPath: "/opts/custom_plugins/?.lua"
      plugins:
        - name: "abd"
          attrs: {}
          configMap:
            name: "apisix-custom-plugin"
            mounts:
              - key: "abd.lua"
                path: "/opts/custom_plugins/apisix/plugins/abd.lua"
        - name: "xyz"
          attrs: {}
          configMap:
            name: "apisix-custom-plugin"
            mounts:
              - key: "xyz.lua"
                path: "/opts/custom_plugins/apisix/plugins/xyz.lua"
Note that the luaPath does not contain the “apisix/plugins” part because APISIX will automatically add that when it searches for the plugin source code files.
After you have deployed OBaaS, you can access the APISIX admin service to create a route and attach your plugins to the route. Here is an example of a route that uses the abd plugin from the example above:
{
  "list": [
    {
      "key": "/apisix/routes/00000000000000000076",
      "value": {
        "uri": "/test-plugin*",
        "methods": [
          "GET"
        ],
        "plugins": {
          "abd": {}
        },
        "update_time": 1772900293,
        "upstream": {
          "discovery_type": "eureka",
          "pass_host": "pass",
          "scheme": "http",
          "hash_on": "vars",
          "tls": {
            "verify": false
          },
          "service_name": "CONFIG-SERVER",
          "type": "roundrobin"
        },
        "priority": 0,
        "id": "00000000000000000076",
        "status": 1,
        "name": "abc",
        "enable_websocket": false,
        "create_time": 1772899208
      },
      "modifiedIndex": 96,
      "createdIndex": 77
    }
  ],
  "total": 1
}
You can then hit the uri in the route to test it, for example:
curl http://IP_ADDRESS:8080/test-plugin/1

{"name":"test-plugin","profiles":["1"],"label":null,"version":null,"state":null,"propertySources":[]}
You can check the APISIX pod log to confirm the plugin was executed, in this example by verifying you see the HTTP GET and also the ADB plugin executed message that the plugin printed:
2026/03/07 16:18:31 [warn] 56#56: *38964 [lua] abd.lua:13: phase_func(): ABD plugin executed, client: 127.0.0.1, server: _, request: "GET /test-plugin/1 HTTP/1.1", host: "localhost:8080"
127.0.0.1 - - [07/Mar/2026:16:18:31 +0000] localhost:8080 "GET /test-plugin/1 HTTP/1.1" 200 112 0.021 "-" "curl/7.81.0" 10.42.0.48:8080 200 0.022 "http://localhost:8080"
Note that you do not need to list your custom plugins in the apisix.apisix.plugins list in the values.yaml for the obaas Helm chart, APISIX will automatically
add your custom plugins to its configuration.