![]()
Kubernetes labs - Cloud Shell setup
Introduction
Estimated module duration 10 mins.
Objectives
This module takes you through the process of setting up your OCI Cloud shell environment for the Kubernetes labs (including the optional labs)
Prerequisites
You need to complete the Create your Kubernetes cluster module.
Task 1: Accessing the cloud shell
You will be using the Oracle OCI Cloud shell to run the Kubernetes parts of the labs.
The OCI Cloud Shell is accessible through the Oracle Cloud GUI, and has a number of elements set up out of the box, like the Oracle Cloud Command Line Interface, and it also has quite some useful command-line tools pre-installed, like git, docker, kubectl, helm and more.
To access the OCI Cloud Shell, you can use the native browser on your laptop (you don’t need to use the Linux desktop VM anymore).
-
Login to your Oracle Cloud Console
-
Click the icon on the top right of your screen: >_
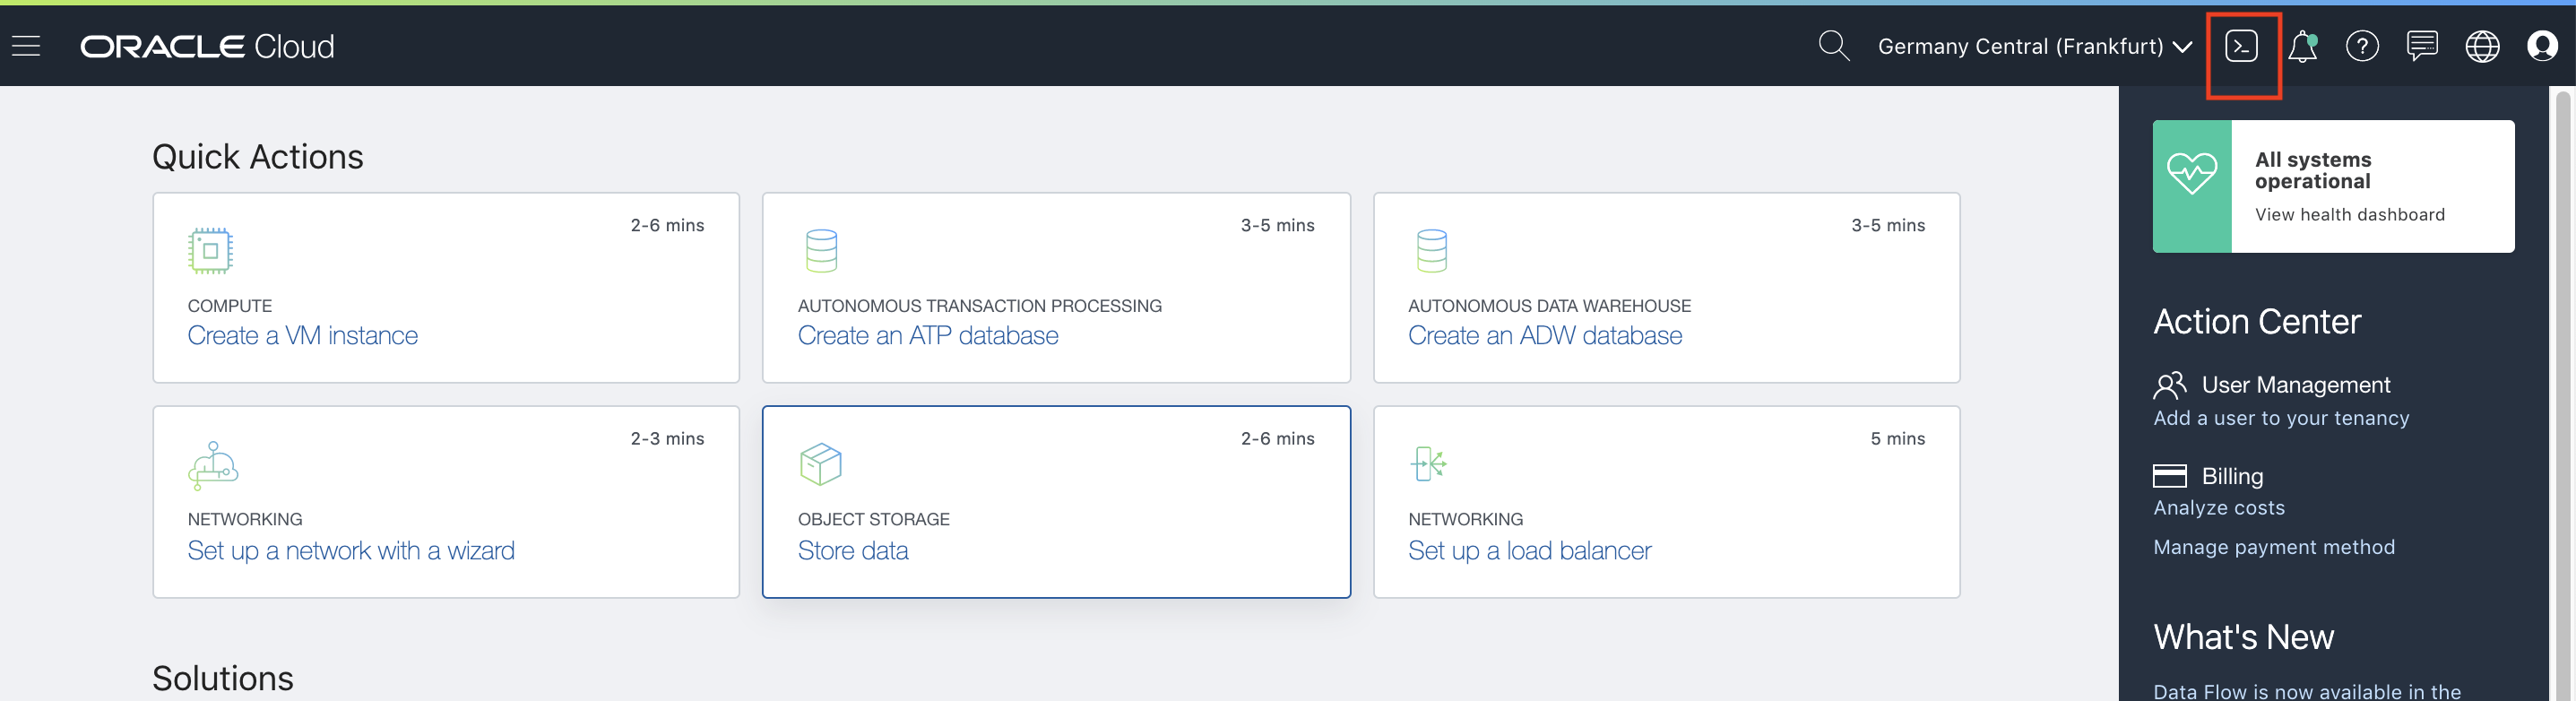
- This will result in the OCI Cloud Shell to be displayed at the bottom of your window.
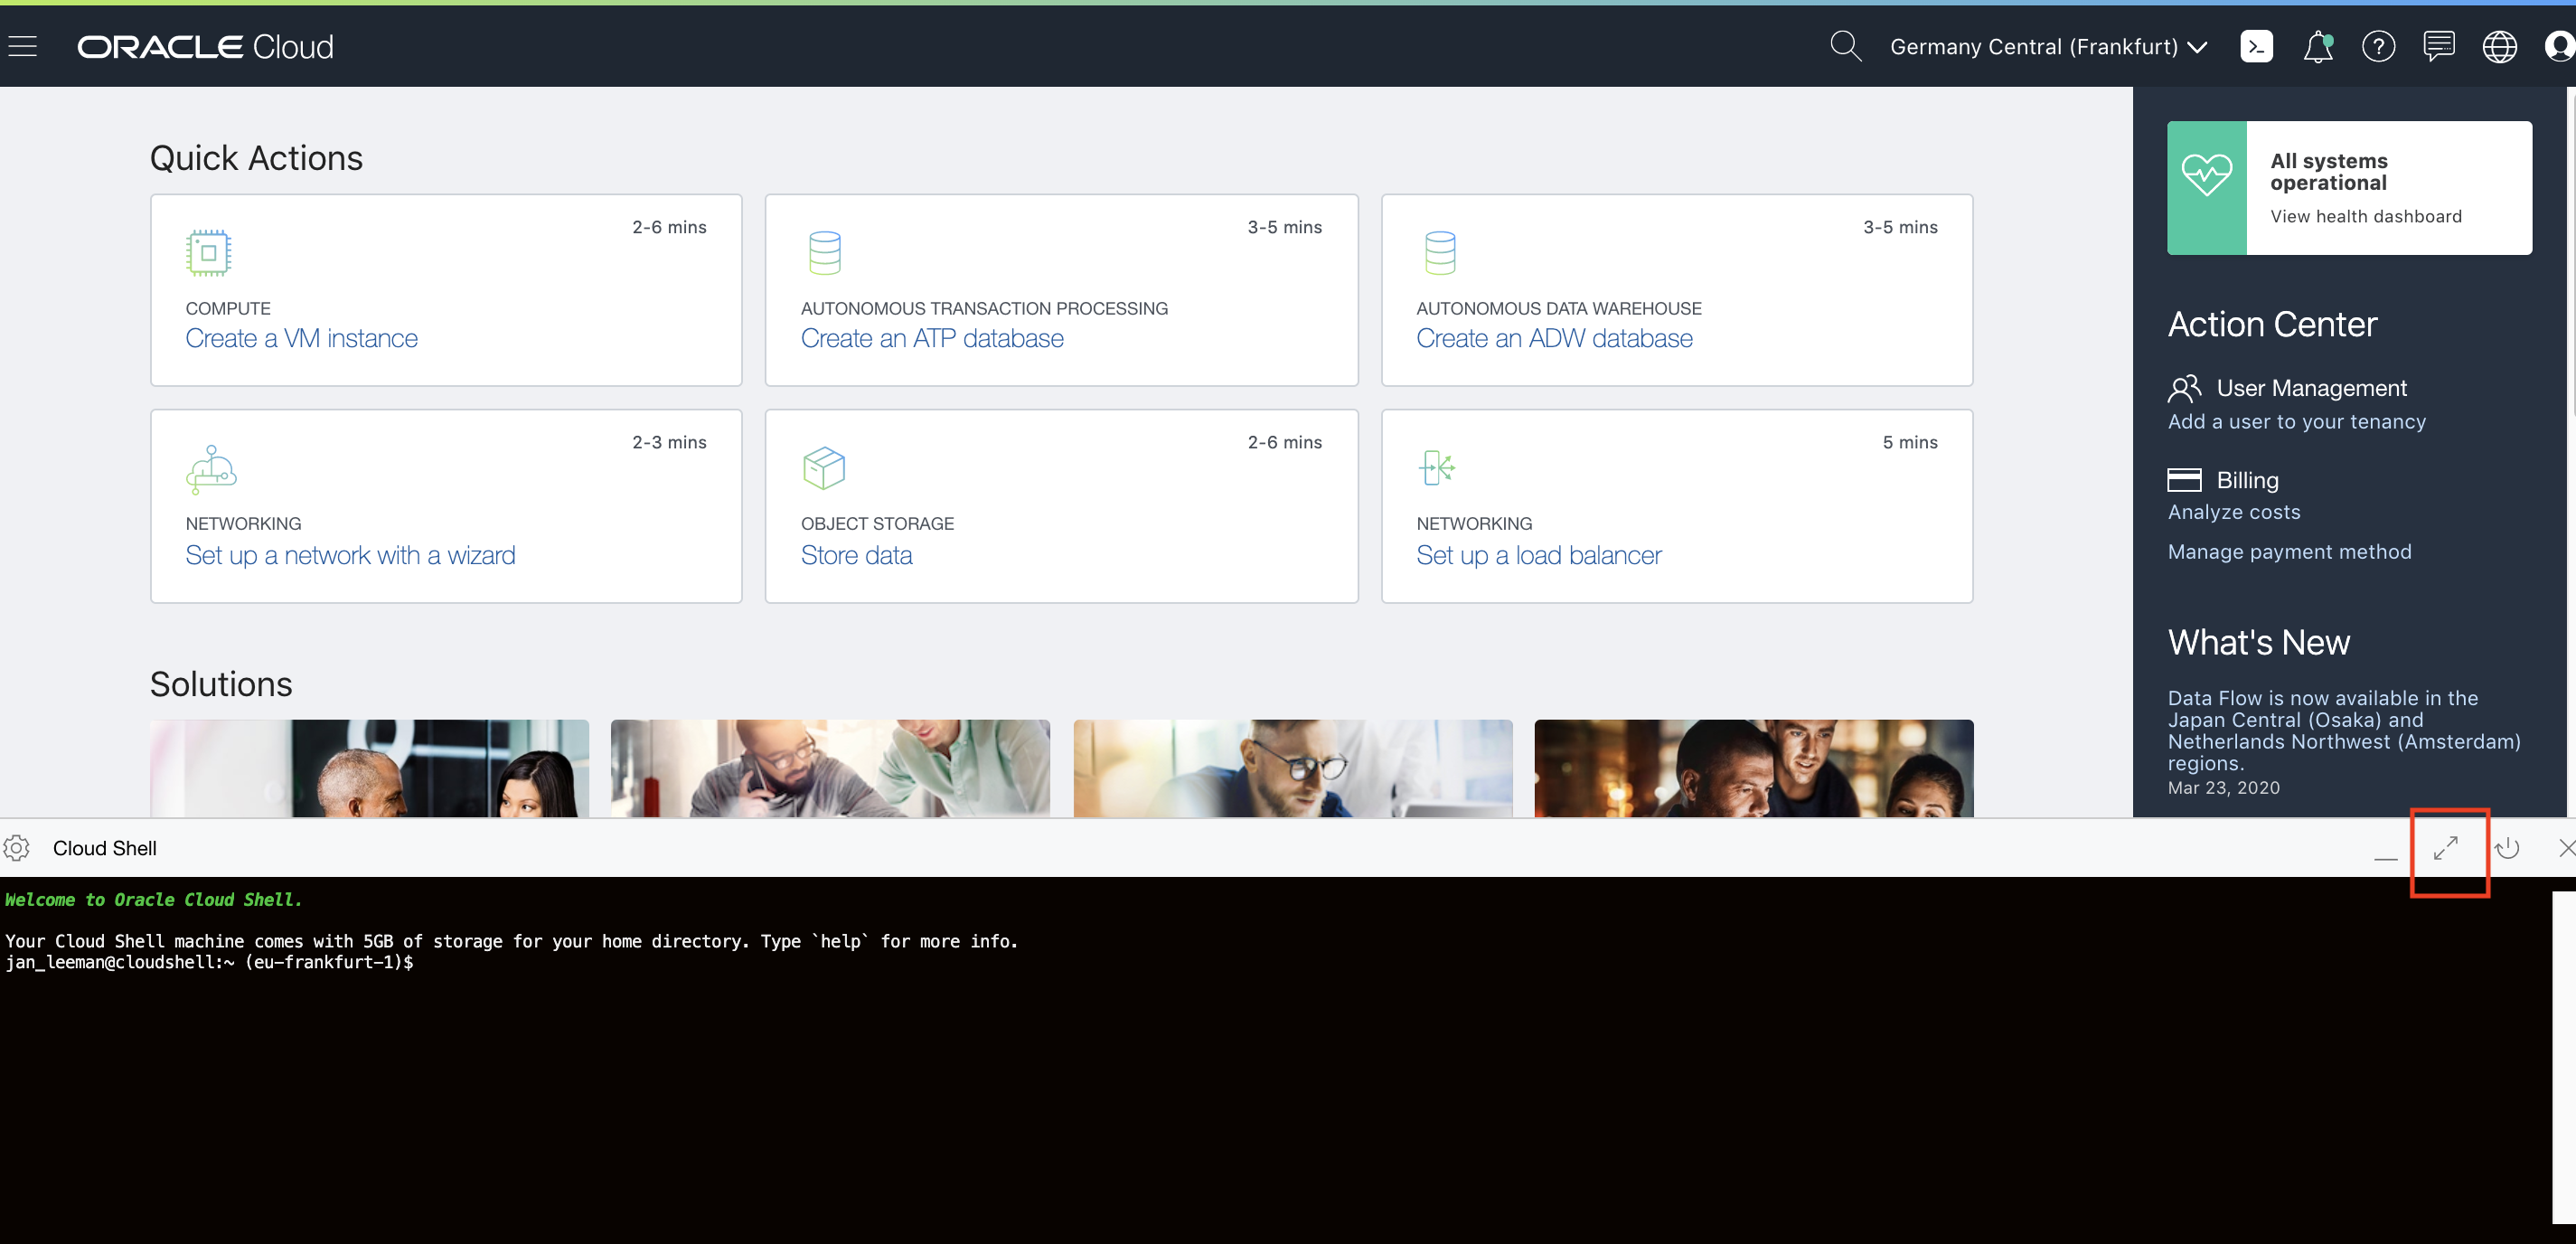
- To maximise the size of the OCI Cloud Shell window, click the “Arrows” button on the right of the console as indicated above:
Note, in some tasks you may want to minimize the OCI Cloud Shell so you can get information from the GUI. Click the arrows icon again  to minimize the OCI Cloud Shell and see the Oracle Cloud GUI again. Alternatively you can open a second browser window or tab onto the Oracle Cloud GUI.
In some tasks you are asked to edit files. The OCI Cloud Shell supports typical Linux editors such at vi, emacs and nano Use the editor you prefer to make changes to files. When you use kubectl to edit configuration directly however it uses a vi style editor.
Not familiar with vi ?
If you are not familiar with vi this is a very short intro vi is a modal editor, there are two modes, navigating around (done using the cursor keys on your keyboard) and editing To edit navigate to the place you want to change using the keyboard arrows, **x** key on the keyboard will delete the character under the cursor **i** key will switch to editing mode and start to insert in front of the cursor (you can use delete etc.) To switch back to the navigation mode then press the **Escape** key on your keyboard. When you have finished changing the file then press the **Escape** key on your keyboard then press **ZZ** (that's capital Z twice) to save the file and exit For more details on vi there is a [guide here](http://heather.cs.ucdavis.edu/~matloff/UnixAndC/Editors/ViIntro.html) ---Permissions problem accessing the OCI Cloud Shell ?
If you are denied access to the OCI Cloud Shell then it means that you do not have the right policies set for your groups in your tenancy. This can happen in existing tenancies if you are not an admin or been given rights via a policy. (In a trial tenancy you are usually the admin with all rights so it's not generally an issue there.) You will need to ask your tenancy admin to add you to a group which has rights to access the OCI Cloud Shell. See the [Required IAM policy](https://docs.cloud.oracle.com/en-us/iaas/Content/API/Concepts/cloudshellintro.htm#RequiredIAMPolicy) in the OCI Cloud Shell documentation. ---Task 2: Downloading the scripts and templates
Firstly we need to download all of the scripts, templates and other configuration data to run the labs into your OCI Cloud Shell environment. You have a few GB of storage so these will fit just fine. The scripts and instructions are stored in git.
-
Open the OCI Cloud Shell
-
Make sure you are in the top level directory
<copy>cd $HOME</copy>
- Clone the repository with all scripts from github into your OCI Cloud Shell environment
<copy>git clone https://github.com/CloudTestDrive/helidon-kubernetes.git</copy>
Task 3: Downloading the database wallet file
Usually you do not hard code the database details in to the images, they are held externally. This is for security reasons, and also convenience, you may decide to switch to a different database, or just change the user password of the database, and it’s a lot easier doing that through configuration than having to rebuild the image.
To keep the secrets outside the image means that you need to get the database connection details so you can add them to your Kubernetes configuration.
We will use the OCI Cloud Shell to download the database wallet file.
- Make sure you are in the top level directory
<copy>cd $HOME</copy>
- Attention: replace the example OCID below with the OCID of your database. If you didn’t copy this when you created the database or don’t have it then if you go to the database page for your instance (Hamburger -> Oracle Database -> Autonomous Transaction Processing -> your instance) it will be shown there with a copy link)
oci db autonomous-database generate-wallet --file Wallet.zip --password 'Pa$$w0rd' --autonomous-database-id ocid1.autonomousdatabase.oc1.eu-frankfurt-1.aa8d698erlewaiehqrfklhfoeqwfaalkdhfuieiq
Downloading file [####################################] 100%
- Create the wallet directory and navigate to it:
<copy>mkdir -p $HOME/helidon-kubernetes/configurations/stockmanagerconf/Wallet_ATP</copy>
<copy>cd $HOME/helidon-kubernetes/configurations/stockmanagerconf/Wallet_ATP</copy>
- Copy the wallet file to the directory
<copy>cp $HOME/Wallet.zip .</copy>
- Unzip the wallet file
<copy>unzip Wallet.zip</copy>
- Look at the contents of the tnsnames.ora file to get the database connection names
<copy>cat tnsnames.ora</copy>
jleoow_high = (description= (retry_count=20)(retry_delay=3)(address=(protocol=tcps)(port=1522)(host=adb.eu-frankfurt-1.oraclecloud.com))(connect_data=(service_name=cgipkrq1hwcdlkv_jleoow_high.atp.oraclecloud.com))(security=(ssl_server
_cert_dn="CN=adwc.eucom-central-1.oraclecloud.com,OU=Oracle BMCS FRANKFURT,O=Oracle Corporation,L=Redwood City,ST=California,C=US")))

jleoow_low = (description= (retry_count=20)(retry_delay=3)(address=(protocol=tcps)(port=1522)(host=adb.eu-frankfurt-1.oraclecloud.com))(connect_data=(service_name=cgipkrq1hwcdlkv_jleoow_low.atp.oraclecloud.com))(security=(ssl_server_c
ert_dn="CN=adwc.eucom-central-1.oraclecloud.com,OU=Oracle BMCS FRANKFURT,O=Oracle Corporation,L=Redwood City,ST=California,C=US")))

jleoow_medium = (description= (retry_count=20)(retry_delay=3)(address=(protocol=tcps)(port=1522)(host=adb.eu-frankfurt-1.oraclecloud.com))(connect_data=(service_name=cgipkrq1hwcdlkv_jleoow_medium.atp.oraclecloud.com))(security=(ssl_se
rver_cert_dn="CN=adwc.eucom-central-1.oraclecloud.com,OU=Oracle BMCS FRANKFURT,O=Oracle Corporation,L=Redwood City,ST=California,C=US")))

jleoow_tp = (description= (retry_count=20)(retry_delay=3)(address=(protocol=tcps)(port=1522)(host=adb.eu-frankfurt-1.oraclecloud.com))(connect_data=(service_name=cgipkrq1hwcdlkv_jleoow_tp.atp.oraclecloud.com))(security=(ssl_server_cer
t_dn="CN=adwc.eucom-central-1.oraclecloud.com,OU=Oracle BMCS FRANKFURT,O=Oracle Corporation,L=Redwood City,ST=California,C=US")))

jleoow_tpurgent = (description= (retry_count=20)(retry_delay=3)(address=(protocol=tcps)(port=1522)(host=adb.eu-frankfurt-1.oraclecloud.com))(connect_data=(service_name=cgipkrq1hwcdlkv_jleoow_tpurgent.atp.oraclecloud.com))(security=(ss
l_server_cert_dn="CN=adwc.eucom-central-1.oraclecloud.com,OU=Oracle BMCS FRANKFURT,O=Oracle Corporation,L=Redwood City,ST=California,C=US")))
You will see a list of the various connection types to your database.
-
Locate the “high” connection type to your database and take a note of the full name, in the example above that’s
jleoow_highbut yours will differ -
Be sure to write down the database connection name you have just found, you will need it later
-
Return to the home directory
<copy>cd $HOME</copy>
Task 4: Setting up your department Id
To allow for some lab situations where there are multiple users in the same database we separate tables by department Id, like many other parts of these labs this will be based on your name or initials.
We need to configure the stockmanager-config.yaml file. You need to do this even if you have done the Helidon labs as the set of configuration data downloaded into the OCI Cloud Shell is generic and does not include the customizations you made in the Helidon labs
- Navigate into the folder
<copy>cd $HOME/helidon-kubernetes/configurations/stockmanagerconf/conf</copy>
-
Open the file stockmanager-config.yaml
-
In the
app:section, add a property department with your your name, initials or something that’s going to be unique
department: "your_name"
Example (Yours will be different of course)
app:
  persistenceUnit: "stockmanagerJTA"
  department: "timsDepartment"
- Save the changes to the file
Task 5: Preparing to create certificates and keys
At various points in this lab we’re going to need certificates for securing connections. The cloud shell does include the openssl command which is pretty powerful, but not the easiest to use when dealing with the various levels of certificates we’ll need (Root CA, leaf certs etc.)
To make this a little easier we’re going to use step this is a much easier to use command, but first we need to install it in the cloud shell.
a: Setting up your directory
- To set up these certificates let’s first of all create a working directory
<copy>mkdir $HOME/keys</copy>
- Now let’s switch to it
<copy>cd $HOME/keys</copy>
b: Locating the step executable
-
In a web browser go to The step download page
-
Click on
Linux-otherin the list of options -
Copy the
wgetandtarcommands only. Thewgetcommand will be something likewget -O step.tar.gz https://github.com/smallstep/cli/releases/download/v0.15.14/step_linux_0.15.14_amd64.tar.gzbut the version numbers will be different. Important use the one from the web page, not this example one ! -
Paste the commands you just copied into the cloud shell window, press return if needed. It will take a short while to download and unpack the files.
-
This will extract the step command, but it’s burried in a directory, let’s move that to somewhere easier
<copy>mv step_*/bin/step .</copy>
- Let’s get rid of the temporary stuff
<copy>rm -rf *gz step_*</copy>
c: Creating our root certificate
- Let’s create a “root” certificate that we can use for signing the specific certificates, this will also package it up as a certificate authority - something that can be used to sign other certificates. Please note that this is of course still a self signed certificate, in a production environment you would be using a certificate for your organization (which ultimately would be signed by a known certificate authority)
<copy>./step certificate create root.cluster.local root.crt root.key --profile root-ca --no-password --insecure</copy>
  Your certificate has been saved in root.crt.
  Your private key has been saved in root.key.
End of the setup module, What’s next ?
Go to the Setting up the cluster and getting your services running in Kubernetes lab
Acknowledgements
- Author - Tim Graves, Cloud Native Solutions Architect, Oracle EMEA Cloud Native Applications Development specialists team
- Contributor - Jan Leemans, Director Business Development, EMEA Divisional Technology
- Last Updated By - Tim Graves, May 2023